46
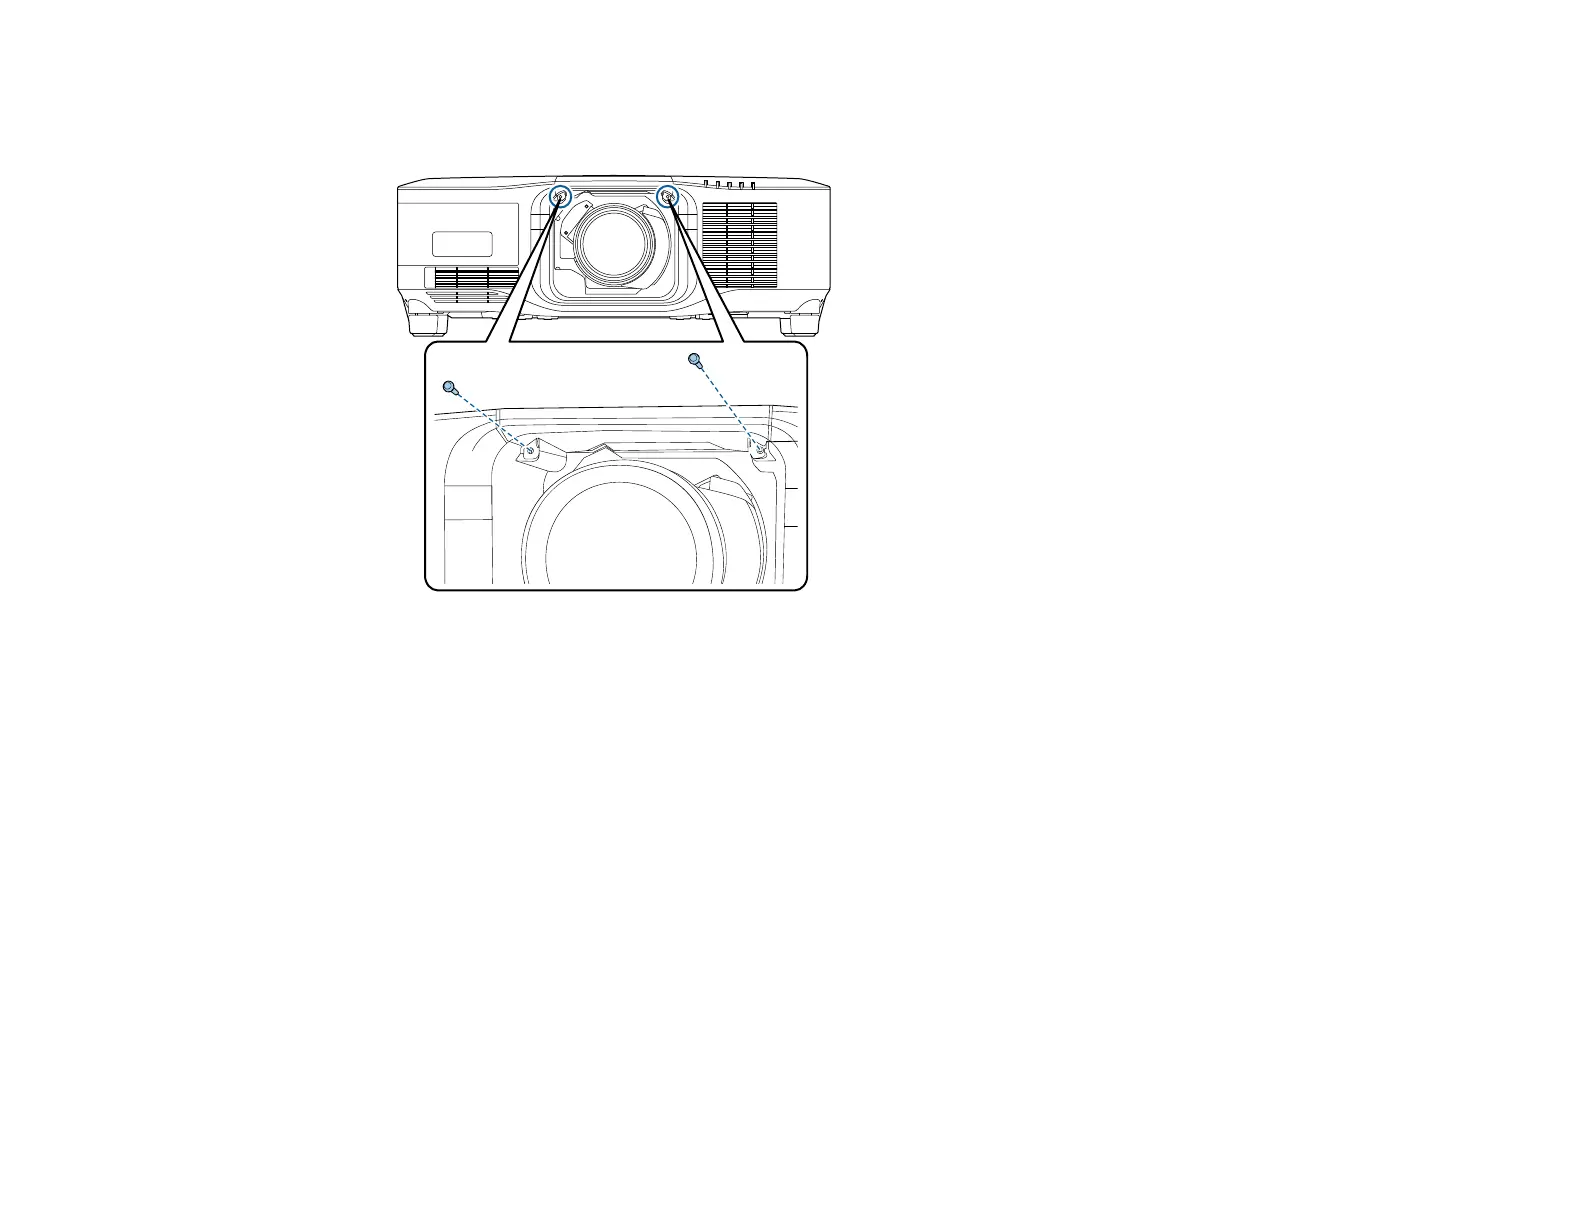
Note: If you are projecting downwards, we recommend securing the lens replacement cover with M3
x 12 mm screws (not included).
7. Turn on the projector to perform lens calibration. When you see a message prompting you to begin
lens calibration, select Yes.
Note: If no message appears after attaching the lens, perform lens calibration by holding down the
Default button on the remote control for approximately 3 seconds, or you can go to Extended >
Operation > Lens Calibration in the projector menu.
Note: Lens calibration helps the projector to correctly acquire the lens position and adjustment
range, and can take up to 100 seconds to complete. When calibration is finished, the lens returns to
the same position it was in before calibration. The ELPLX02S and ELPLX02WS lenses return to the
standard position.
Parent topic: Attaching and Removing a Lens
Related references
Optional Equipment and Replacement Parts
Optional Equipment and Replacement Parts (Latin America)