167
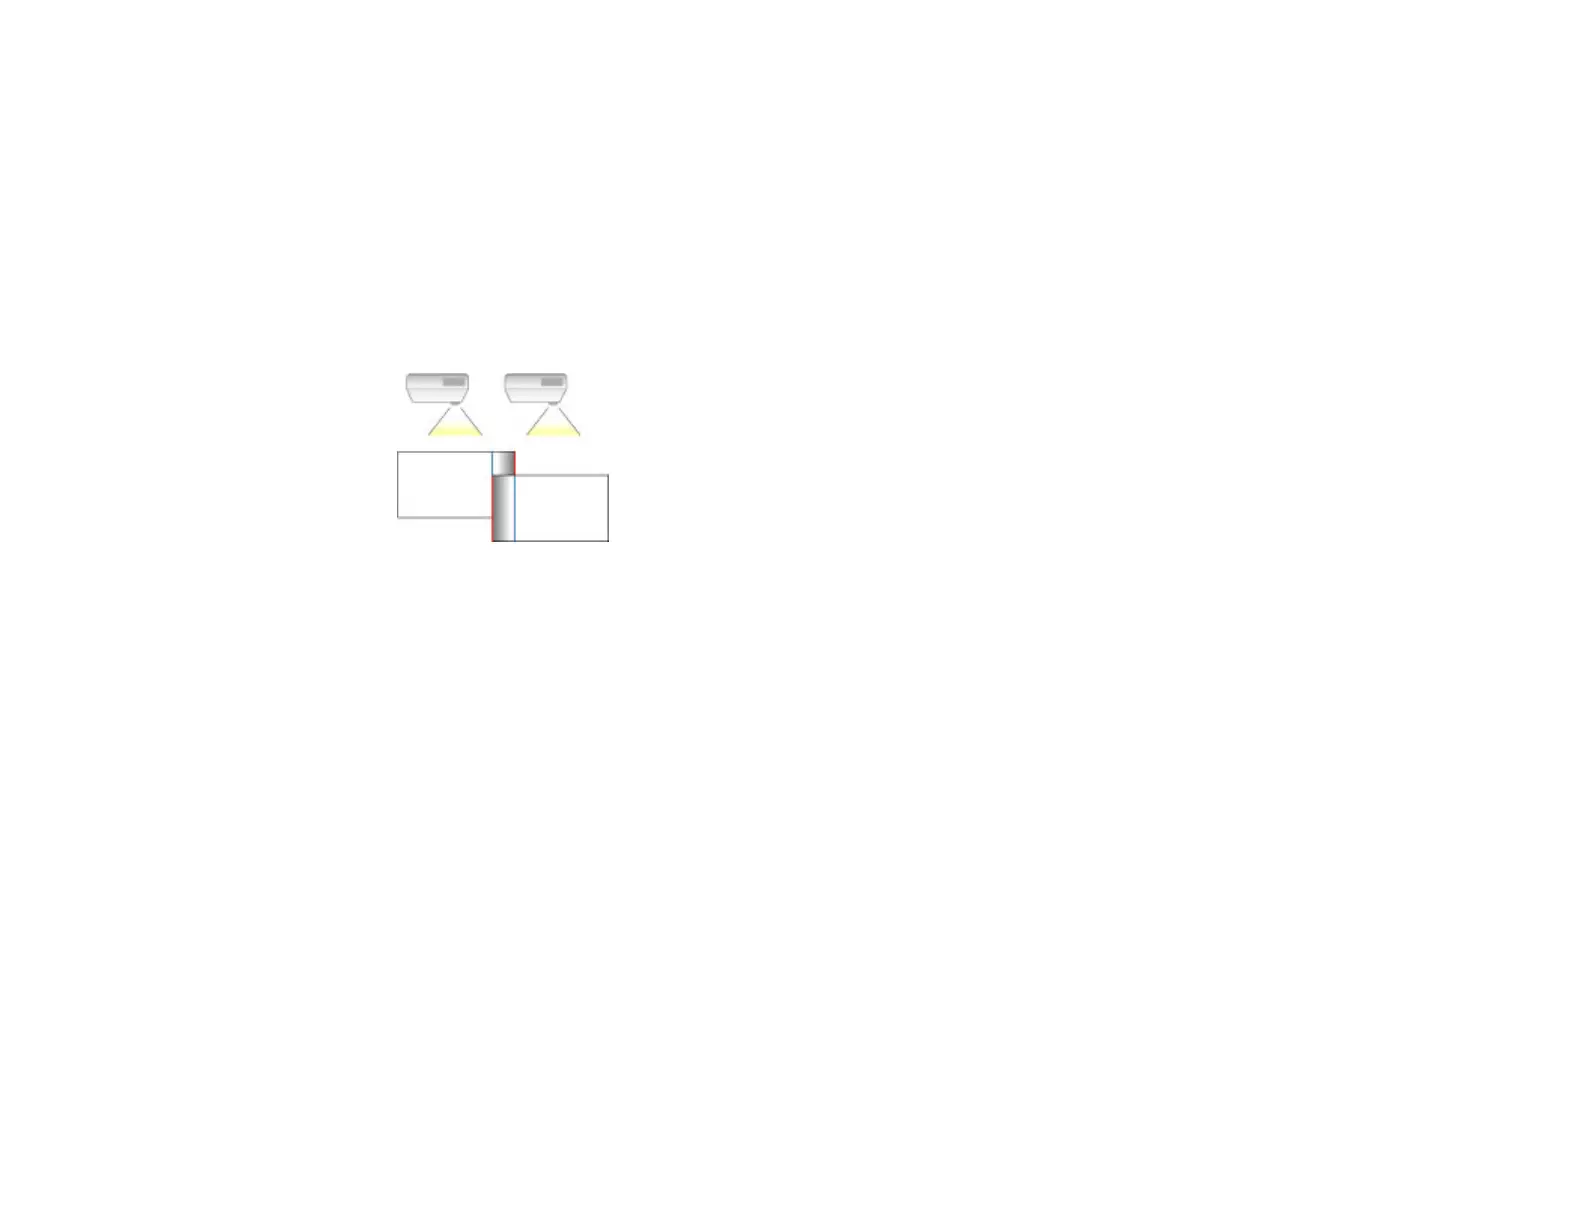
6. Select the Blending setting and select On.
7. Press Esc to return to the previous screen.
8. Select the Blend Start Position setting and adjust the point where edge blending begins.
Note: If you created a unified image area using the Edge Blending feature, set the Blend Start
Position setting to 0.
9. Select the Blend Range setting and use the arrow buttons to select the width of the blended area so
that the displayed guides are at the edges of the overlapping area between the two images.
10. Press Esc to go back to the previous screen.
11. Select the Blend Curve setting and select a gradient for the shaded area on the projectors.
12. When you are finished, press the Menu button.
If the blended area does not overlap exactly, correct the shape of the blended area using Point
Correction.
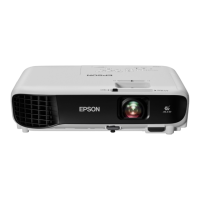
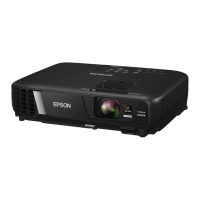
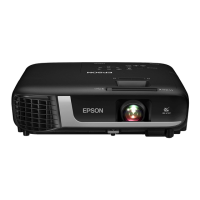
Parent topic: Using Multiple Projectors
Matching the Image Colors
You can match the display color of multiple projectors that will project next to one another. Turn on all the
projectors so you can properly adjust the color of the combined screen.
1. Press the Menu button.