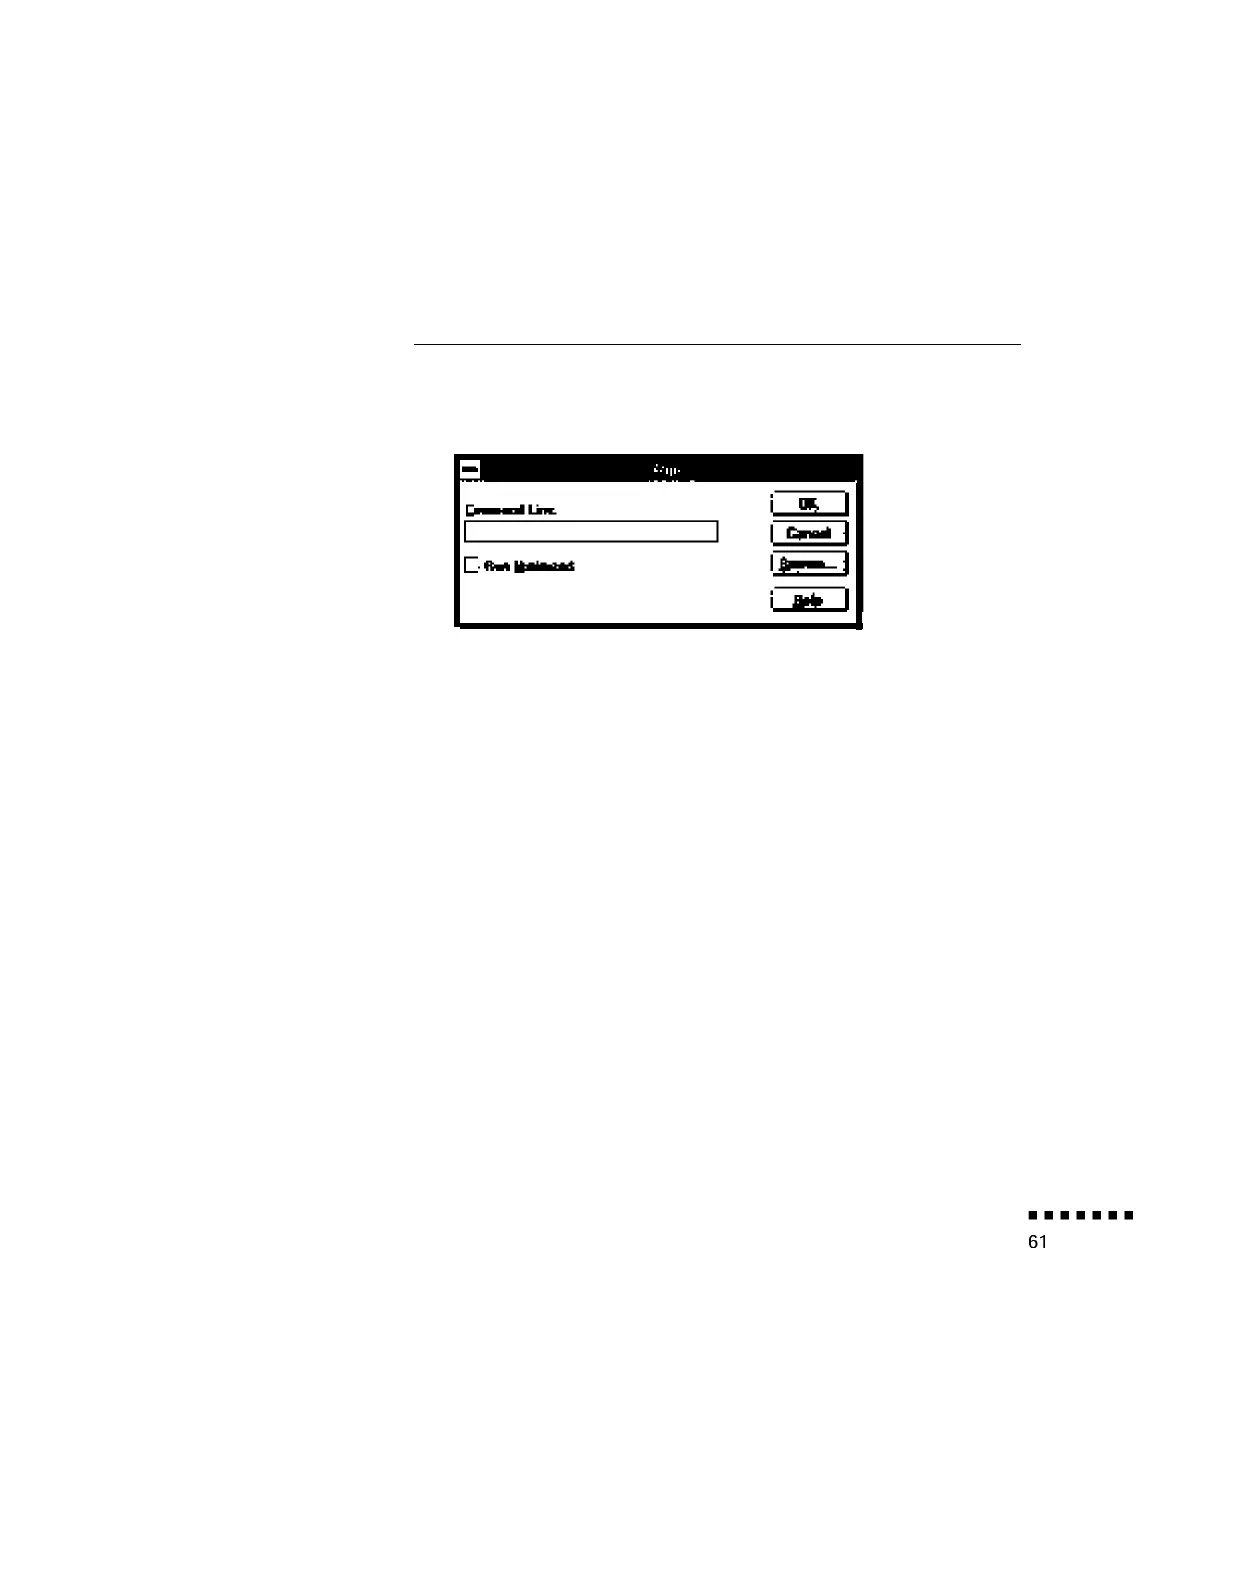
2. In the Windows Program Manager, click on the File menu, then
on Run. The Run dialog box appears:
3. Type A:\SETUP (or B:\SETUP
as appropriate), then press Enter
or click OK. The ELP Link II introduction appears.
4. Press C to continue.
5. To accept the default location for where the software should be
installed, press C to continue. Otherwise, enter a new directory
name and then press C.
6. The Link II software communicates with the projector using the
computer’s serial communication (COM) port. Specify which
COM port to use, then press C to continue. (Most likely, your
computer is using COM 1.)
7. A summary screen appears stating how much free hard disk space
is required to run the software and how much is available. If
sufficient disk space is available, press C. Otherwise, press X (exit)
to free up some disk space; then restart the installation program
from step 1.
Installing the Software