EasyManuals Logo

Epson ProSix S5 Series User Manual

Epson ProSix S5 Series
211 pages
To Next Page IconTo Next Page
To Previous Page IconTo Previous Page
Page #155 background imageLoading...
Page #155 background image
Maintenance 6. Joint #3 (Replacing the Timing Belt)
S5 Rev.5 141
Joint #3
Timing belt
Removal
(1)
R
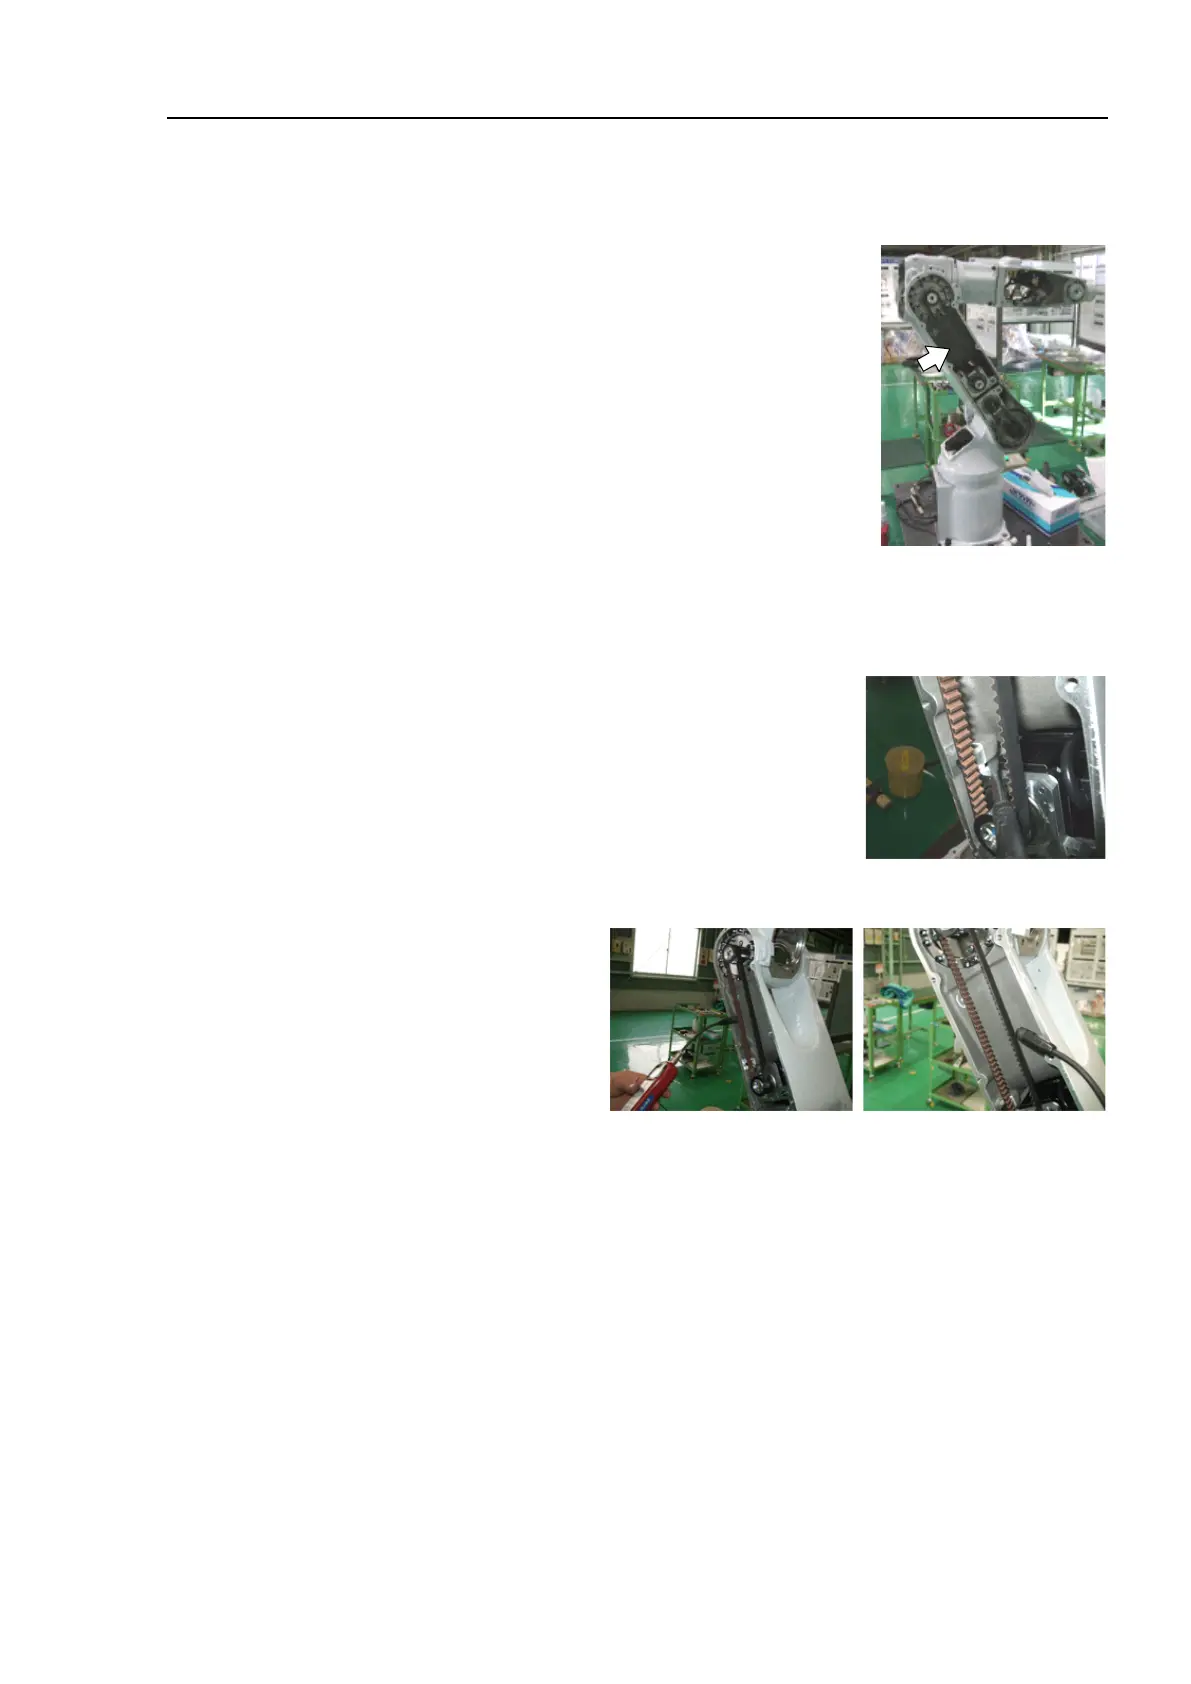
emove the Arm #2 Cover.
For details, refer to
Maintenance: 3.2 Arm #2 Cover.
(2)
R
emove the bolts of the motor plate and then remove
the
timing belt from the pulley.
GT-SA bolt : 2-M4×16 (with M4 washer)
When the timing belt is removed, the manipulator will
lose its posture. Therefore, hold the Arm #3 to prevent
it from turning while replacing the belt.
Joint #3
Timing belt
Installation
(1)
Set the timing belt on the pulley
and loosely secure the motor plate with the bolts.
GT-SA bolt : 2-M4×16 (with M4 washer)
(2)
Apply the specified tension to the timing belt and
secure the motor plate firmly.
Tightening torque : 2.8 N·m (0.29 kgf·m)
Belt tension : 57.9 ~ 77.5 N (5.9 ~7.9 kgf)
(3)
Check the belt tension.
(4)
Mount the Arm #2 Cover.
For details, refer to
Maintenance: 3.2 Arm #2 Cover.
NOTE

Table of Contents

Questions and Answers:

Question and Answer IconNeed help?

Do you have a question about the Epson ProSix S5 Series and is the answer not in the manual?

Epson ProSix S5 Series Specifications

General IconGeneral
BrandEpson
ModelProSix S5 Series
CategoryRobotics
LanguageEnglish

Related product manuals