EasyManuals Logo
Home>Epson>Robotics>SCARA ROBOT

Epson SCARA ROBOT User Manual

Epson SCARA ROBOT
216 pages
To Next Page IconTo Next Page
To Previous Page IconTo Previous Page
Page #125 background imageLoading...
Page #125 background image
Maintenance 4. Cable
G6 Rev.21 113
Cable unit
Installation
(1)
Apply grease
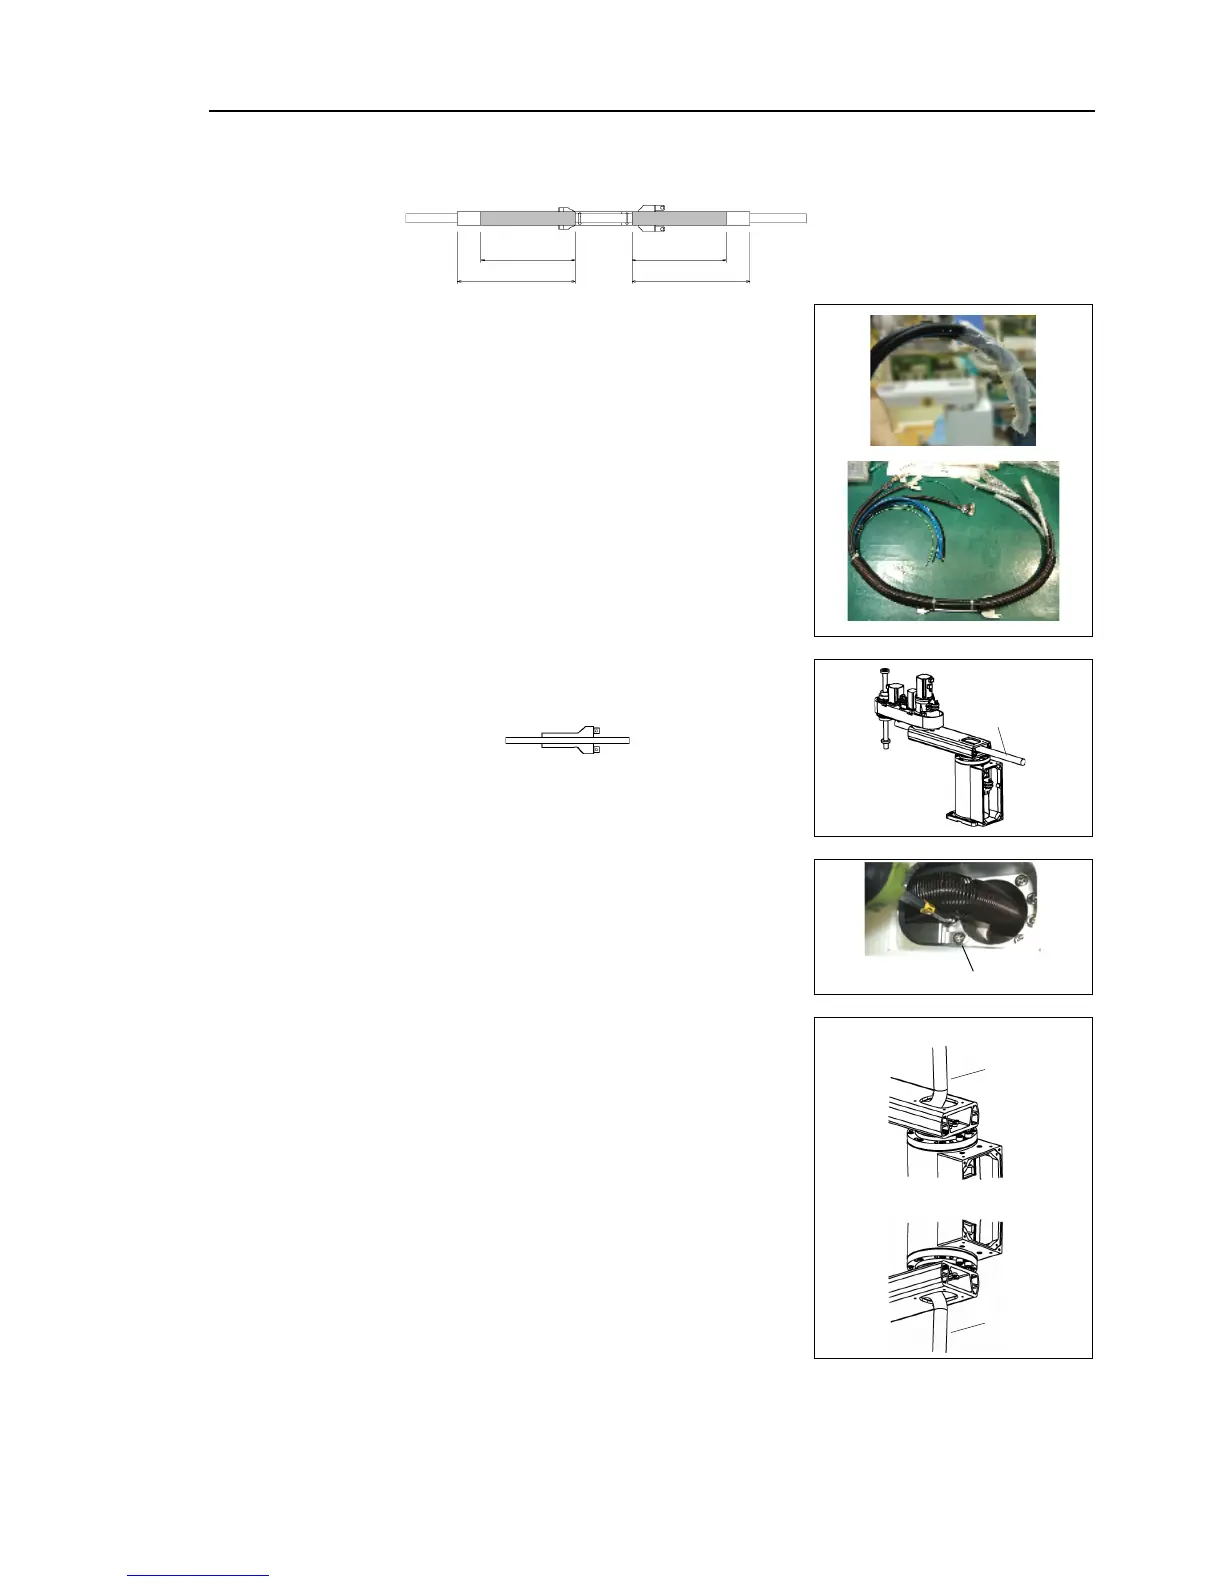
(GPL-224) to the cables.
Grease volume: 5 g each (10 g in total)
200 mm
Greasing
Spring
200 mm
Greasing
Spring
Applying positions
Each cable inside the spring
Air tube
Periphery of spring (shaded part)
(2)
Cover both
ends of the cables with plastic bags.
(The photo shows one end covered with plastic
bags)
The plastic bags prevent grease adhesion to the
ends of connectors and air tubes during the cable
drawing.
(3)
Connect
the cables to Arm #1 in the proper
direction.
Base side
Arm side
Cable
(4)
Set the mounting holes of the spring plate to the
base side and mount the spring plate to Arm #1.
4-M6×15
(5)
When using Table Top mounting,
disconnect the
base side cables to the upper part of Arm #1 and
pull the cables into the base.
When using Wall mounting or Ceiling mounting,
disconnect
the base side cables to the lower part
of Arm #1 and pull the cables into the base.
Cable
Table Top mounting
Cable
Wall /
Ceiling mounting
(6)
The procedure of step (6) differs by mounting types.
Follow the corresponding procedure.

Table of Contents

Questions and Answers:

Question and Answer IconNeed help?

Do you have a question about the Epson SCARA ROBOT and is the answer not in the manual?

Epson SCARA ROBOT Specifications

General IconGeneral
BrandEpson
ModelSCARA ROBOT
CategoryRobotics
LanguageEnglish

Related product manuals