them. This section describes the setup.
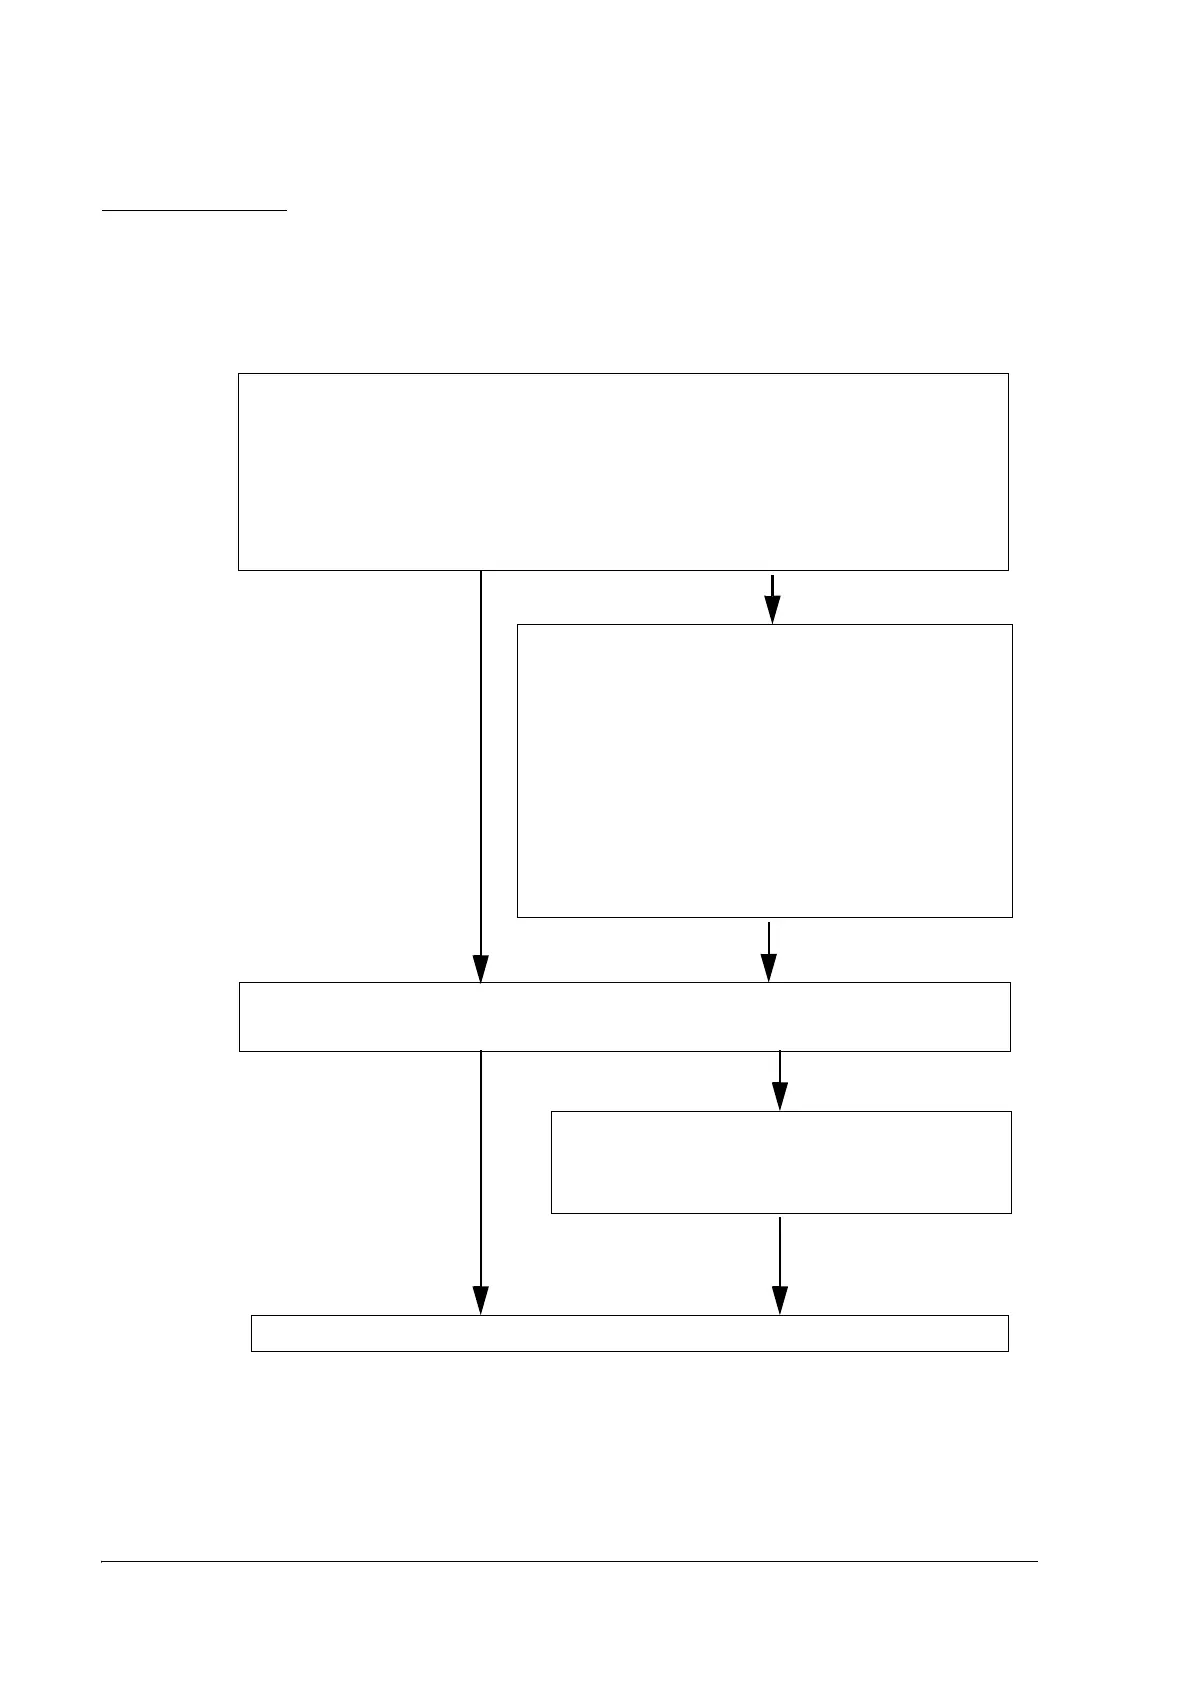
The set up flow of preparing to use printer is below.
5. Complete set up
2. Adjust various settings (If you need to)
❏ DIP switches
❏ Memory switches
❏ Paper width
(Adjust the spacer & Memory switches)
❏ Roll Paper Near End Detector
(For equipped model only)
❏ Auto cutter method (Type A, B)
(See “Adjusting Various Settings” (page 3-15))
4. Driver setup
(See “Install a Printer Driver in the Host PC /
POS Terminal,” (page 3-33))
When you select
Direct control
method (ESC/
POS command)
you don’t need
to install any
drivers.
1. Printer set up
❏Install Ribbon Cassette
❏Install Paper Roll
❏ Connect the Printer to the Power Supply
❏ Connecting an Optional External Buzzer
(See “Printer setup,” (page 3-6))
3. Connect the Printer to the host PC/POS terminal
(See “Install a Printer Driver in the Host PC / POS Terminal” (page 3-33))

 Loading...


