8-2-2 Replacement of LCD case 2, body case 1 and 2, open switch,
printer case, printer control board assy, relay board assy, thermal
printer, printer cover, printer harness, control printer harness,
flame harness and printer flame harness
1) Remove the LCD assy (refer to 8-2-1).
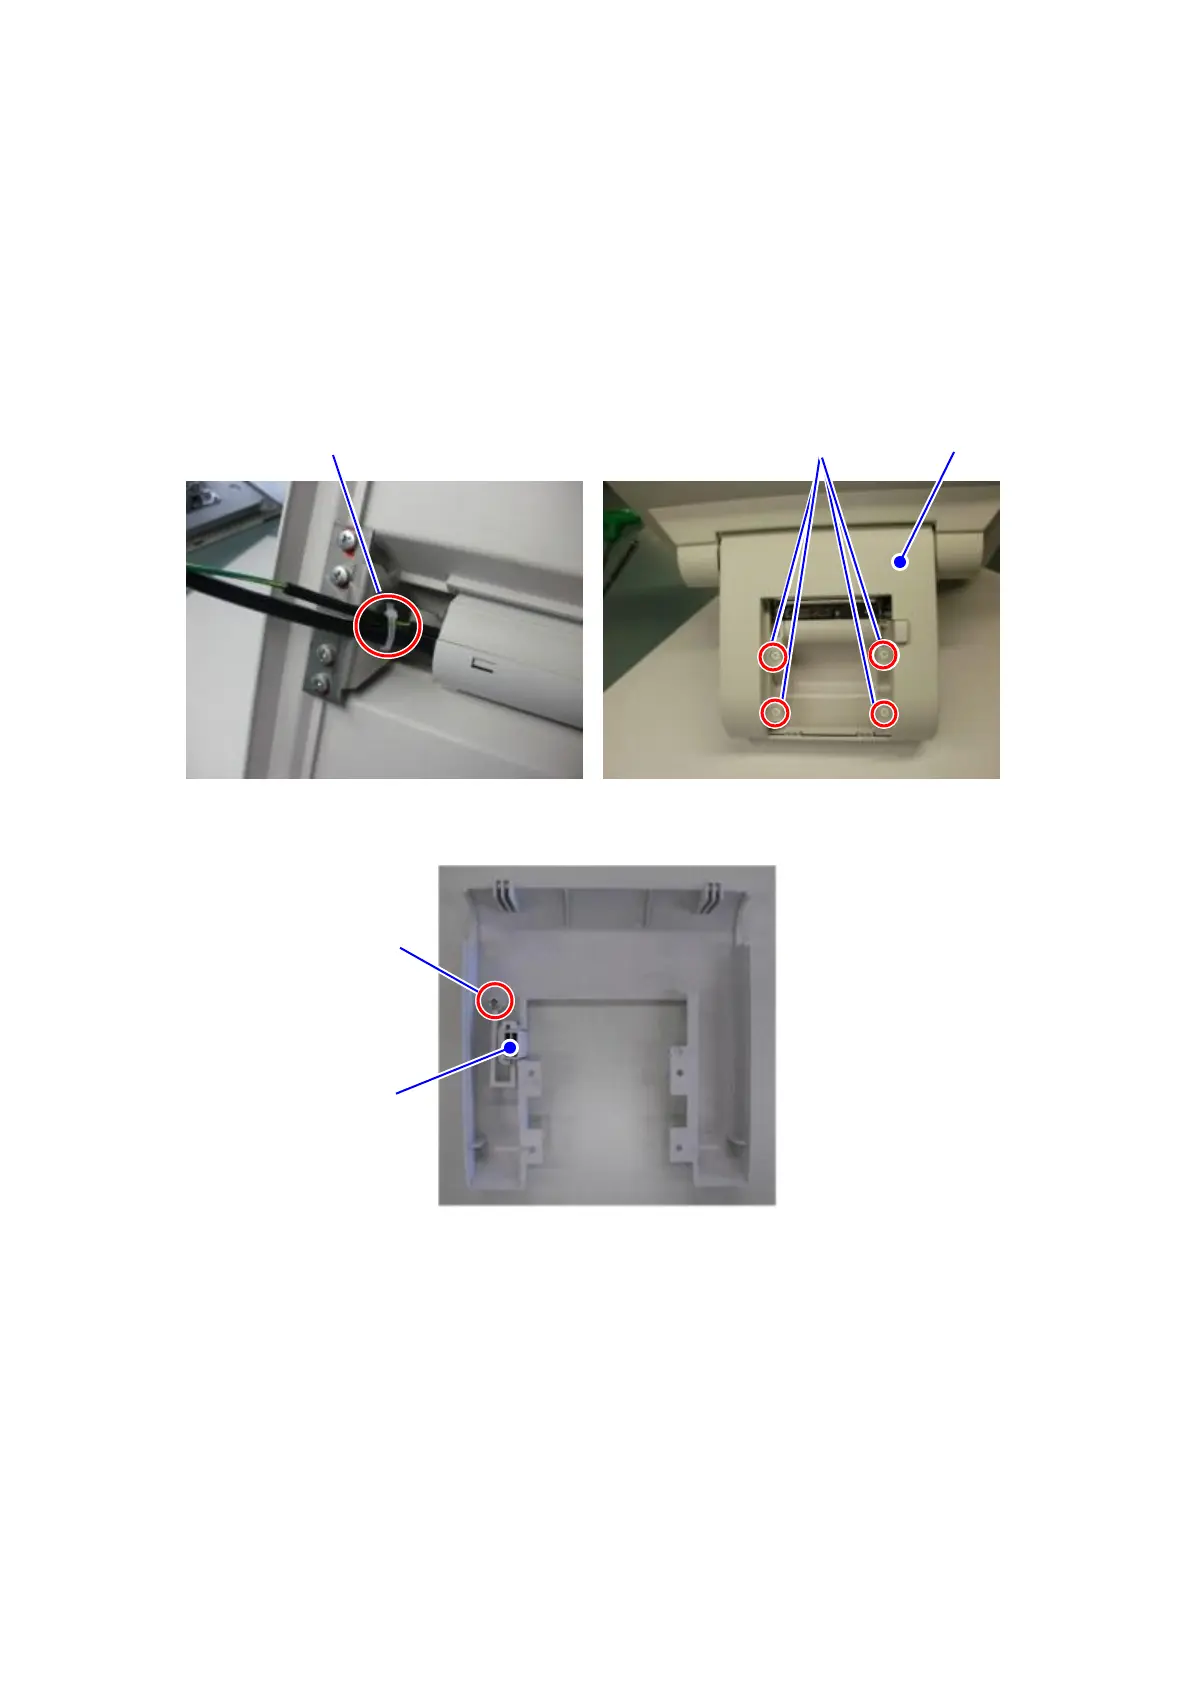
2) Cut the banding band which ties the harnesses.
3) Unscrew 4 fixing screws and remove the body case 1.
4) Replace the open switch after unscrewing the fixing screw on the back of the body case 1.
5) Remove the LCD case 2 after unscrewing 4 hinge fixing screws.
6) Remove the body case 2 and flame harness after unscrewing 4 fixing screws 1.
7) Replace the control printer harness after removing all of the connectors connected.
8) Remove the printer assy after unscrewing 4 fixing screws 2 and removing the printer
harness.