Control Buttons
NOTES:
• See Front Panel Operations, beginning on page 37 for detailed descriptions of
the following operations.
• See figure 30 on page 30, figure 31 on page 31, and figure 32 on page 32.
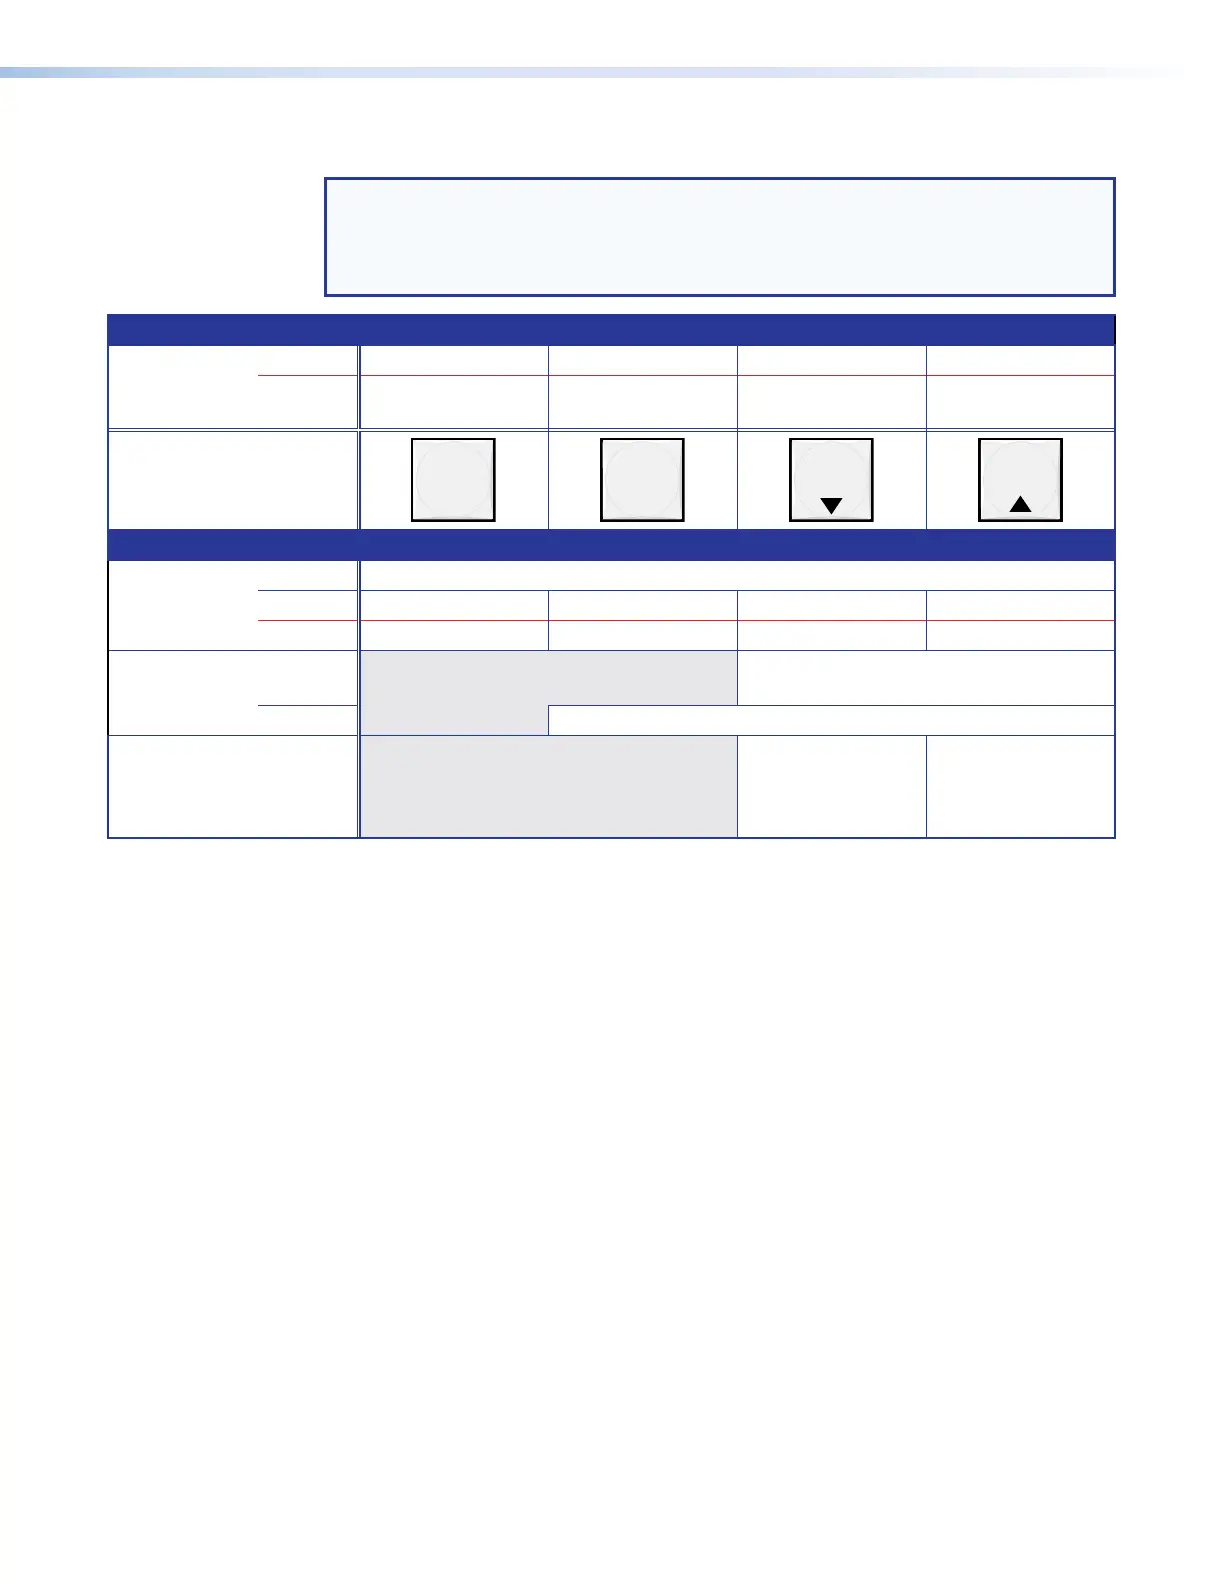
Primary functions
Action Save changes Select Preset mode Select View mode Cancel or Escape
Indication Blink: Save needed Blink: Save preset
Lit: Recall preset
View mode
selected
Blinks once
ENTER PRESET
VIEW
ESC
Secondary functions
Port
configuration
Action 1 Select Configuration mode.
Action 2 Select 9600 baud Select 19200 baud Select 38400 baud Select 115200 baud
Indication Blink: 9600 baud Blink: 19200 baud Blink: 38400 baud Blink: 115200 baud
Front panel
locks
Action1 Select Lock mode 1 or toggle between
mode 2 and mode 1.
Action 2 Select Lock mode 2 or toggle between mode 0 and mode 2.
Audio Action In Audio mode,
decrease input
level or output
volume.
In Audio mode,
increase input
level or output
volume.
C
Enter button — The Enter button has two primary functions (❏) and two secondary
functions (•):
❏ Saves configuration or preset changes that you make on the front panel. To create
a simple configuration:
Specify video, audio, or both (see I/O buttons [item
G
] and [item
H
]).
Press the desired input button (item
A
).
Press the desired output button or buttons (item
B
).
Press the Enter button.
❏ Indicates that a potential tie has been created but not saved.
• With the Preset, View, and Esc buttons, selects Serial Port Configuration mode.
• Selects 9600 baud for the rear panel Remote port in Serial Port Configuration mode
and indicates the selection.
XTP II CrossPoint 1600, 3200, and 6400 Switchers • Operation 34