29
DMP10 / DMP20 Connecting/replacing probe
6 Connecting/replacing probe
Every probe has its own identifier, consisting of a probe code (e.g. D-FN) and the se-
rial number. When a calibration is assigned to the batch, the probe identifier is auto-
matically saved in the batch. This ensures that for the batch, a measurement can be
performed only using the probe that has the same identifier as the one saved in the
batch. As a result, the correct calibration is available for the batch and for the mea-
surement.
What would you like to do?
Connect a new probe as a replacement for a defective one: proceed as de-
scribed in chapter "Replacing the probe – connecting a different probe", 31.
Connect a different probe type to the one previously used: proceed as described
in chapter "Replacing the probe – connecting a different probe", 31.
Connect the probe already use for measurements in the batch: proceed as de-
scribed in chapter "Connecting the probe", 29.
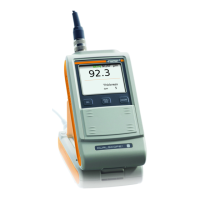
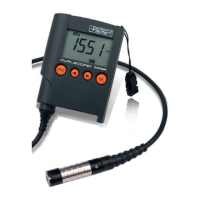
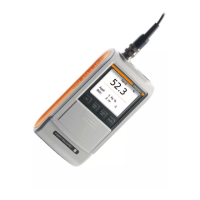
6.1 Connecting the probe
Notes on safe secure measurement signal transfer
Always tighten the knurled nut on the probe cable connector firmly to ensure
a secure plug connection!
We guarantee flawless measurement signal transmission from the probe to
the gauge for a cable length of max. 3 m (118.1 ").
Extending the probe cable to 3 m (118.1 ") using a USB-C extension cable is
not perm itted, as the additional plug connection could impair the signal
transmission.
Before you start
The gauge is switched off ([ ]).