Tips
The filament spool must be oriented
correctly (see below).
After filament guide tube fixation
completed, press the left spring presser
of extruder, put filament vertically into
the left filament intake from the other
end of filament guide tube.
Lock the filament guide tube with R-shape
buckles.
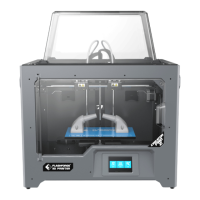
Install top cover for printing ABS; remove
the top cover for printing PLA.
Please make sure that the nozzle touches the
anti-oozing plate properly when installed. It is
OK to adjust the distance between the nozzle
and plate manually. It is normal to see scratches
on the surface of the plate after printing for
several times.
1.
2.
3.Install Top Cover 4.Install Anti-oozing Plate
Filament Guide
Tube Buckle
limited seat
13
Note: Please pay attention to extend the guide tube to the inside of the spool to prevent
the filament from being entangled and being wrapped outside the spool.
M3x8
Fixed the anti-oozing plate by two screws.