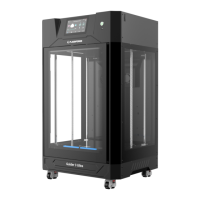
3. Once Z-axis calibration is completed, click the icon to enter the "Leveling" interface.
Before leveling, you can choose to use the same leveling data for each print or perform
automatic leveling before each print. After confirming, click [Leveling] to enter the leveling
preparation interface. Ensure that the platform is properly installed and both the nozzle
and platform are clean, then click [Start], and it will perform platform leveling automatically.
4. After leveling, if the values are normal, the printer will automatically save the leveling
data. If there are any abnormalities, follow the on-screen instructions to recheck it.
After confirming, click [Again] to perform leveling again.
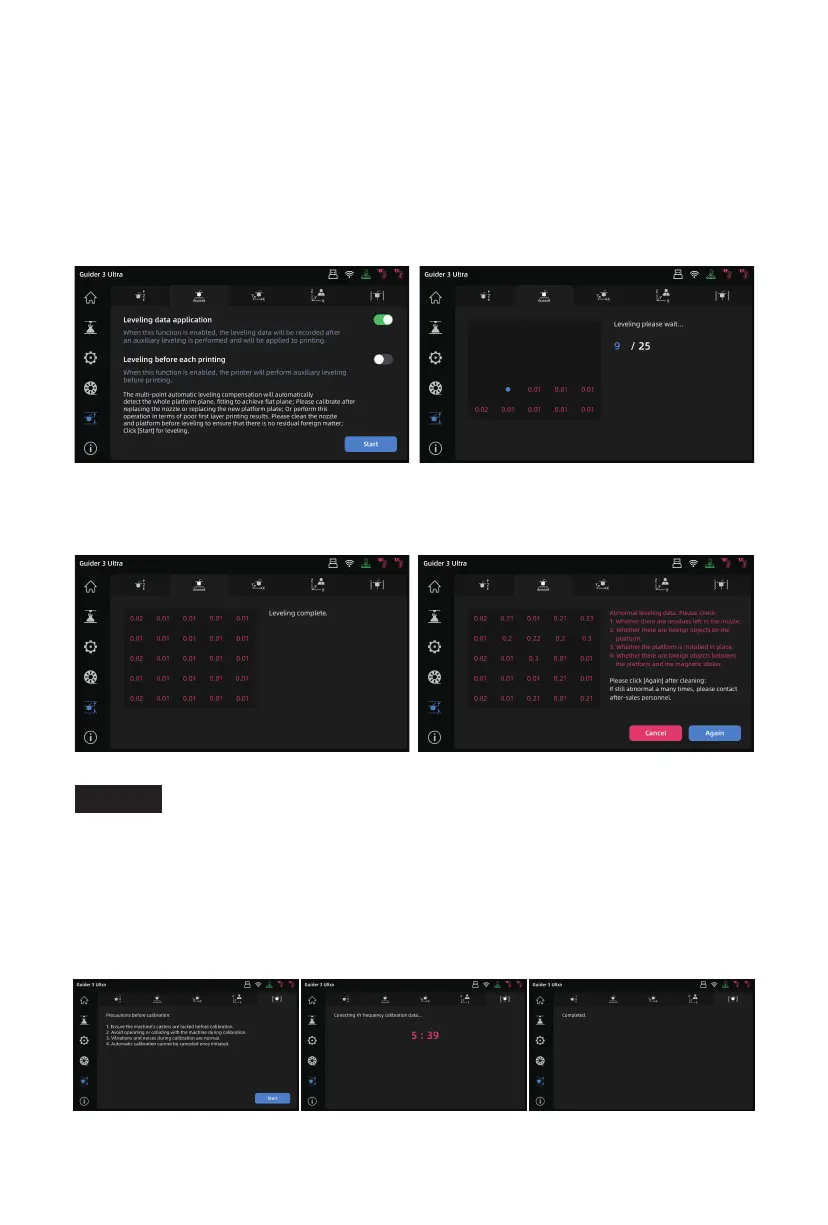
5. The resonance compensation has been carried out before the printer leaves the factory
and generally does not require further adjustment. If you spot ringing on a print, you
can perform this operation. Before proceeding, please read the prompts on the
resonance compensation interface to ensure a successful calibration. Click [Start], and
it will automatically begin calibration. Vibration and slight noise during the calibration
process are normal.
Calibration interface and filament loading interface are inaccessible
during printing.
Note
10