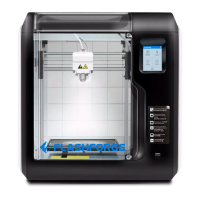
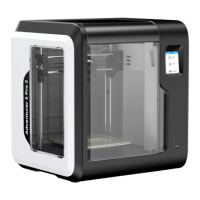
4. Model Printing
4.1 Slicing Software Installation
Method 1: Find the FlashPrint software package on the USB flash drive and install the
version that matches your system.
Method 2: Download the latest slicing software from the official English website at
www.flashforge.com.
3D Printing Process:
Obtain the model file (in stl/obj/stp format) - Import the file into the slicing software
- Slice it - Prepare the 3D printer for printing - Transfer the file to the printer for
printing
Note: You can find slicing software instructions in the software after installation.
4.2 Single-Extruder Printing Mode
In the single-extruder printing mode, the left extruder is defined as
the primary extruder by default. This is because the left extruder is
fixed, while the right extruder is for raising and lowering. Models
printed with the left extruder tend to have better performance than
the right extruder. Before printing, please ensure that filament has
been loaded and can be extruded properly. Refer to Section 2.3 for
guidance if needed.
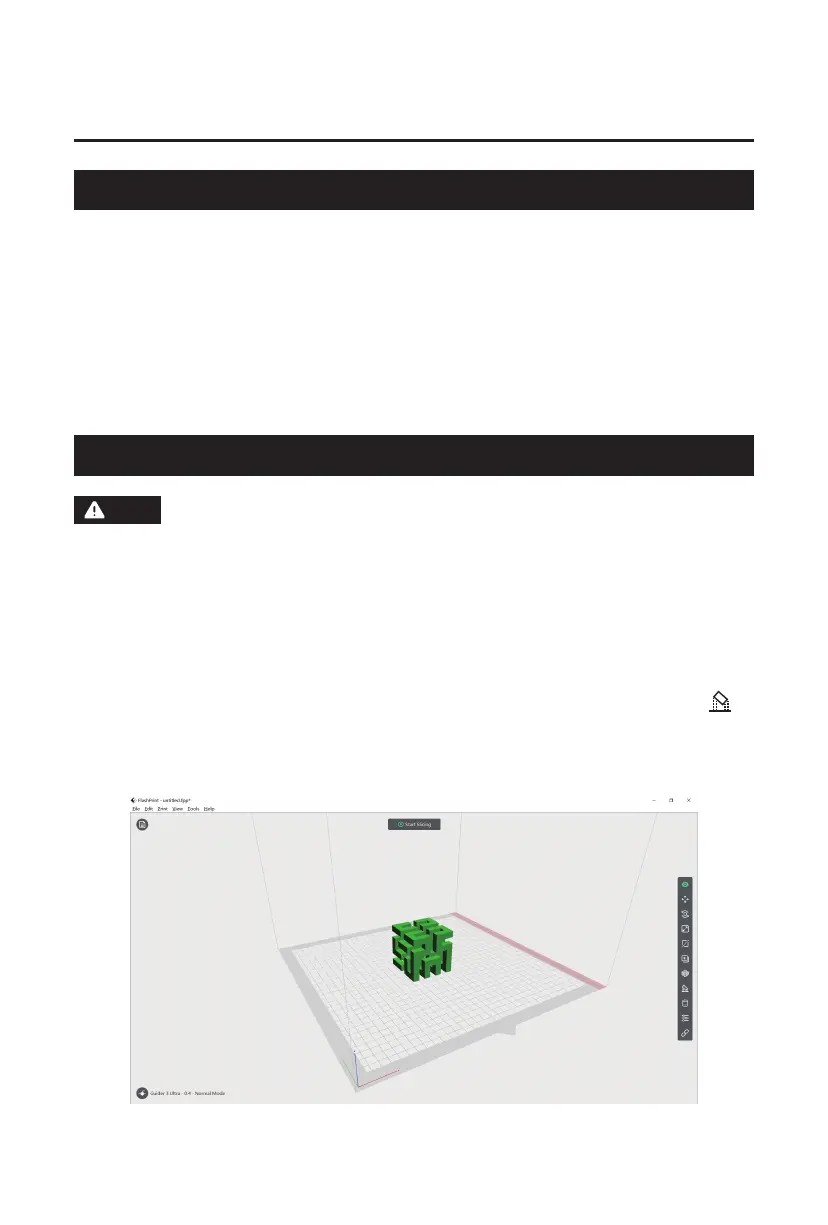
After opening the slicing software, select your printer type at the lower left corner.
Then, import the model into the slicing software. You can make modifications to the
model such as moving, rotating, or scaling it. Once the layout is set, click the [ ]
icon, select the support type, and click [Auto Supports]. Return to the main interface,
click [Start Slicing], select the corresponding printing material, and click [Slice] to
generate the sliced file.
Note
20