4.4 File Transfer via Network
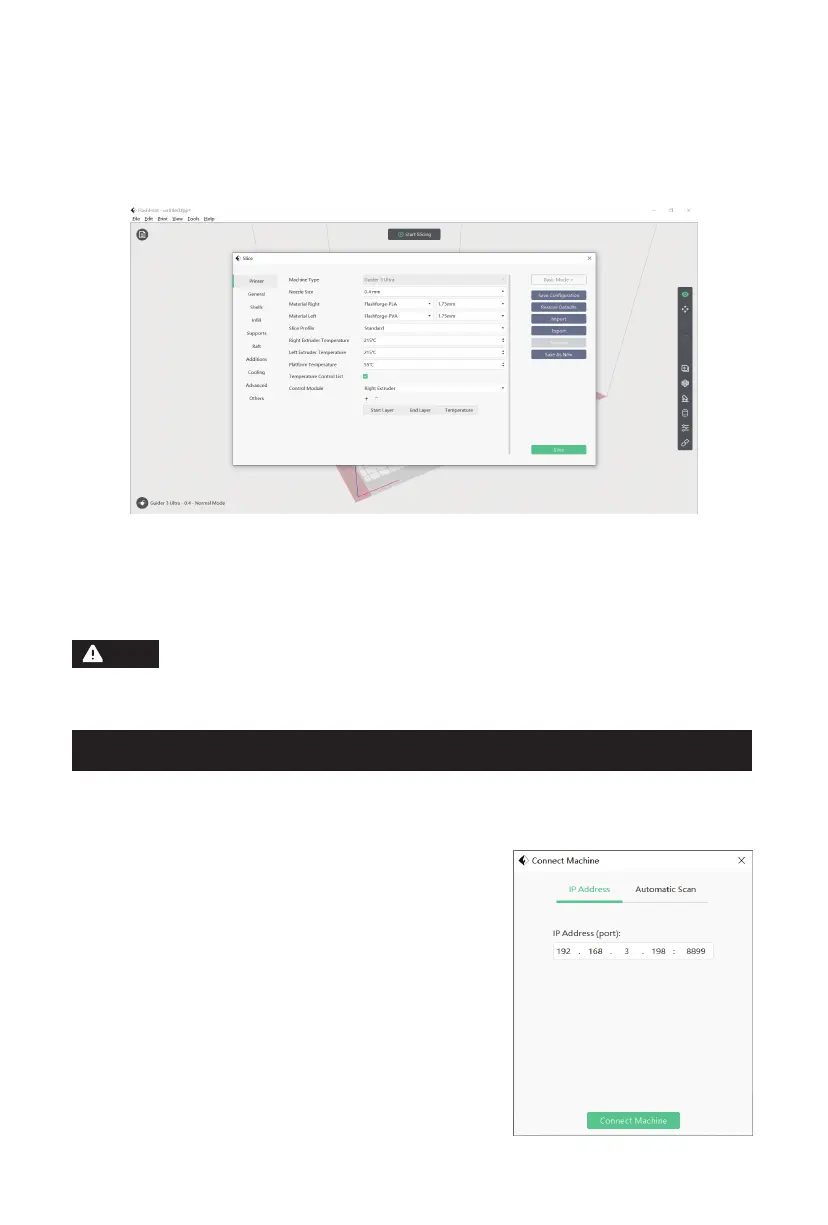
8. Click [Start Slicing] to enter the parameter configuration page.
9. Choose the material configuration (for example, use the right extruder to print
PLA model and the left extruder to print PVA supports).
10. Click [Slice] to generate the sliced file.
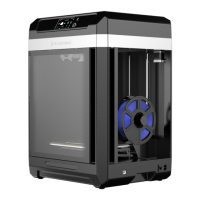
1. After connecting to the network, open FlashPrint. Click the icon at the lower left
corner, select [Machine Type], select [Guider 3 Ultra], and then click [Print] -
[Connect Machine].
2. In the pop-up box, select the connection
method: enter the printer's IP address or use
automatic scanning. The IP address can be
viewed in the information interface of the
printer. Once entered, click [Connect Machine].
If the connection is successful, the [Multi-
Machine Control] interface will pop up,
allowing you to check the printer's connection
status.
When printing with dual extruders, it's recommended to add walls or
a wiping tower to clear any filament oozing from the idle nozzle.
For further printing configurations, you can click [Help] and select
[Help Contents] to learn more.
Note
23