5. Check the flexible steel plate for proper
installation within the rear limit. Ensure
that the platform is mounted flat without
pressing any foreign objects.
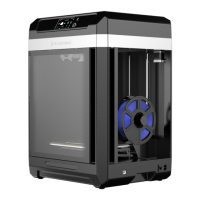
6. Connect the power cord to the socket
and the printer. Press the power switch
to start the machine.
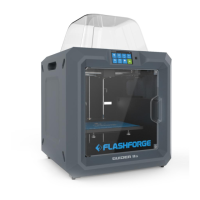
Power Switch
7. Press the screen switch. A solid light
indicates the touch screen is activated.
8. Upon the first startup, follow the on-
screen guide to quickly adjust the
printer to the ready-to-print state.
When the printer is powered on for the first time, you can perform a printing test
following the startup guide to confirm proper functionality.
Startup guide steps: Language selection - Leveling and calibration - Filament loading
- Printer ready for printing - Test file printing - Printing completed.
If you skip any steps in this startup guide, you can still access the corresponding
functions on the screen.
Note: To re-enter the startup guide, click the [ ] icon on the left side to go to the
[Information] interface, click [Factory Reset] and select [Yes]. Then, after restarting
the printer, you can access the startup guide again.
Note
07