System Installation
432-0012-00-12 Version 110 July 2016 14
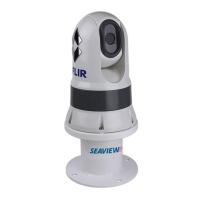
Mounting the JCU II to a Thin Panel
As shipped from the factory, the JCU II can be mounted to
dash thicknesses ranging from 7.9 mm to 44.5 mm (0.31 in to
1.75 in). The clamps are set with the small foot on each clamp
facing away from the panel, as shown.
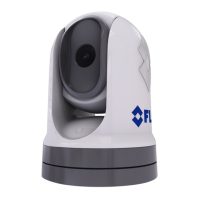
If you intend to mount the JCU II to a panel of 7.9 mm (0.31
in) thickness or less, remove the clamps from the mounting
screws, turn them around and thread them back onto each of
the four screws. The foot on each clamp now faces the panel
and allows the clamp to contact thinner panel surfaces while
still allowing for proper compression of the JCU II mounting
gasket to form a watertight seal.
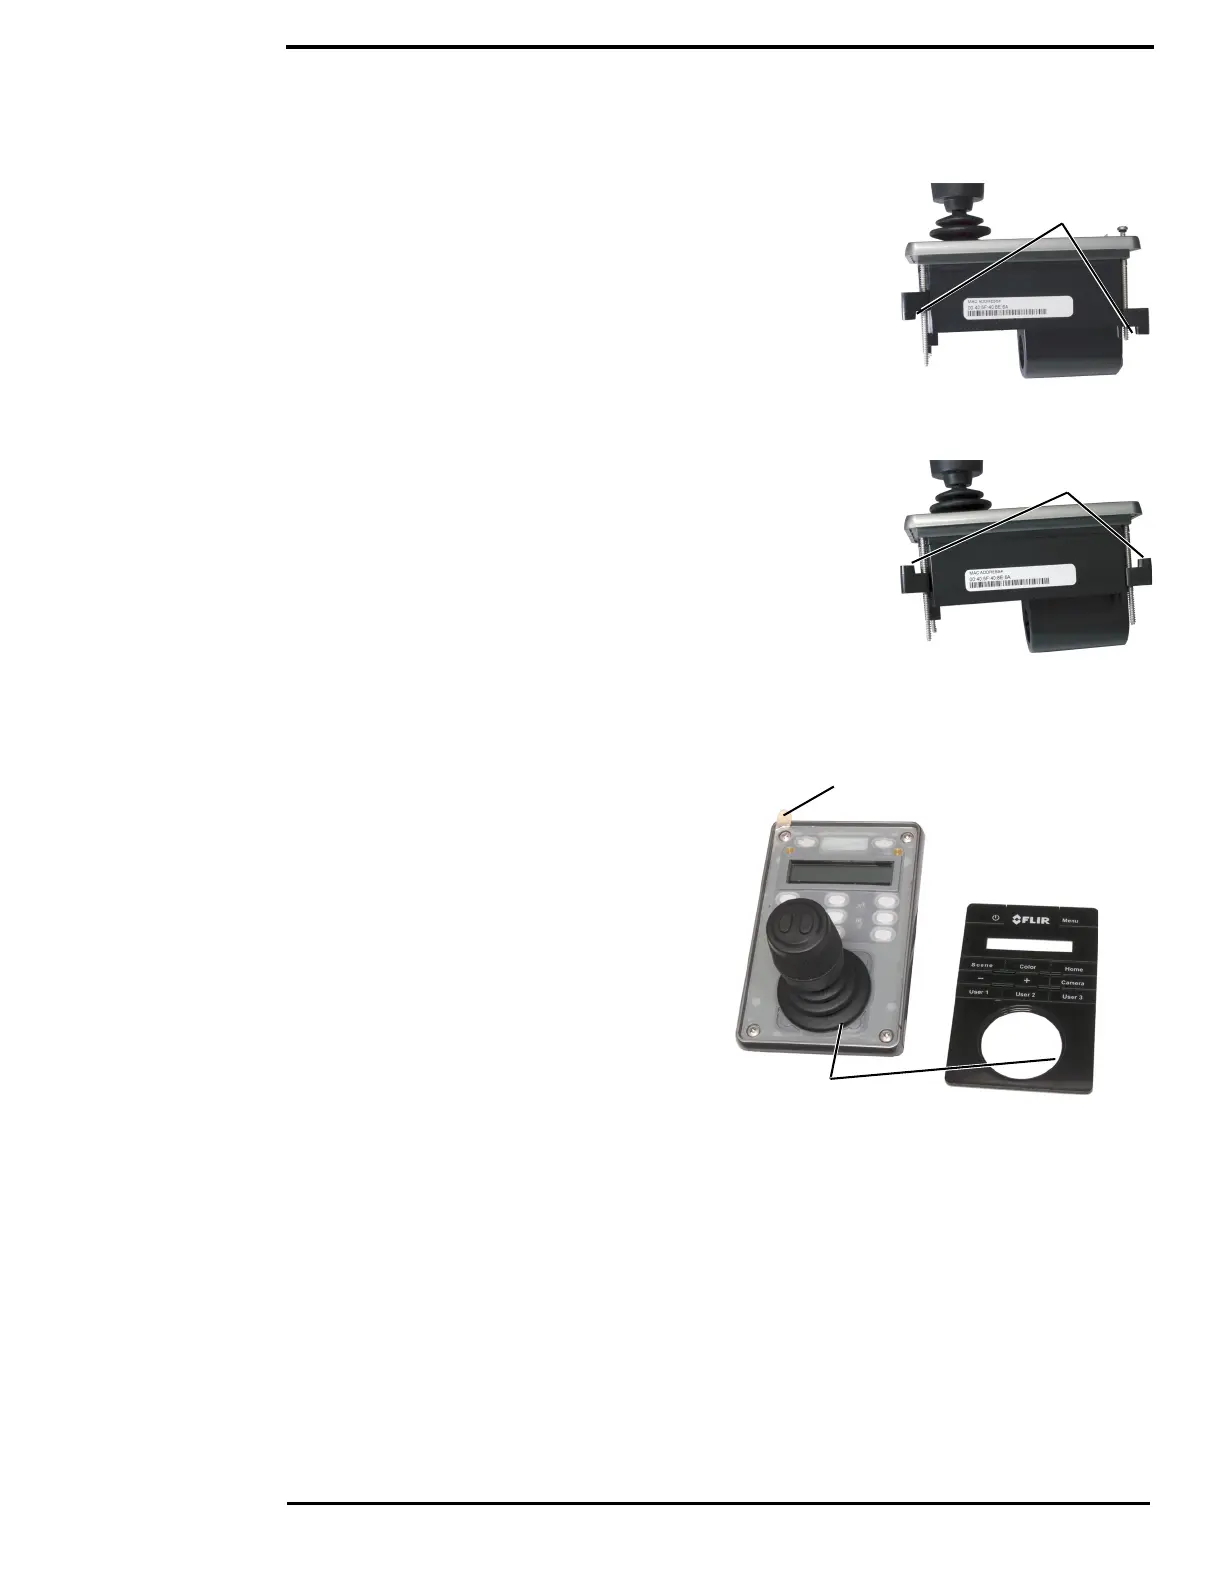
Mounting the JCU II Key Pad Front Cover
Note: The JCU II is shipped without the front cover installed.
The face of the JCU II has an adhesive layer, covered by a
removable film, to secure the front cover after the JCU II is installed in its final location.
1. Pull up the tab to remove the adhesive
protection film and expose the adhesive
layer.
2. Install the key pad front cover over the
joystick ensuring that the joystick boot
is not caught between the cover and the
JCU II.
3. Position the cover starting with the
bottom corners and then press into the
adhesive on all edges. The cover
should snap into place flush with the
JCU II bezel.
Panel thickness
up to 44.5 mm
Foot
Panel thickness
less than 7.9 mm
Foot
Key Pad Front Cover
Pull tab to
expose adhesive
Ensure boot
is clear of cover
 Loading...