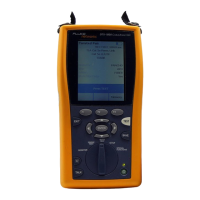
DTX Series CableAnalyzer
Technical Reference Handbook
2-2
2-5
Figure 2-1 describes the text editing screen.
2-6
Use D to highlight Site; then press H.
2-7
Press J Create; then use JKL,
BCAD, and H to enter the job site name
in the box. Press N when you are done.
2-8
Repeat steps 2-6 and 2-7 for the customer’s Company
name.
Step 3: Setting the Storage Location (DTX-1800 and
DTX-1200)
To set the destination for saved results on a DTX-1800 or
DTX-1200 tester:
3-1
Turn the rotary switch to SETUP, use D to highlight
Instrument Settings; then press
H.
3-2
Use D to highlight Result Storage Location; then
press
H.
3-3
Use D to highlight Internal Memory or Memory
Card (if present); then press
H.
Note
If you change storage location, and the selected
Current Folder does not exist in the new location,
the tester creates a new folder with the current
folder’s name in the new location.
Step 4: Setting Up a Job Folder
You can organize test results by saving them in a folder
named for the job.
To set up a job folder:
4-1
DTX-1800, DTX-1200: Insert a memory card into the
tester, if that is where you wan to create a folder.
4-2
Turn the rotary switch to SETUP.
4-3
Use D to highlight Instrument Settings; then press
H.
4-4
Press D to highlight Current Folder; then press
H.
4-5
Press J Create Folder.
4-6
Use JKL, BCAD, and H to
enter a folder name. Press
N when you are done.
4-7
Use AD to highlight the new folder in the list
of folders; then press H.

 Loading...