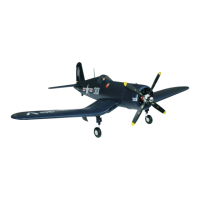
10. Inserting/Connecting the Flight Battery
Caution, important!
Before connecting the ight battery to the model, the transmitter must be taken into operation. Observe
that the control lever/switch for the motor function is in the bottom position (motor off).
Alternatively, you can loosen the folding propeller form the motor for the setting work. For this, observe the
notes in chapter 15 on replacing the folding propeller.
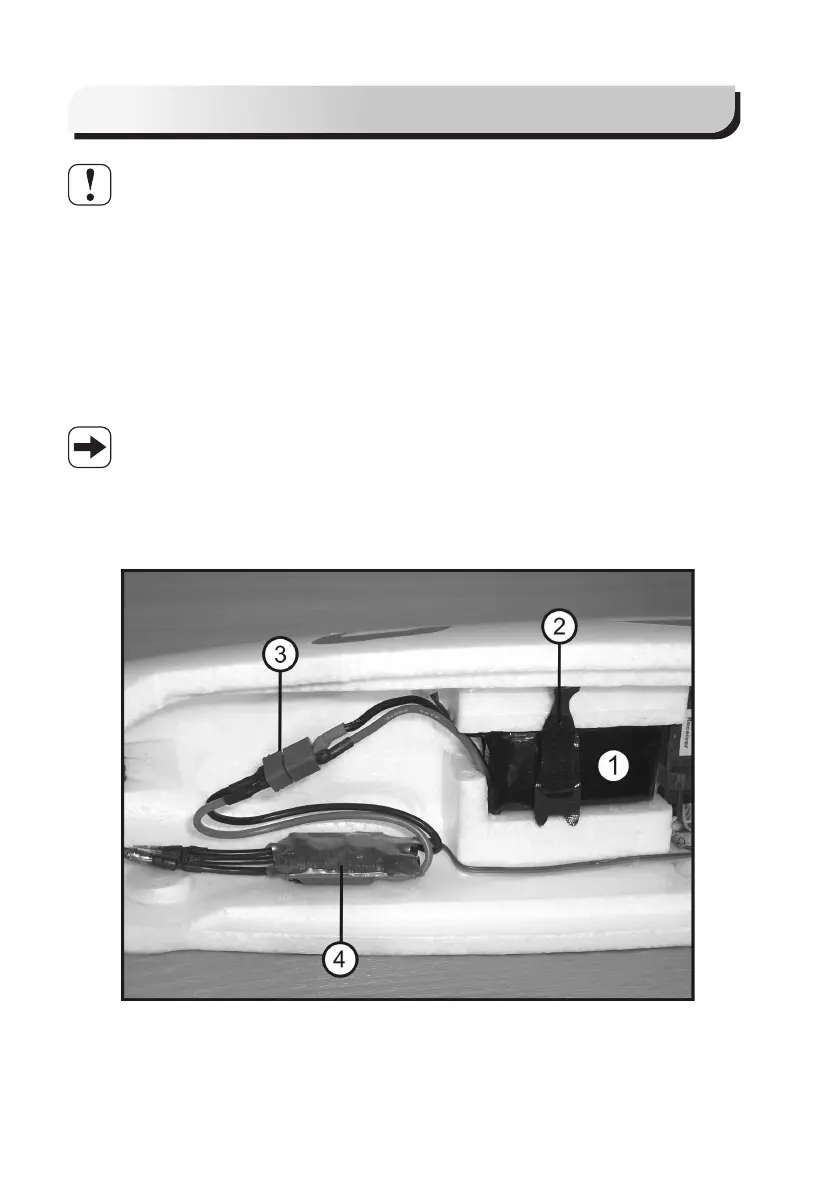
Install the ight battery (1) centred in the fuselage tip and fasten it with hook-and-loop tape (2). Connect it to the
model electronics via the plug connector (3) protected against polarity reversal.
The electronics now check the battery voltage and the position „motor off“. After approx. 2 hours, a sound sequence
is issued (via a short activation of the motor). this signals that the model is ready for operation.
Rudder, elevator, aileron, the wing aps and the motor now react to the movements of the control levers/switches at
the transmitter. Regarding the ight controller, also observe the notes in chapter 14.
Figure 8, item 4, shows the ight controller, which should ideally by installed to the side of the fuselage
with double-sided adhesive tape.
The matching plugs/sockets must be present in the correct polarity at the ight battery and the ight
controller.
A matching plug for the rechargeable battery is not part of the scope of delivery and must be purchased
separately. When soldering on, observe the correct polarity (red cable = plus/+, black cable = minus/-).
Figure 8