Using the ScanSnap in Various Ways (for Mac OS users)
344
10.Press the [Scan/Stop] button on the ScanSnap to finish scanning.
Scanned image is saved.
z The scanned image is output at the center of the page in the size specified in the
[Paper size] pop-up menu of the [Carrier Sheet Settings] window.
z When [Automatic detection] is specified in the [Paper size] pop-up menu of the
[Carrier Sheet Settings] window, the image is output in an optimal size selected
automatically from the available standard sizes in the [Paper size] pop-up menu.
However, depending on the document, the size of the saved image data may be
smaller than the original document or part of the image may be missing.
Example: When you scan an A5 size image printed in the middle of an A4 size
document, the scanned image is saved in A5 size.
To save the scanned image in its original size, specify the document size in the [Paper
size] pop-up menu.
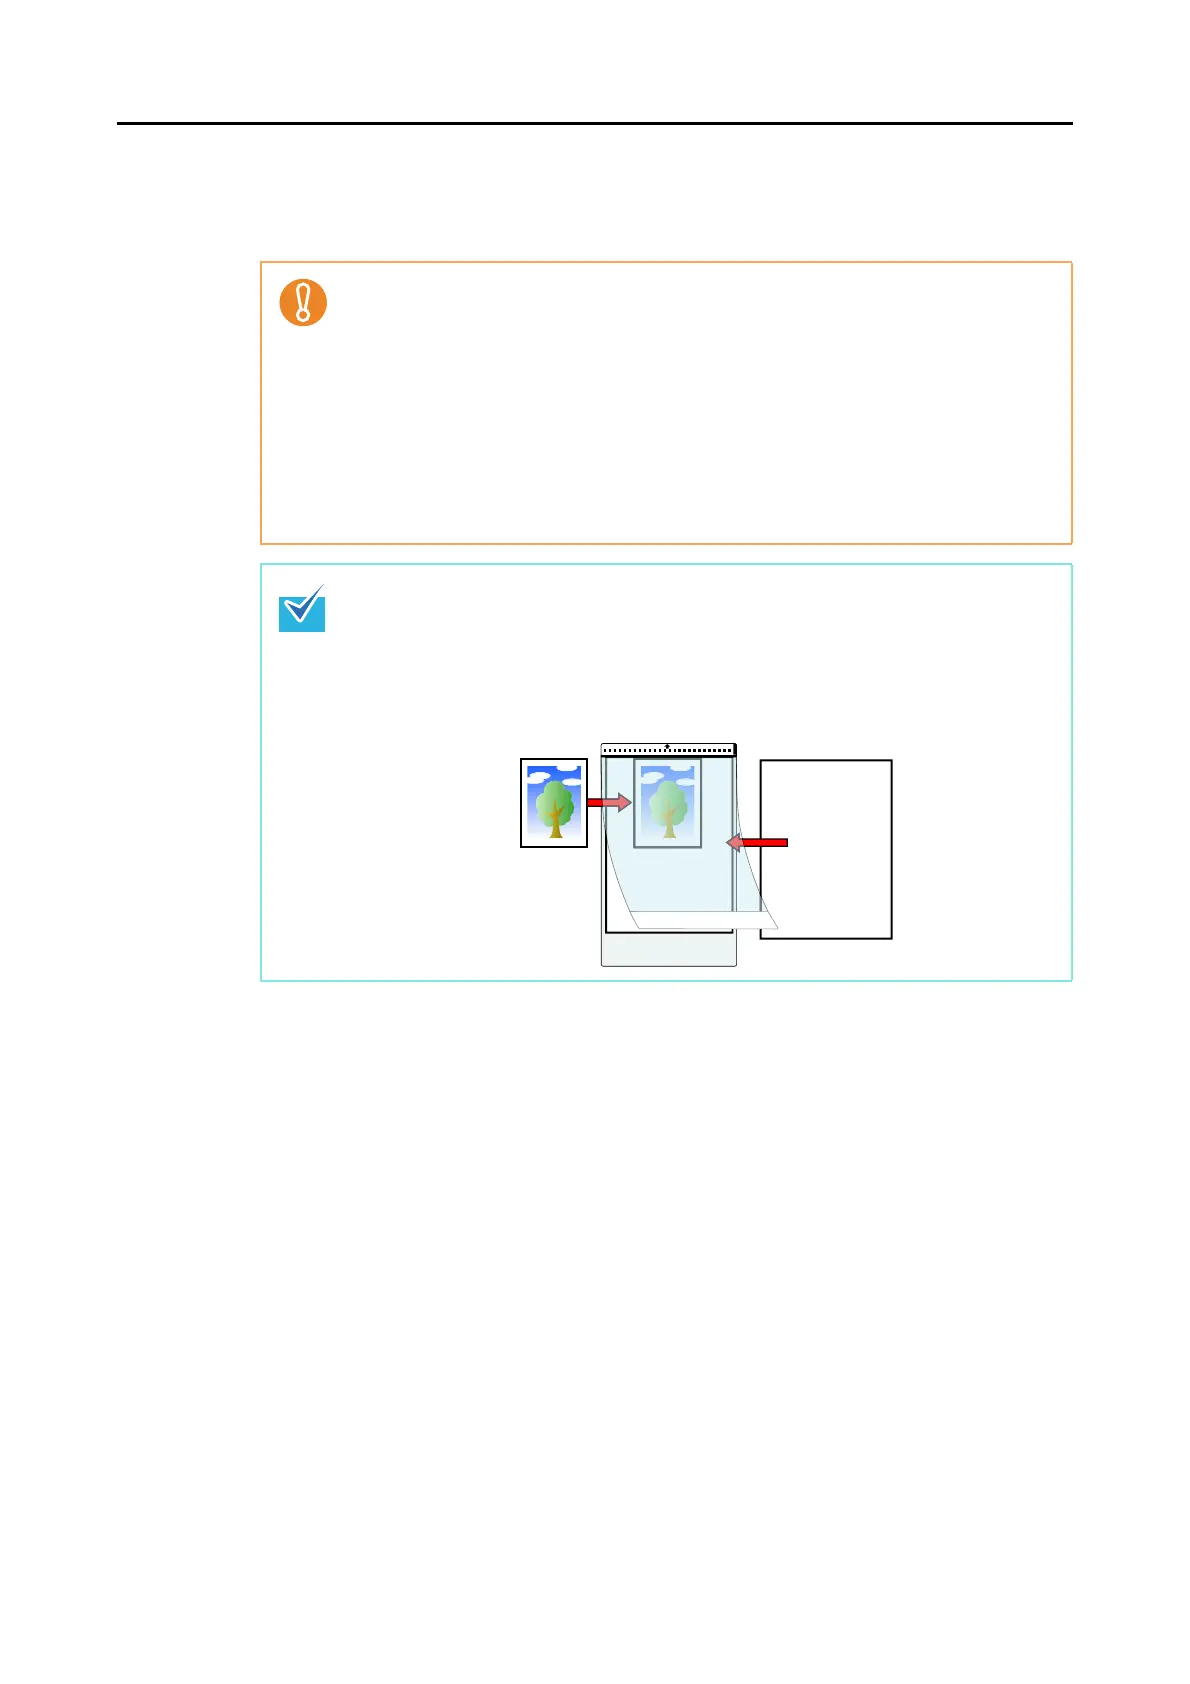
Place the document over a blank sheet if the following is observed:
z Scanned image is not saved in the same size as the document (when [Automatic
detection] is specified in the [Paper size] pop-up menu of the [Carrier Sheet Settings]
window)
z There are shadows around the edges of the scanned image
z There are black lines around the scanned image of a uniquely shaped cutting
 Loading...