GE HEALTHCARE
D
IRECTION 5305880-100, REVISION 3 LOGIQ™ 100 PRO SERVICE MANUAL
Page 3-14 Section 3-5 - Completing the Installation
Installation of LOGIQ™ 100 PRO with Global or Modular Trolley (Contd.,)
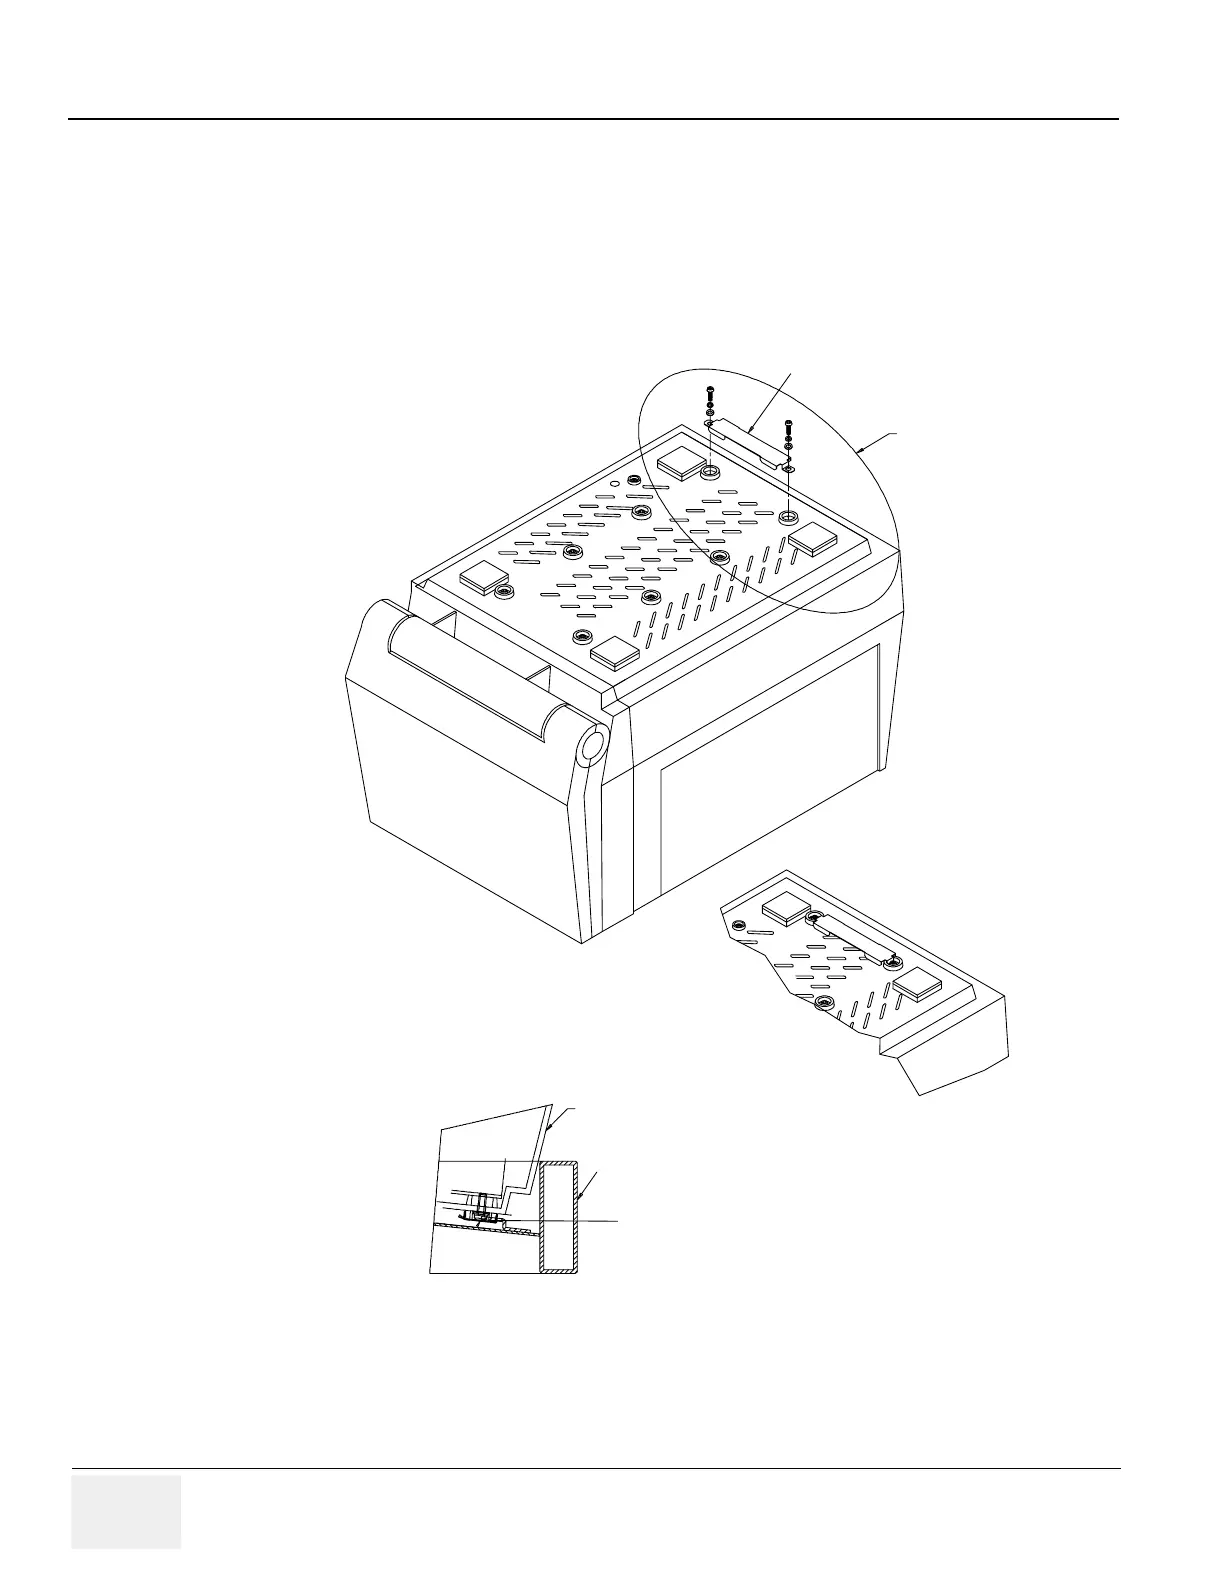
3.) Remove two M4X10 screws from the base ofLOGIQ™ 100 PRO and fix lock plate. Refer
Figure 3-11
4.) Place the unit with lock plate fixed on Trolley, ensure that lock plate gets into the projection on
the trolley. Refer
Figure 3-11
Figure 3-11 Installation of Trolley
Lock Plate
Detail X
Lock Plate
Console
Detail X
Trolley
Additional Details
State: RELEASE - Document is released and under formal Change Control. Changes are subject to the ECR/ECO Process.
See the GEHC Myworkshop System to determine the status of this document.
Approved Document - 5305880-100TPH_r3.pdf Page 59 of 197
 Loading...


