GE
D
IRECTION 5535208-100, REV. 2 LOGIQ E9 SERVICE MANUAL
Chapter 3 LOGIQ E9 Setup 3 - 73
3-9-4-10 Spooler
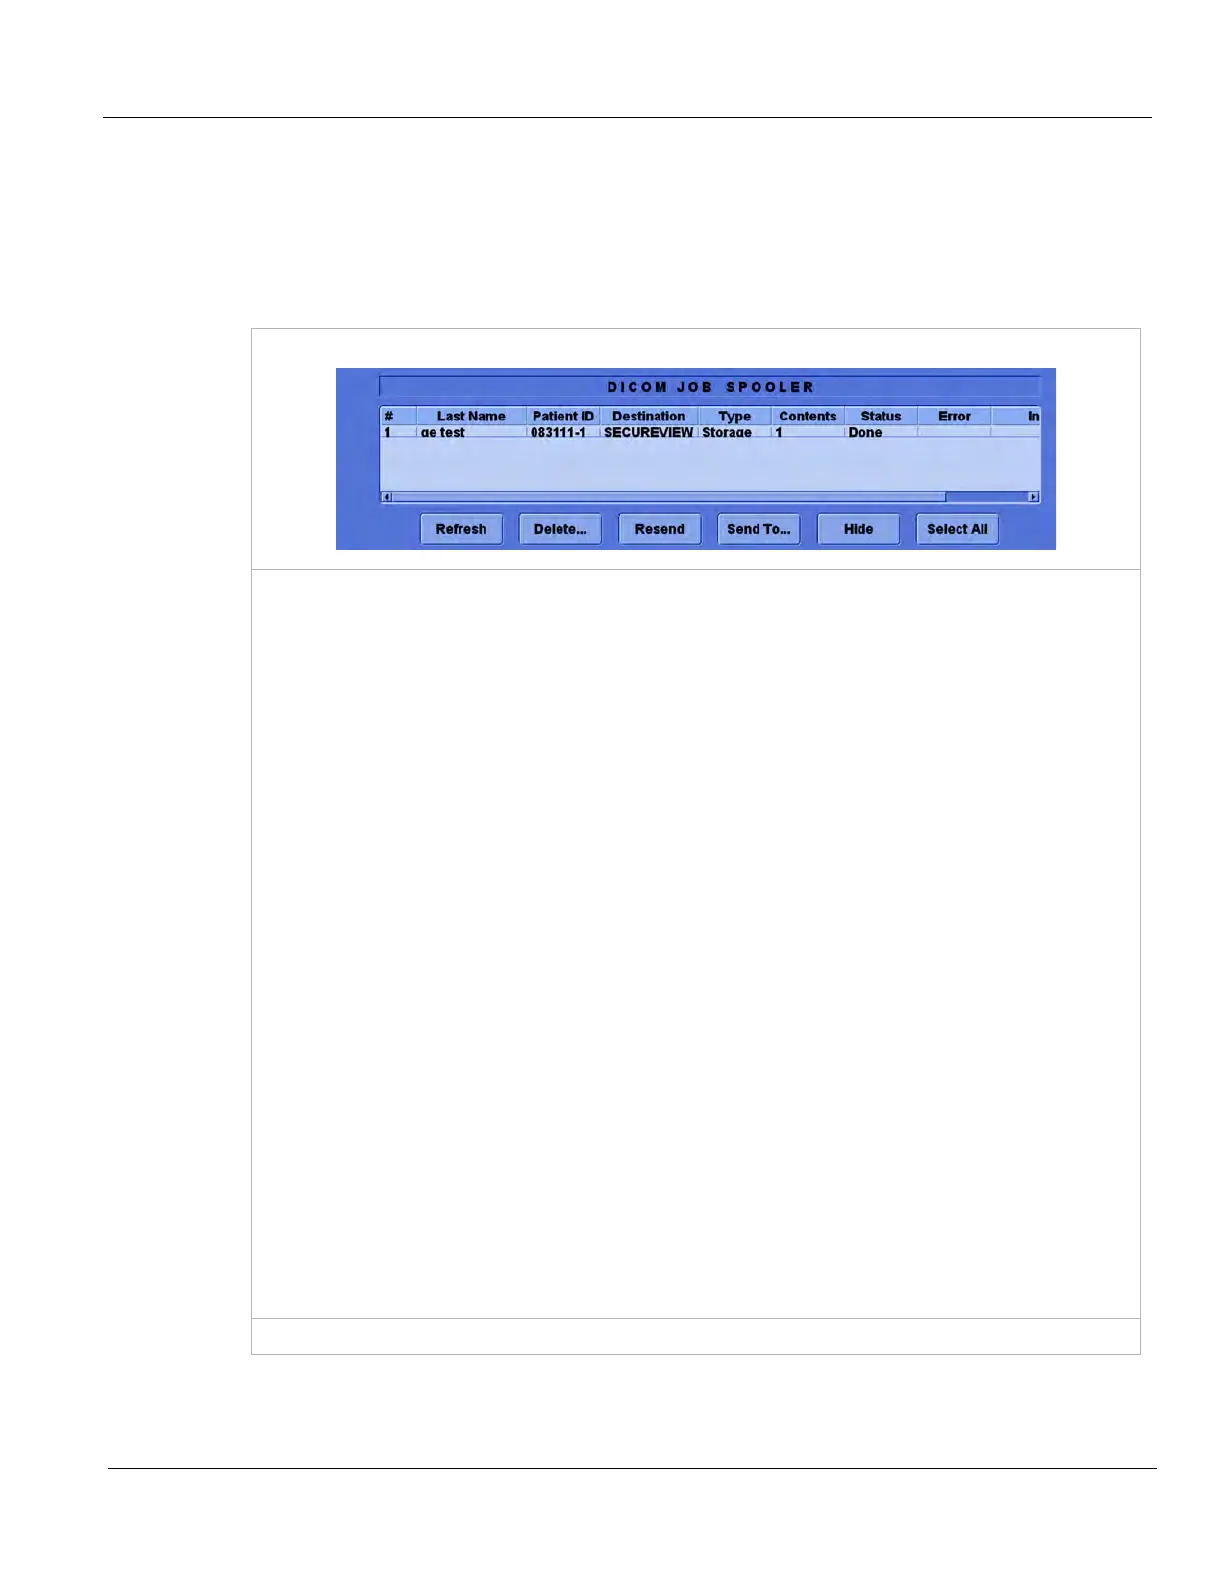
The DICOM Job Spooler shows all current and recent outgoing jobs performed by the . Outgoing jobs
involve objects sent to a remote service: images, Structured Reports, and Key Image Notes sent to a
PACS; print jobs to a DICOM printer; Storage Commitment to a PACS; and Modality Performed
Procedure Step to a Worklist service. They do not include incoming objects – namely, Worklist and Q/
R queries and transfers.
Table 3-28 Spooler
Dicom Job Spooler Display
Toggle F4 on the keyboard to alternately display and hide the Spooler.
The columns in the DICOM JOB SPOOLER display:
• # – job number
• Last Name and Patient ID – patient data
• Destination – name of service receiving the objects
• Type – object type: “Storage” for images, Structured Reports, and Key Image Notes; “STC” for
Storage Commitment; “MPPS” for Modality Performed Procedure Step
• Contents – number of objects being sent
• Status – Pending, Active, Hold, Done or Success, Failed
• Error – populated if the transfer fails
• Information – may contain general information
The buttons in the DICOM JOB SPOOLER display:
• Refresh – Refresh the status of jobs on the spooler
• Delete… – Select one or more jobs on the spooler and press Delete... to delete them. A pop-up
asks you to confirm your choice. (Successful jobs get deleted automatically after several minutes.)
• Resend – Select a single job and press Resend to send it to its original destination. If you select
more than one job, the Resend button is disabled.
• Send To… – Select a single job and press Send To... to send the job to any image storage or
print service set up on the LOGIQ E9. A pop-up presents a list of these services. If more than one
job is selected, the Send To… button is disabled.
• Hide – Same as F4: return to scan screen
• Select All – Selects all jobs in the list
NOTE: Data for a service, such as IP address, AE Title and Port #, become part of the job. If any are
incorrect, the job fails. If you correct the error, do not use Resend to try to send the job again. The
job file is not updated with the correct data and it will fail to transfer. Instead, return to the Exam View
tab, press Send To... and select the service or press "Send To" on the Spooler Display. This
replaces the old job file with one that has the correct data.
(continued on next page)