EasyManuals Logo

GE LOGIQ E9 Service Manual

GE LOGIQ E9
808 pages
To Next Page IconTo Next Page
To Previous Page IconTo Previous Page
Page #379 background imageLoading...
Page #379 background image
GE
D
IRECTION 5535208-100, REV. 2 LOGIQ E9 SERVICE MANUAL
Chapter 8 Replacement procedures 8 - 33
8-5-2-2 Side Covers removal
Table 8-5 Side Covers removal
Steps
Corresponding Graphic
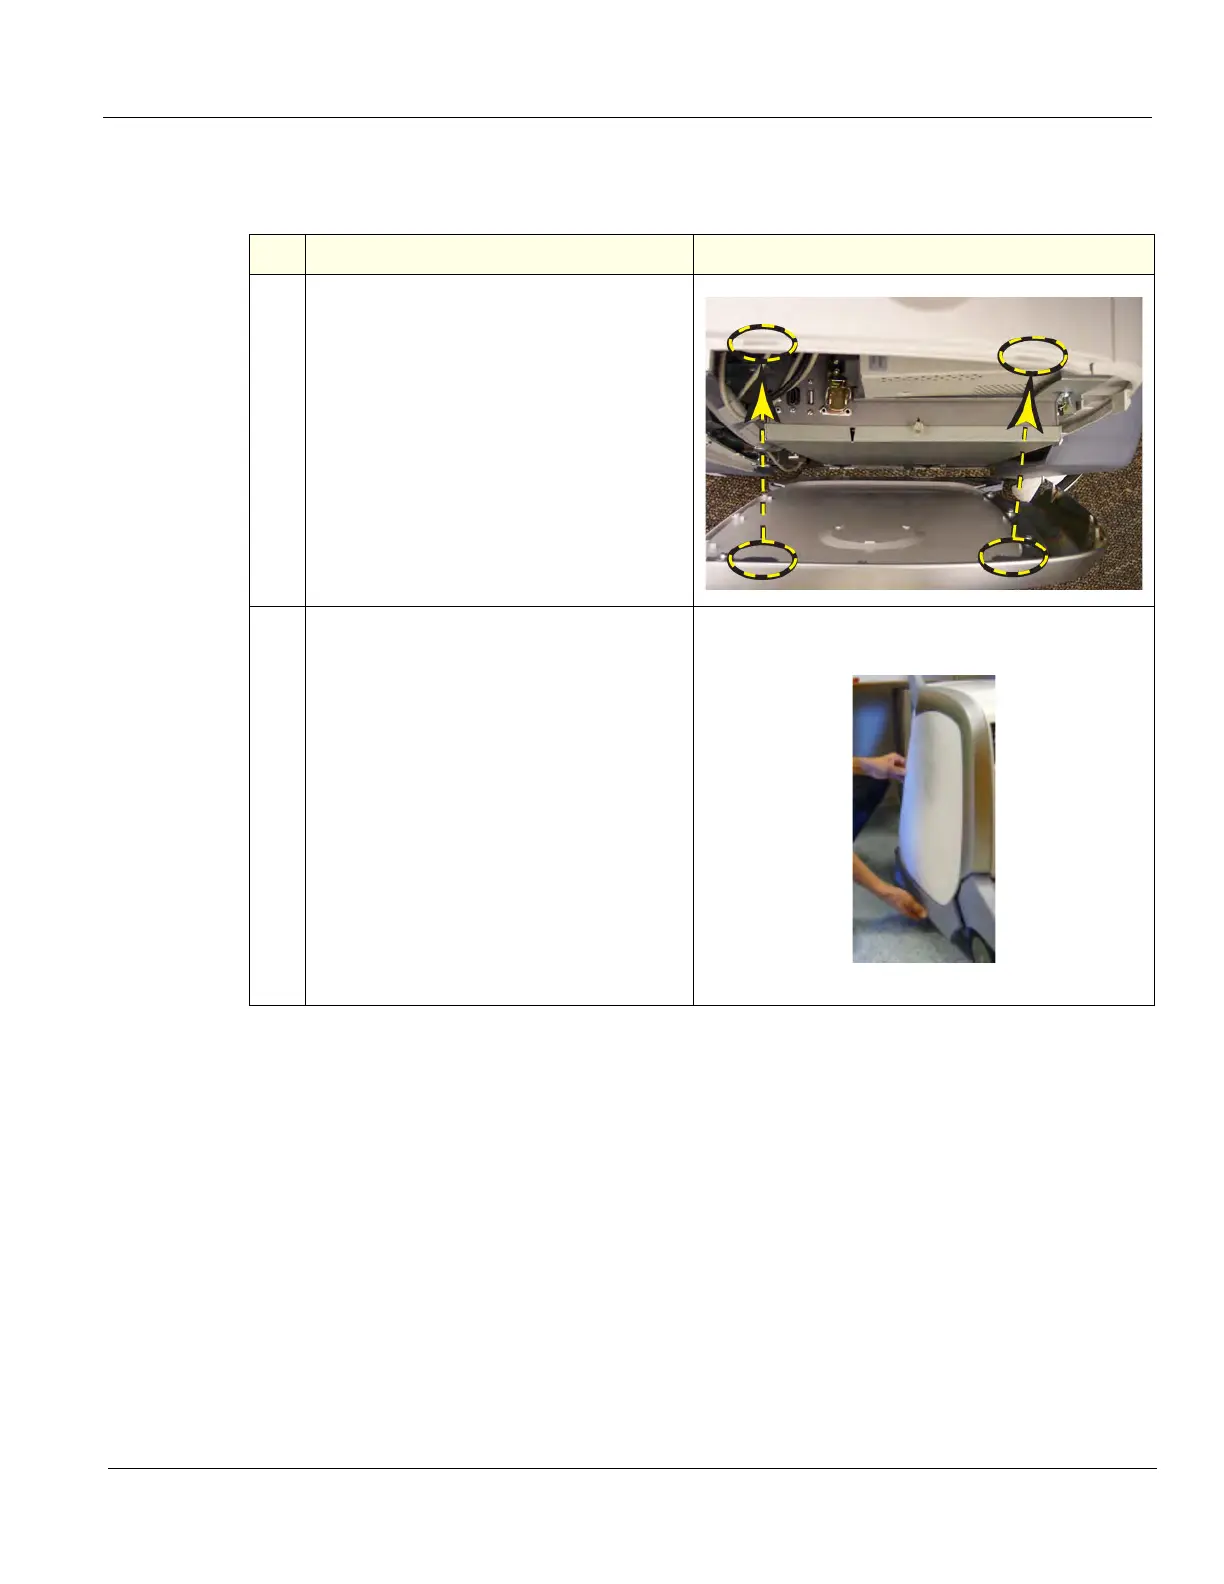
1. NOTE: If the left Side Cover was removed,
MAKE SURE to clear the BEP Fan(s)
intake(s) of any debris, before installing the
cover.
Align tabs at the top inside of the Side
Cover with the slots on the Top Cover.
Place the top edge of the Side Cover so it
hooks onto the Top Cover.
2.
Align and squeeze the front edge of the side
cover to latch it into place.
Position the Side Cover side lock first.
Position the Side Cover front lock.
Align and squeeze the bottom front of the
side cover to latch it into place.
Position the Side Cover rear lock, lifting up
the rear tab and guiding it into place.
Align and squeeze the bottom rear of the
side cover to latch it into place. Repeat
steps for the opposite side.

Table of Contents

Other manuals for GE LOGIQ E9

Questions and Answers:

Question and Answer IconNeed help?

Do you have a question about the GE LOGIQ E9 and is the answer not in the manual?

GE LOGIQ E9 Specifications

General IconGeneral
TypeUltrasound System
3D/4D ImagingYes
Transducer Ports4 active ports
ConnectivityDICOM, USB, Ethernet
ApplicationsAbdominal, Vascular, Musculoskeletal, Small Parts, Urology, Pediatric, Cardiac, Obstetrics/Gynecology
TransducersLinear, Convex, Phased Array, Volume
Doppler ModesColor Doppler, Power Doppler, Pulsed Wave Doppler, Continuous Wave Doppler
ElastographyYes
Advanced FeaturesB-Flow, Volume Navigation
PortabilityCart-based system
Display19-inch high-resolution LCD monitor

Related product manuals