EasyManuals Logo

GE LOGIQ E9 Service Manual

GE LOGIQ E9
808 pages
To Next Page IconTo Next Page
To Previous Page IconTo Previous Page
Page #383 background imageLoading...
Page #383 background image
GE
D
IRECTION 5535208-100, REV. 2 LOGIQ E9 SERVICE MANUAL
Chapter 8 Replacement procedures 8 - 37
8-5-3-1 Shear Wave Console Cover removal / installation
NOTE: Whenever the left Side Cover is removed, clear the BEP Fan(s) intake(s) of any debris.
Table 8-9 Shear Wave Console Cover removal / installation
Steps Corresponding Graphic
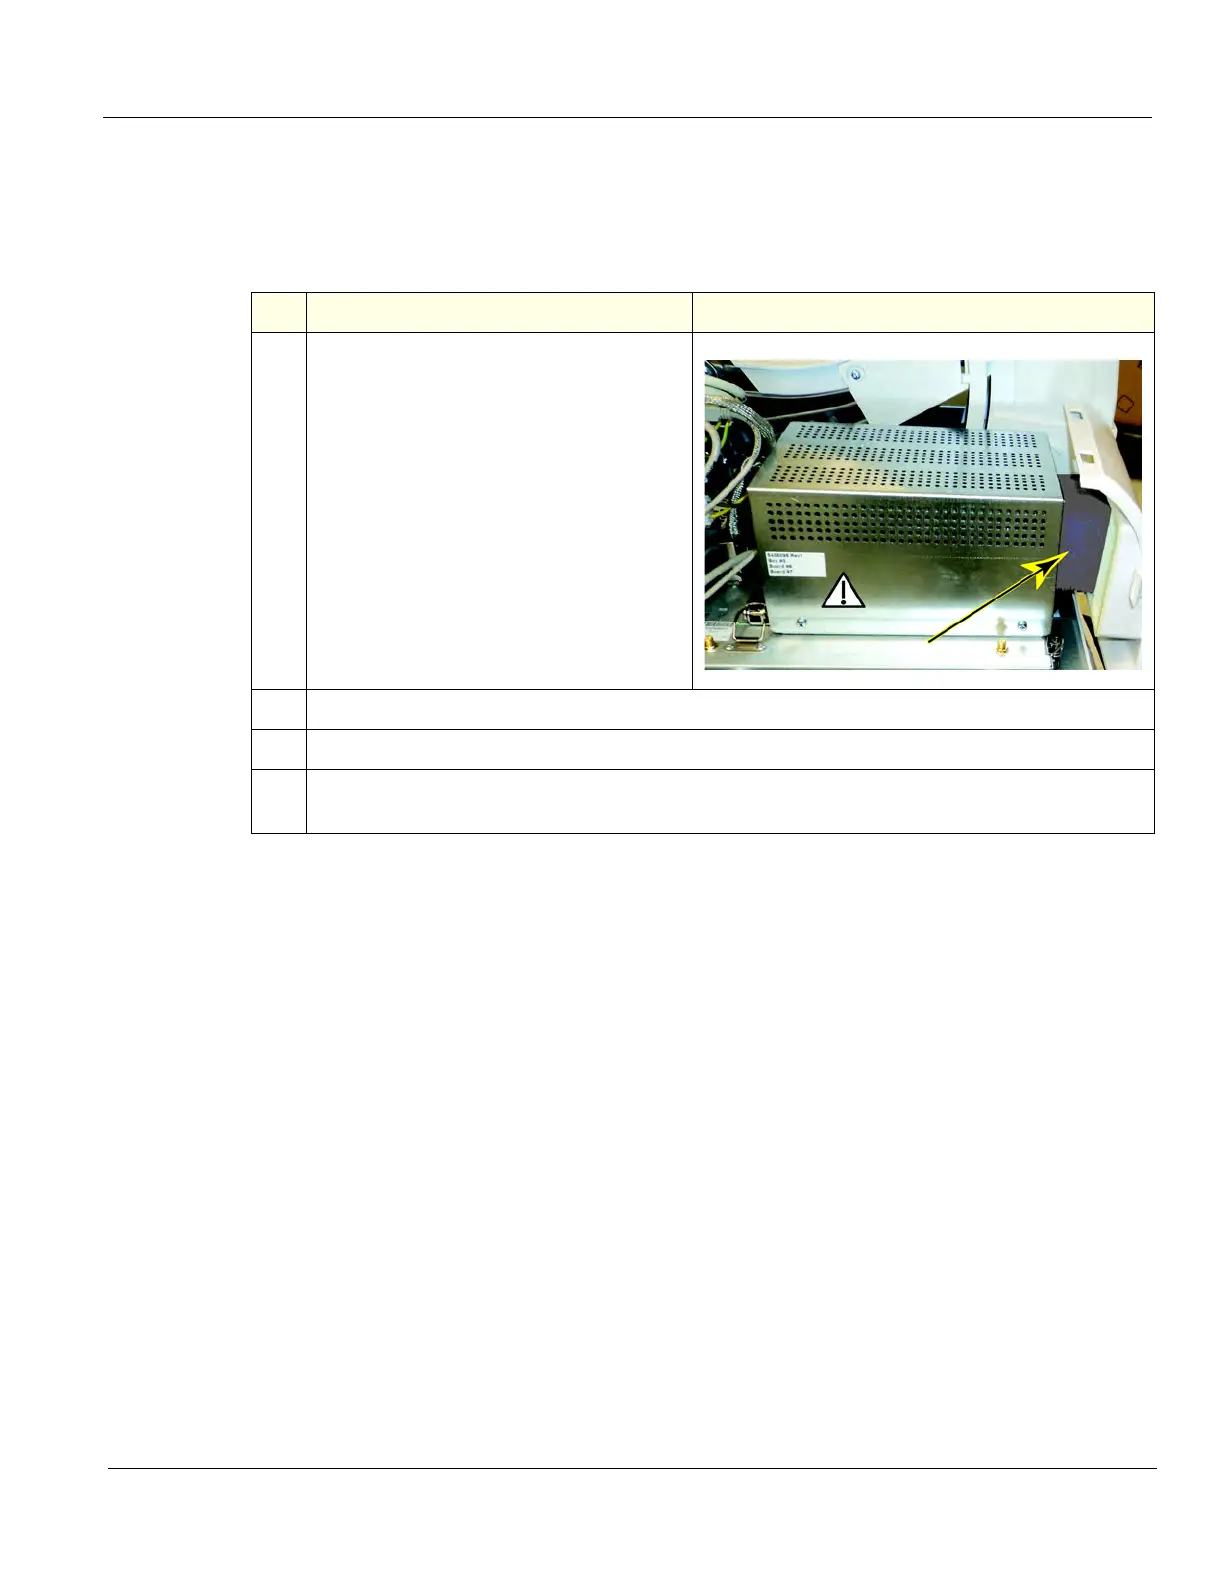
1.
Loosening the Top Cover or removing it will
allow the Front Cover to flex enough to
slide the Shear Wave Console Cover out.
Slide the Cover out.
2.
Reinstall the replacemnt Cover.
3.
Reinstall the Top Cover, if removed and the Side Cover.
4.
If the Top Cover was removed, perform Functional Checks. See: 8-5-4-3 - Calibration and
adjustments, 8-5-4-4 - Verification and 8-5-4-5 "Functional Checks" on page 8-40.

Table of Contents

Other manuals for GE LOGIQ E9

Questions and Answers:

Question and Answer IconNeed help?

Do you have a question about the GE LOGIQ E9 and is the answer not in the manual?

GE LOGIQ E9 Specifications

General IconGeneral
TypeUltrasound System
3D/4D ImagingYes
Transducer Ports4 active ports
ConnectivityDICOM, USB, Ethernet
ApplicationsAbdominal, Vascular, Musculoskeletal, Small Parts, Urology, Pediatric, Cardiac, Obstetrics/Gynecology
TransducersLinear, Convex, Phased Array, Volume
Doppler ModesColor Doppler, Power Doppler, Pulsed Wave Doppler, Continuous Wave Doppler
ElastographyYes
Advanced FeaturesB-Flow, Volume Navigation
PortabilityCart-based system
Display19-inch high-resolution LCD monitor

Related product manuals