GE
D
IRECTION 5535208-100, REV. 2 LOGIQ E9 SERVICE MANUAL
Chapter 8 Replacement procedures 8 - 91
8-6-2-2 LCD Monitor installation - R3.x and earlier
Table 8-57 LCD Monitor installation - R3.x and earlier
Steps Corresponding Graphic
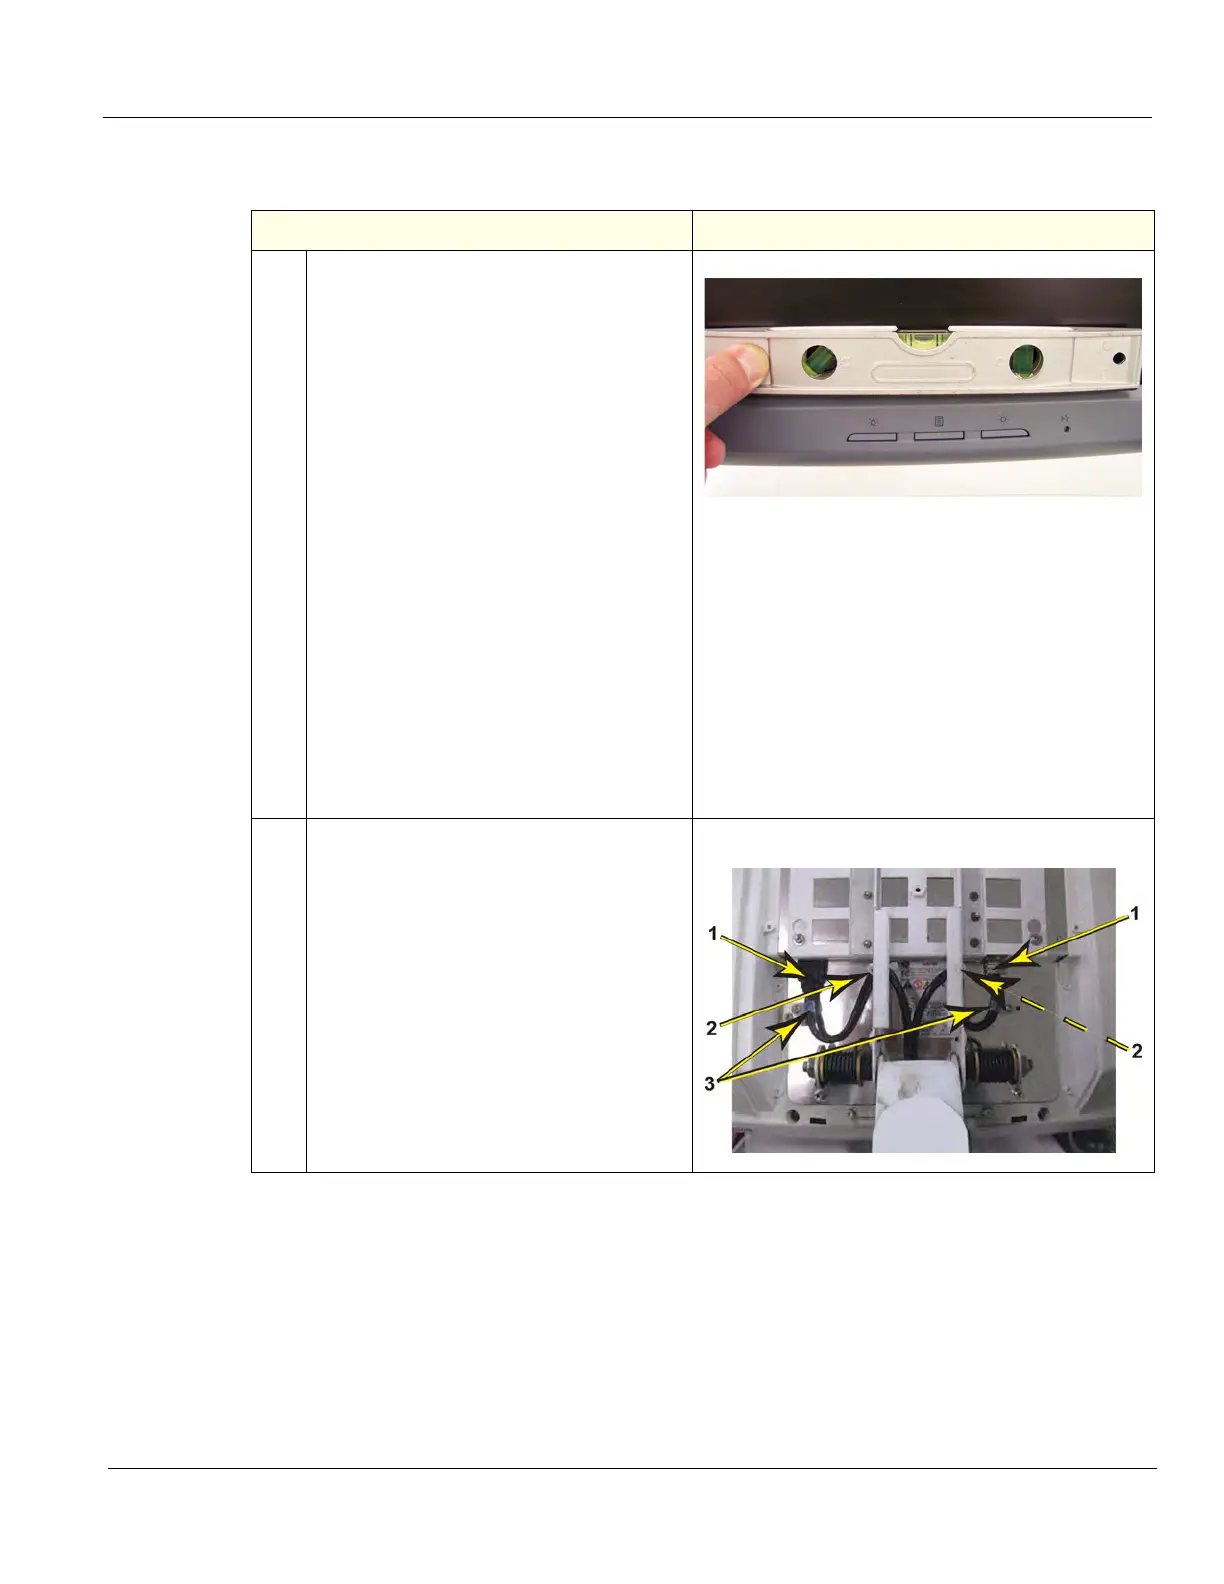
1.
NOTE: To ensure the LCD Monitor is
installed level with the system and before
tightening the four screws:
MAKE SURE:
- the system is on a level surface,
- the wheels are in-line,
- the LCD Monitor Arm Lock is LOCKED.
Check that the system is level.
Install the LCD Monitor assembly on the
Monitor Bracket. Verify that all four fixing
screws have engaged in their slots.
Place a level on the monitor (as shown).
Tighten the four screws, torque: 160 Ncm
{14.2 lbf-in}).
NOTE: If a level is not available, make sure
the Monitor is as square as possible with
the system, visually.
2.
Tilt the monitor to horizontal position.
Connect the cables (1).
If the cables were replaced the tie-wraps
(2) and cable clamps (3), if present.
Reinstall WLAN dongle, if device is
equipped with option.
NOTE: It is important to reapply a piece of
the “loop“ portion of Velcro to the WLAN
dongle when it is reinstalled into the new
monitor.
LCD Monitor Cables and Clamps