GE
D
IRECTION 5535208-100, REV. 2 LOGIQ E9 SERVICE MANUAL
8 - 288 Section 8-11 - Peripherals replacement
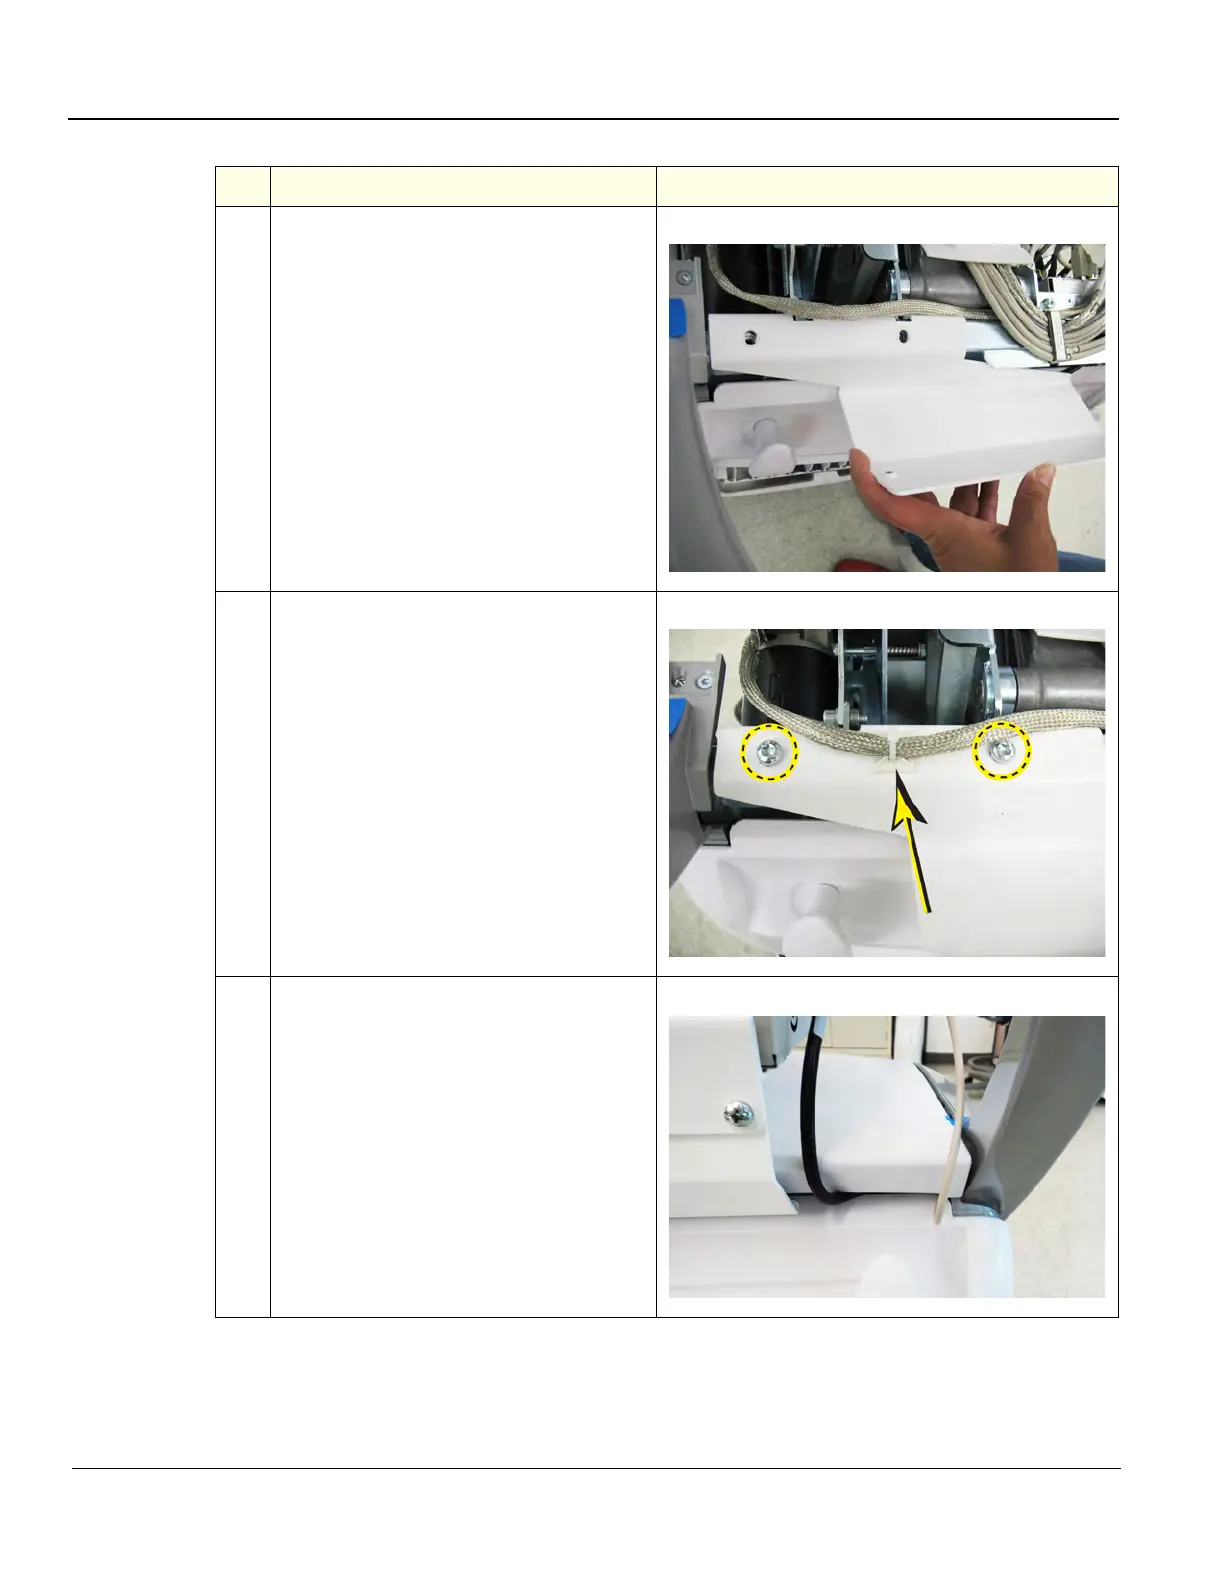
5.
Carefully position the Bracket - Printer
Mount onto the Z-Mech and begin to
reinstall one of the T30 torx screws with
one of the M6 External Toothed Lock
Washer, provided in the Kit.
6.
Reinstall the second T30 torx screw and
the second M6 External Toothed Lock
Washer, provided in the Kit. Torque 4.3 Nm
(3.2 lbf-ft {38 lbf-in}).
Remove the liner from the Cable Tie Mount,
position as shown and press, firmly into
place as shown.
Secure the Drive Gear Assembly power
cable to the Cable Tie Mount. Trim the
excess Cable Tie.
7.
Reinstall the Top Cover, but DO NOT install
the screws.
MAKE SURE the Printer USB and Power
Cables are routed properly (as shown) and
DO NOT get pinched.
Cables positioned correctly.
Table 8-180 Printer Bracket installation
Steps Corresponding Graphic