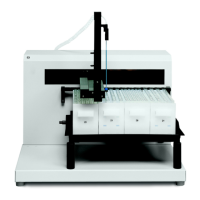
Installation
2
2-12 223 Sample Changer User’s Guide
Rear Panel Connections
Rear Panel Connections
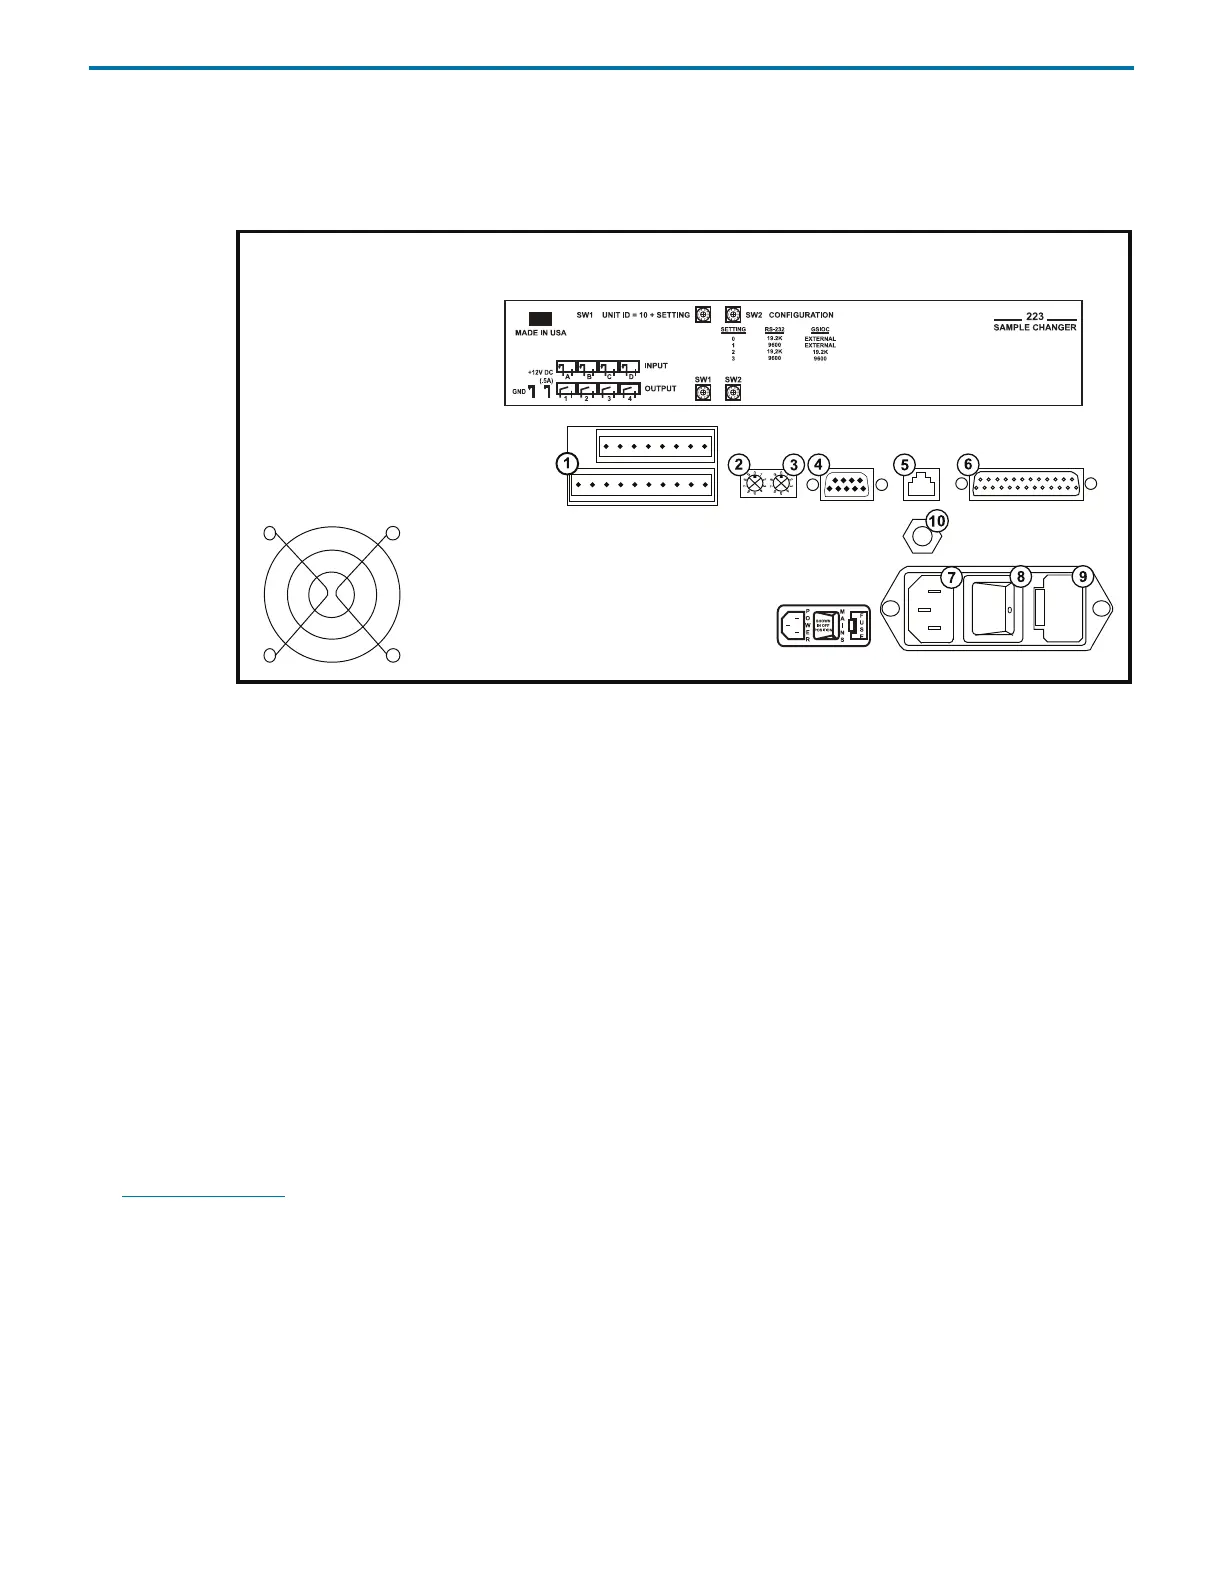
Rear Panel Diagram
1 Input/Output (I/O) contact ports
2 SW1 (unit ID) selector
3 SW2 (baud rate/configuration) selector
4 Gilson Serial Input/Output Channel (GSIOC) port
5 Keypad port
6 RS-232 port
7Power receptacle
8Power switch
9Fuse drawer
10 Keypad power
RS-232 Port
The RS-232 port is used to transfer information between the sample changer and a computer. For the location of the RS-232 port,
see Rear Panel Diagram
on page 2-12.
To connect your computer to the sample changer, you need an RS-232 cable.
Connect the RS-232 Cable
Attach the 25-pin, male end of the RS-232 cable to the RS-232 port located on the rear panel of the sample changer. Tighten the
retaining screws.
Connect the 9-pin, female end of the RS-232 cable to the computer’s RS-232 serial communications port. Tighten the retaining
screws.
 Loading...