Installation
2
2-20 Gilson GX-271 Liquid Handler User’s Guide
Rear Panel Connections
Connecting GSIOC Modules
If you are connecting more than one GSIOC module, you will need an additional GSIOC cable (part number 36078143) for each
additional module.
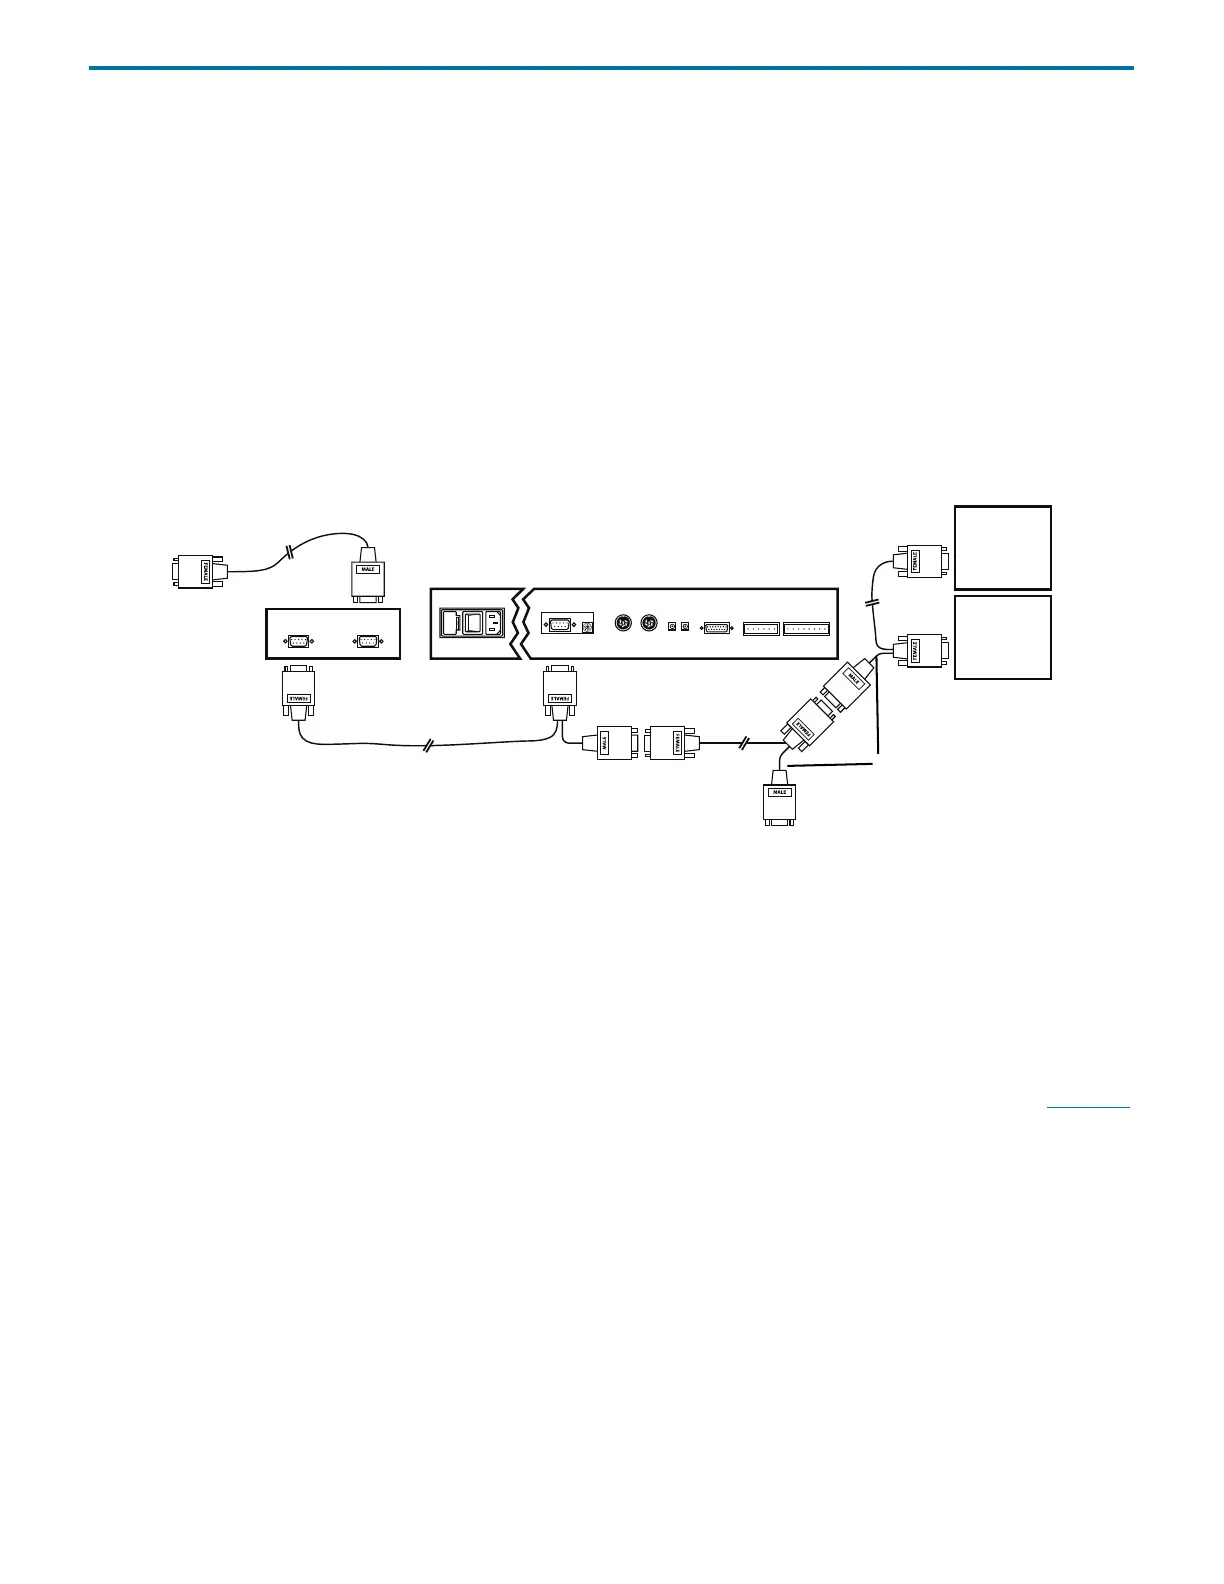
1 Attach the female connector of the GSIOC cable (located individually at one end of the cable) to the male connector of the
GSIOC cable that is attached to the liquid handler. Tighten the retaining screws.
2 Attach the female connector (located on the same end as the male connector) to the GSIOC module. Tighten the retaining
screws.
Note: The remaining male connector of the GSIOC cable (currently attached to the GSIOC module) is used to connect
additional GSIOC modules.
3 Attach the female connector of the GSIOC cable (located on the same end as the male connector) to the male connector of
the GSIOC cable currently attached to the GSIOC module. Tighten the retaining screws. Repeat step 3 for each additional
module.
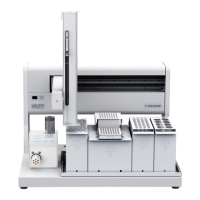
Figure 2-39: Connecting Multiple GSIOC Modules
Unit ID
The unit ID identifies the liquid handler to software packages that can issue GSIOC commands to the liquid handler.
The unit ID is set to 20. There is no need to change this number unless it has been assigned to another Gilson instrument that is
also connected along the GSIOC.
To change the unit ID:
1 Gently insert a small flat-blade screwdriver into the unit ID selector on the rear panel and turn it. See rear panel on page 2-15
.
2 Align the white dot with one of the indicated numbers. The unit ID is 20 plus the selected number.
GSIOC cable
GSIOC
module
GSIOC
module
GSIOC
GSIOC
RS-232
RS-232 cable
liquid handler
to
computer
GSIOC cable



 To Next Page