68 GMC-I Messtechnik GmbH
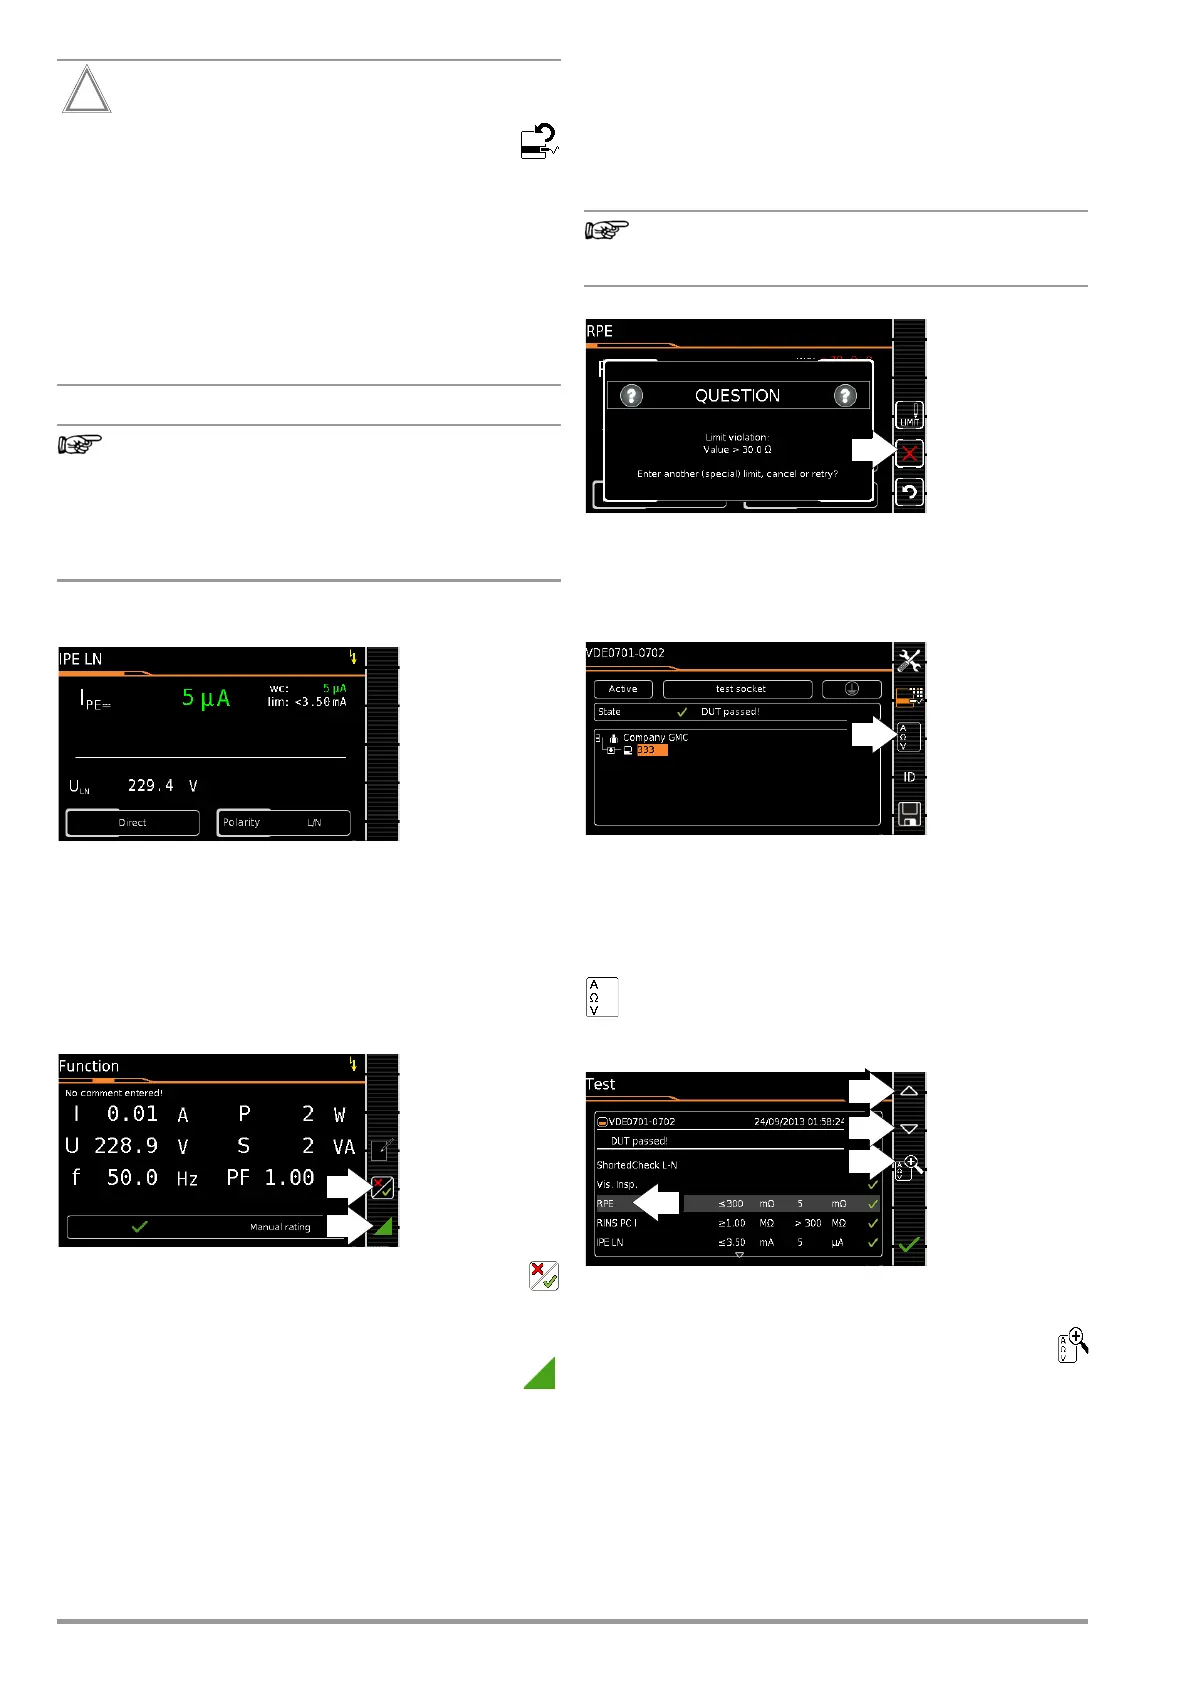
Limit value violation
If the measured value appears red at the display,
a limit value has been violated. If you nevertheless
start the evaluation procedure, an error message ap-
pears. You have the option of repeating the evaluation
procedure.
If Continue is selected for the “Limit Violation” option in
SETUP (Auto Measurements 2/3), the test instrument
continues testing despite any limit value violations. In this
case, the device under test is operated with line voltage
despite any insulation faults or the like. Make sure that
the device under test is secured, in particular against
contact during the testing process.
Regarding the test sequence in switch position A6/A7:
Section 5.2 of DIN EN 60974-4expressly stipulates that
the cables have to be bent and twisted over their entire
length during the measurement, in particular in proximity
to the cable glands, in order to be able to detect any
interruptions of the protective conductor.
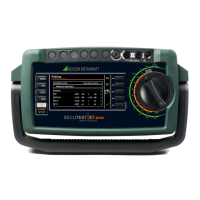
Test Steps with Automatic Evaluation (R
INS
, I
PE
)
The measured value is ascertained automatically within a speci-
fied period of time. The evaluation cycle is visualized as follows:
the progress bar starts at the left-hand edge of the display and
moves to the right. When it reaches the rightmost position, evalu-
ation has been completed. The test sequence is then automati-
cally resumed.
Manual Evaluation of the Function Test
(prerequisite: “function test” sequence parameter is preset to “on”.
➭ Evaluate the function test:
➭ If you mark the function test as not passed with the
softkey shown at the right, the sequence is aborted and the
test is evaluated as not passed.
➭ If you evaluate the function test as passed, you can
simply continue with the test sequence.
In either case you can enter a comment, which can be
subsequently edited as well.
10.9 Setting Limit Values Manually
If “Expert” is selected instead of “Normal” in setup under “Auto
Measurements” in the “Limit Value Mode” submenu, the LIMIT
softkey appears next to the “measurement failed” popup. This key
makes it possible to enter a user-defined limit value (as a rule a
limit value specified by the manufacturer which deviates from the
standard):
Selecting “Continue” or “Try Again” rules out the possibil-
ity of entering a limit value.
10.10 Ending the Test Sequence
“Sequence finished” appears at the display.
Initial Display (memory screen)
Display of the memory screen depends on the setting in the setup
menu in the SETUP switch position:
Setup 1/3 > Auto Measurements > At End of Sequence > “Mem-
ory Screen”.
If set to Results list, the above display is skipped and the results list
shown below is displayed.
You can also access the results list by pressing the key
shown at the right.
Results List Display
➭ Select the desired test step with the scroll keys.
➭ If you want to view details for the selected test step, press
the magnifying glass+ key.
➭ You can still select from amongst 3 report views (see below).

 Loading...