Knife sharpener MS 100
Operation
20
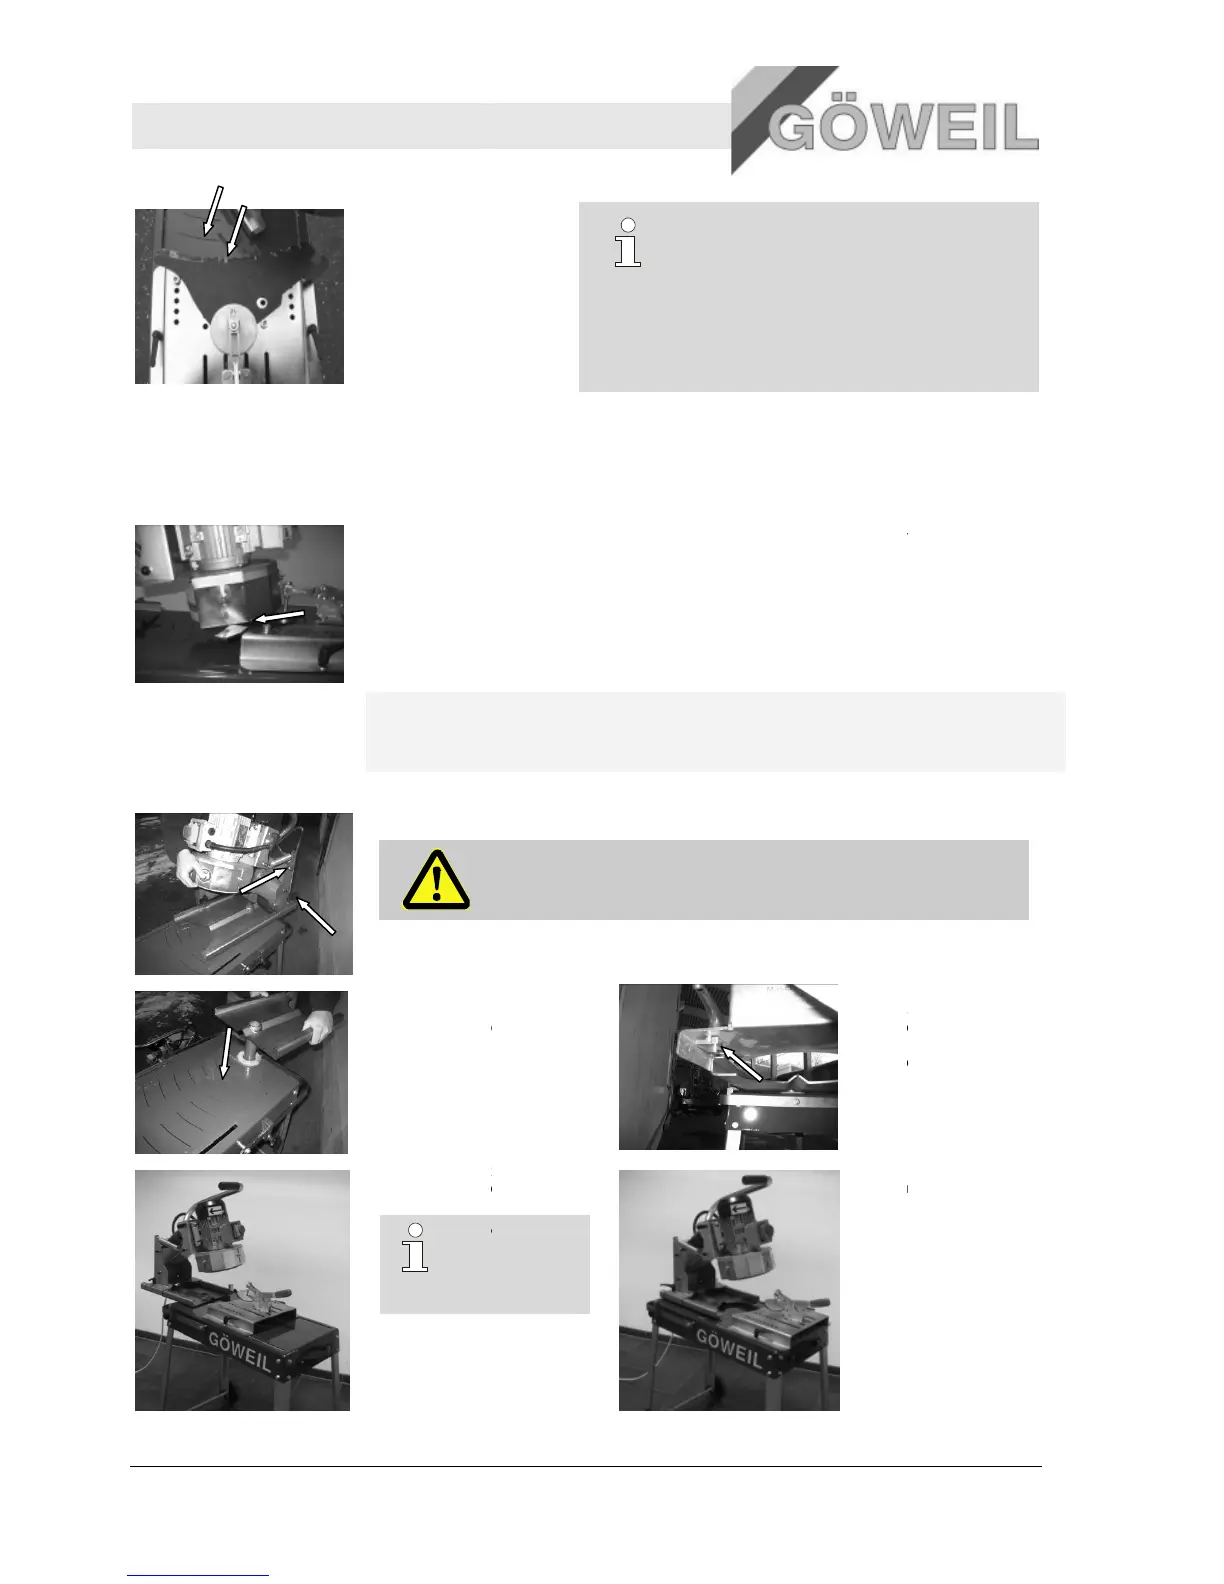
Adjusting the grinding unit
Pos: 7.18 /KN2006-SM /Bedienung/0 07 1.1 Stillsetze n im Notfall --> A nlage und grösser e Maschine @ 9\mod_11444 32835796_1.doc @ 86788
Adjust the grinding unit so that the cup grinding wheel is exactly in the center of the access (see
Also make sure that the curved
device and rests safely against the end stop bolts.
The distance between the safety plate of the cup grinding wheel and the curved
In order to be able to grind both ver
the grinding unit by 180°.
To do so, perform the following steps:
Loosen the clamping lever and slide the entire grinding unit to the back before taking it off.
Lift the rotary unit out of
180°. Reinsert the rotary
unit. From the rear, slide
the grinding unit back onto
adjusting it and fixing it in
Position of the rotary unit
We recommend that you mark the outline of the
back edge on the adjusting plate. This will later
make it easier to position the
Adjusting the grinding unit
Adjust the grinding unit so that the cup grinding wheel is exactly in the center of the access (see
Also make sure that the curved
is securely clamped into the horizontal clamping
device and rests safely against the end stop bolts.
The distance between the safety plate of the cup grinding wheel and the curved
In order to be able to grind both ver
y small and very large radii, you can turn the rotary unit of
the grinding unit by 180°.
To do so, perform the following steps:
Loosen the clamping lever and slide the entire grinding unit to the back before taking it off.
taking off the grinding unit, make sure it does not slip out of your
Lift the rotary unit out of
180°. Reinsert the rotary
unit. From the rear, slide
the grinding unit back onto
adjusting it and fixing it in
Position of the rotary unit
We recommend that you mark the outline of the
back edge on the adjusting plate. This will later
Adjust the grinding unit so that the cup grinding wheel is exactly in the center of the access (see
is securely clamped into the horizontal clamping
The distance between the safety plate of the cup grinding wheel and the curved
y small and very large radii, you can turn the rotary unit of
Loosen the clamping lever and slide the entire grinding unit to the back before taking it off.
taking off the grinding unit, make sure it does not slip out of your
 Loading...