Knife sharpener MS 100
Operation
22
Get to know all elements of the
carefully before placing the machine in operation!
Great starting torque of the
when turning the machine on.
s must not be changed unless the cup grinding wheel is at a standstill.
sharp and hot! GREAT RISK OF INJURY!
6.8.1
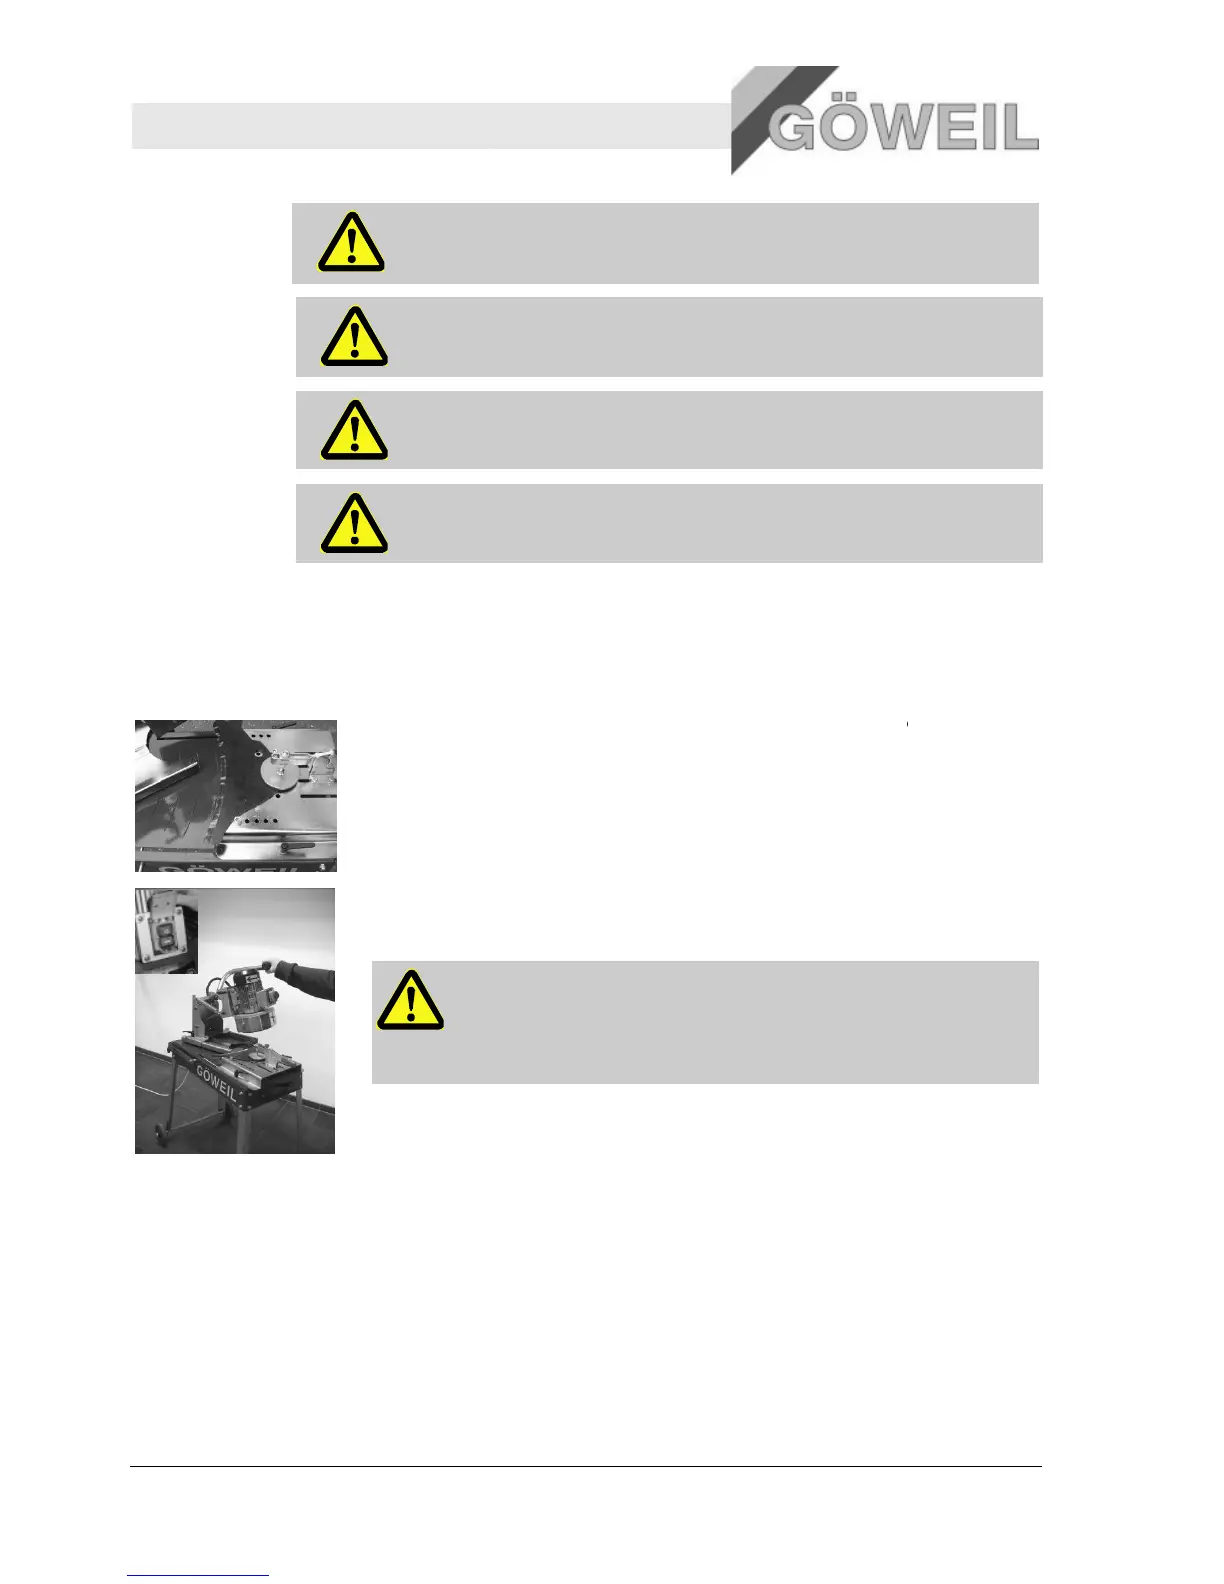
6.8.1 Operating sequence
Follow this sequence when sharpening different
Also make sure that the curved
device and rests safely against the end stop bolts.
Position and securely clamp the curved
Also make sure that the curved
device and rests safely against the end stop bolts.
Use the green switch (I) on the emergency stop button to turn the motor on while
Repeat the grinding process until the
Switch the electric motor off, wait until the cup grinding wheel has come to a standstill, remove
, item 6.4 "Positioning curved
Get to know all elements of the
sharpener and read the operating manual
carefully before placing the machine in operation!
Great starting torque of the
electric motor. Therefore, hold on to the operating handle
when turning the machine on.
s must not be changed unless the cup grinding wheel is at a standstill.
surface when the grinding process is complete as it is very
sharp and hot! GREAT RISK OF INJURY!
Follow this sequence when sharpening different
Also make sure that the curved
is securely clamped into the horizontal clamping
device and rests safely against the end stop bolts.
Position and securely clamp the curved
, item 6.4 "Positioning the curved
Also make sure that the curved
is securely clamped into the horizontal clamping
device and rests safely against the end stop bolts.
Use the green switch (I) on the emergency stop button to turn the motor on while
knife using regular right-left movements!
Do not apply too much grinding pressure! Using too much grinding
pressure will decrease the grade of the knife
grinding surface).
Watch out for flying sparks!
Repeat the grinding process until the
knife is fully sharpened!
Switch the electric motor off, wait until the cup grinding wheel has come to a standstill, remove
and clamp in the next knife
to be sharpened following the instructions on
, item 6.4 "Positioning curved
sharpener and read the operating manual
electric motor. Therefore, hold on to the operating handle
s must not be changed unless the cup grinding wheel is at a standstill.
surface when the grinding process is complete as it is very
is securely clamped into the horizontal clamping
, item 6.4 "Positioning the curved
is securely clamped into the horizontal clamping
Use the green switch (I) on the emergency stop button to turn the motor on while
Do not apply too much grinding pressure! Using too much grinding
Switch the electric motor off, wait until the cup grinding wheel has come to a standstill, remove
to be sharpened following the instructions on
 Loading...