Repair
310648P 39
Piston and Purge Rod
Spacer (61) is optional. For more forward travel of
piston, remove spacer. Using spacer (61) elimi-
nates “spitting” when gun is closed. Removing
spacer (61) allows purge rod to travel further for
more efficient purging.
1. Follow Pressure Relief Procedure, page 19.
2. Flush Gun, page 24.
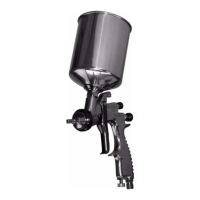
3. Disconnect air (D) and remove fluid manifold (G).
4. Disassemble Front End, page 30.
5. Unscrew purge rod stop (15) to remove piston
safety lock assembly. Inspect o-rings (14, 18) in
place.
TI4968b
G
D
15
14
TI3847a
18
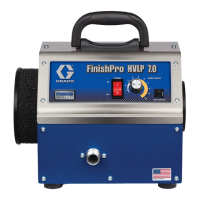
6. Pull purge rod to remove piston (32). Inspect pis-
ton o-ring (16) and shaft o-ring (19).
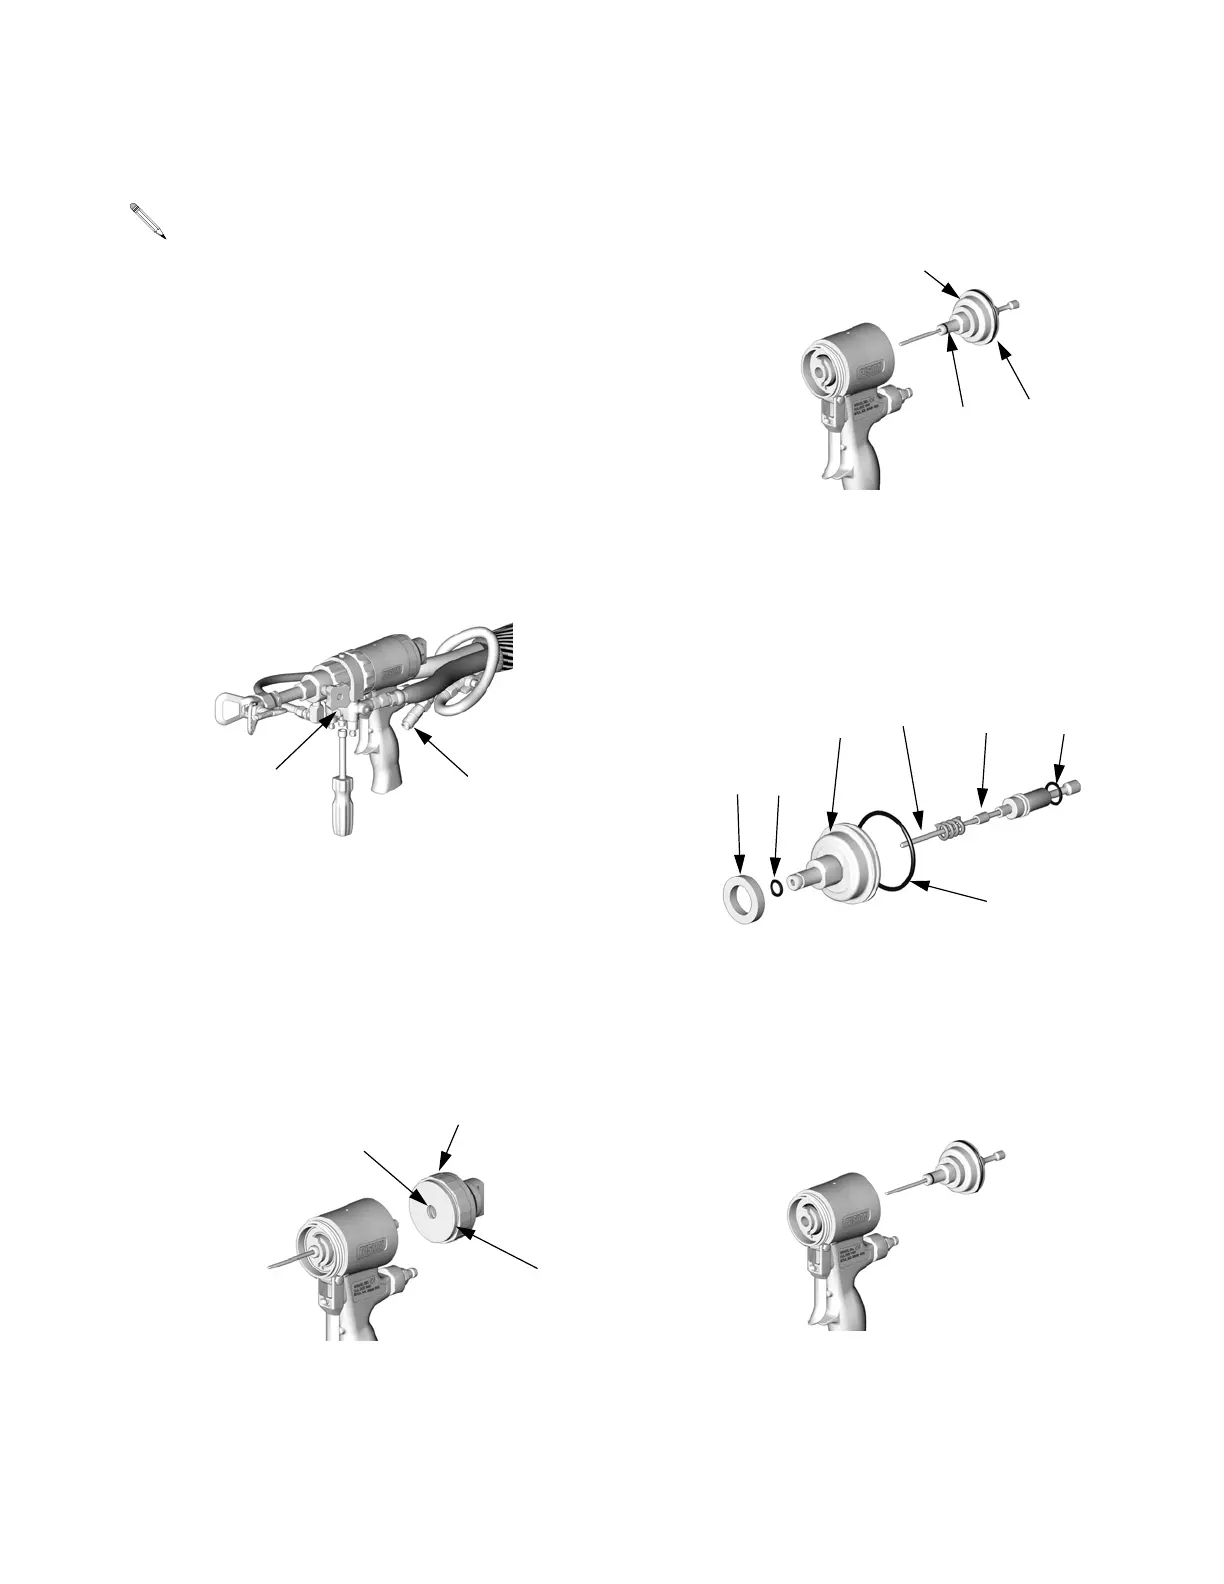
7. Inspect purge rod (31) for scratches or damage.
Unscrew rod from piston with nut driver. Inspect
o-ring (18). Liberally lubricate with Fusion Gun
Lubricant. To reassemble, thread purge rod (31)
into piston (32) until rod stops. Spacer (62) acts as
a positive stop.
8. Liberally lubricate piston o-rings. Install spacer (61)
onto piston assembly. Reinstall piston. Shaft is
keyed for proper assembly. Push firmly to seat pis-
ton. Rotate piston/purge rod assembly clockwise
with nut driver until piston is fully seated.
16
19
32
TI4988a
18
31
TI3848a
16
32
19
61
62
TI4988a