Wall and Ceiling Mount Installation
GWN7610 can be mounted on the wall or ceiling, please refer to the following steps for the appropriate
installation.
Wall Mount
Step1:
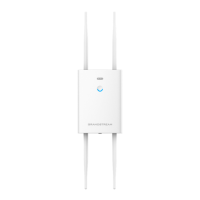
Position the mounting bracket at the desired location on the wall with
the arrow pointing up.
Step 2:
Use a pencil to mark the four mounting holes (screw holes DIA 5.5mm,
reticle hole DIA 25mm).
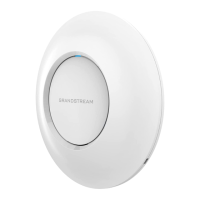
Step 3:
Insert screw anchors into the 5.5 mm holes. Attach the mounting
bracket to the wall by inserting the screws into the anchors.
Step 4:
Connect the power cable and the Ethernet cable (RJ45) to the correct
ports of your GWN7610.
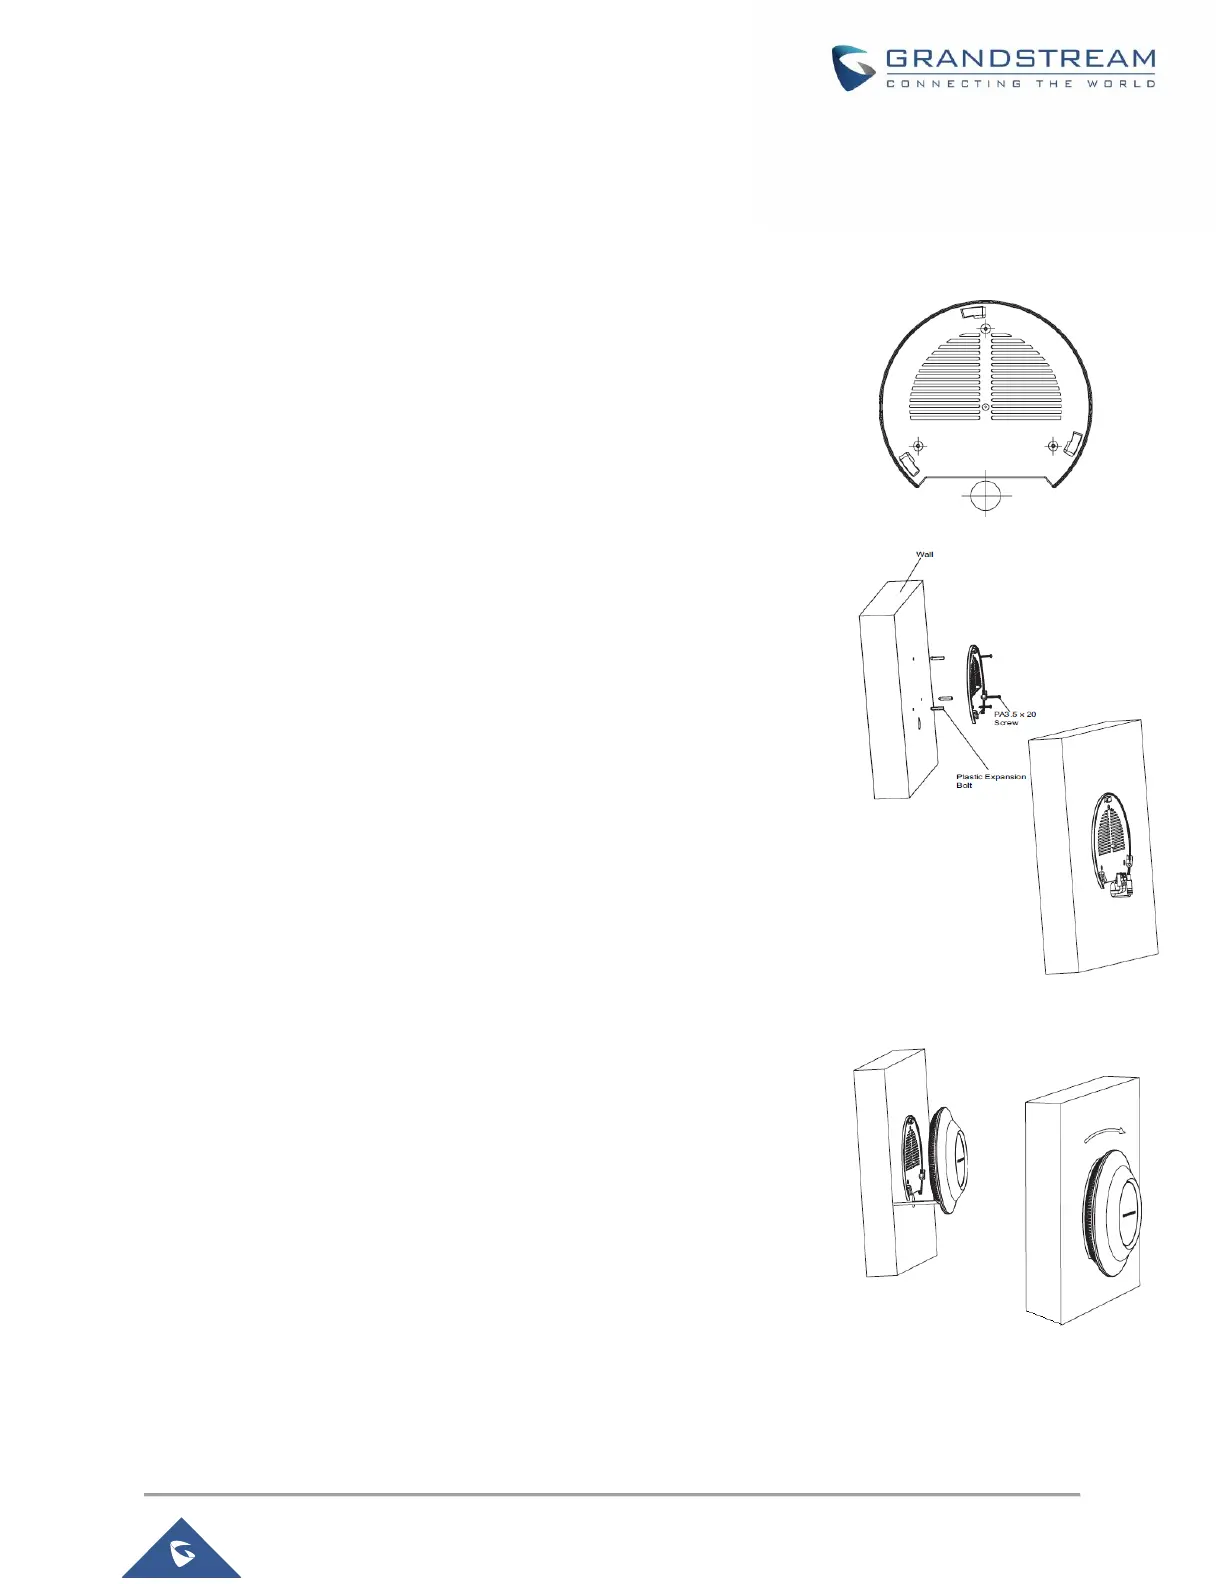
Step 5:
Align the arrow on the GWN7610AP with the arrow on the locking tab
of the mounting bracket and ensure that your GWN is firmly seated on
the mounting bracket.
Step 6:
Turn the GWN clockwise until it locks into place and fits the locking
tab.

 Loading...