Wearing rubber gloves goggle to protect yourself from the ink
Shutdown the spray function
Turn off all the valves except the valves of the printhead, which needs to be
exhausted and adjust the pressure to a value of -1.0kPa.
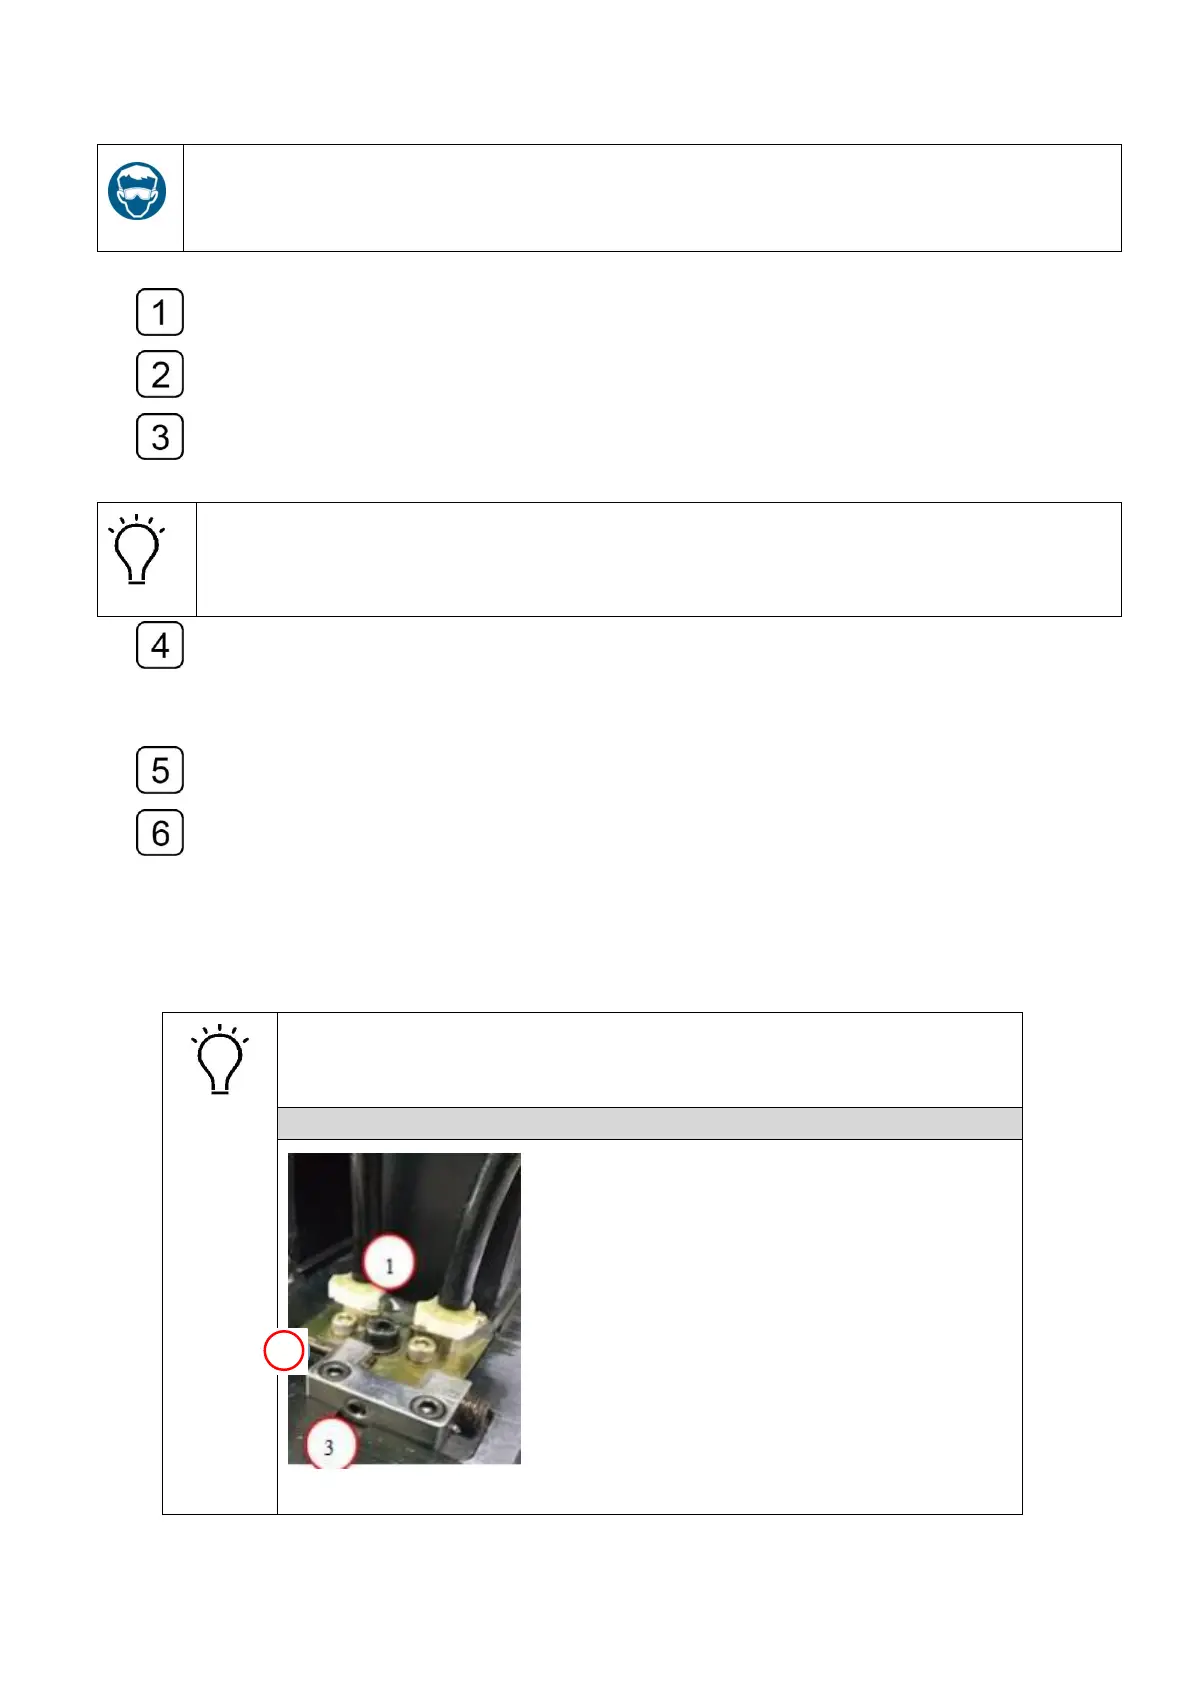
Loosen the cap of the air exhaust tube of the printhead, and press the ink prime
button till you see a constant ink stream comes out of the tube. Then seal the tube
with the cap.
The operation must not exceed 3 seconds so as to avoid the generation of bubbles. If
the system alert occurs, click the “reset” and continue the exhausting operation when
the alert ceases
Execute the exhaust on each printhead as the operations described above.
When finishes exhaust operation, adjust the pressure to a value of -3.5kPa and
turn on all the valve, press the prime button till you see the ink comes out of the nozzles
of each printhead.
Use the lint-free towel to wipe up the ink residues on the nozzles surface.
Print a “nozzle test” and check the status of the nozzles.
4.11 Printhead calibration and alignment
The operations of the Printhead Calibration and Alignment consist of
physical alignments (Horizontal and Vertical directions), Left/Right
Direction Offset, Bi-directional Offset and Stepping calibration.