38 IT 1002 Order No BA 93-66-1206 Issue 03.11.08
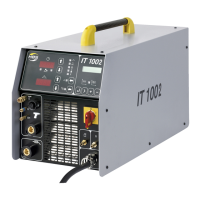
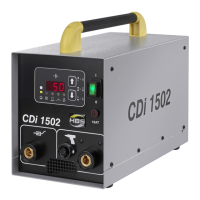
5.6.5 Electrode Mode
You can switch the power unit to electrode mode.
Simultaneously press both arrow keys (welding current ⇓ lower ⇑ higher) for
about one second. The display welding time shows EL.
You can pre-select the welding current (from 50 to 400 A) with both arrow keys
(⇓ lower ⇑ higher).
If you touch the work piece with the electrode, the power unit is switched on.
If you switch the power unit off and on, the power unit is
automatically reset to stud welding.
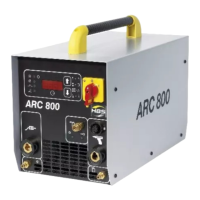
5.6.6 Adjusting the Stud Feeding Time (Blow Time)
If you are working in automatic mode, you must adjust the blow time. Use the
display to set the feeding time (blow time).
Adjust the selected compressed air supply to 6 bars
Press the key Automation, LED Automation lights
The display welding time shows the blow time ( )
Set the blow time with the two arrow keys (⇑ longer – ⇓ shorter)
The display welding time ( ) automatically switches back to the last set blow
time after approx. 2 s
If you do not work in automatic mode, press the key Automation,
LED
extinguishes. The gas valve remains closed.
5.6.7 Adjusting the Controls
To be able to assess the process sequence during welding, an average value is
calculated from the existing output voltage values.
You don’t need any special welding guns and/or additional welding cables for this
system of function monitoring.
During welding the reference, the micro controller determines a reference output voltage
value. This is the average value of eight consecutive weldings.
5 Stud Welding Procedure
5.6 Switching on the Power Unit