3-22
3.3.2 EZJ106 board (NH board)
[Function]
- Control of nozzle (charging voltage control, excitation voltage, APH detection, PTC
control and the like) is performed.
[Setting of switch/check point/LED display and the like]
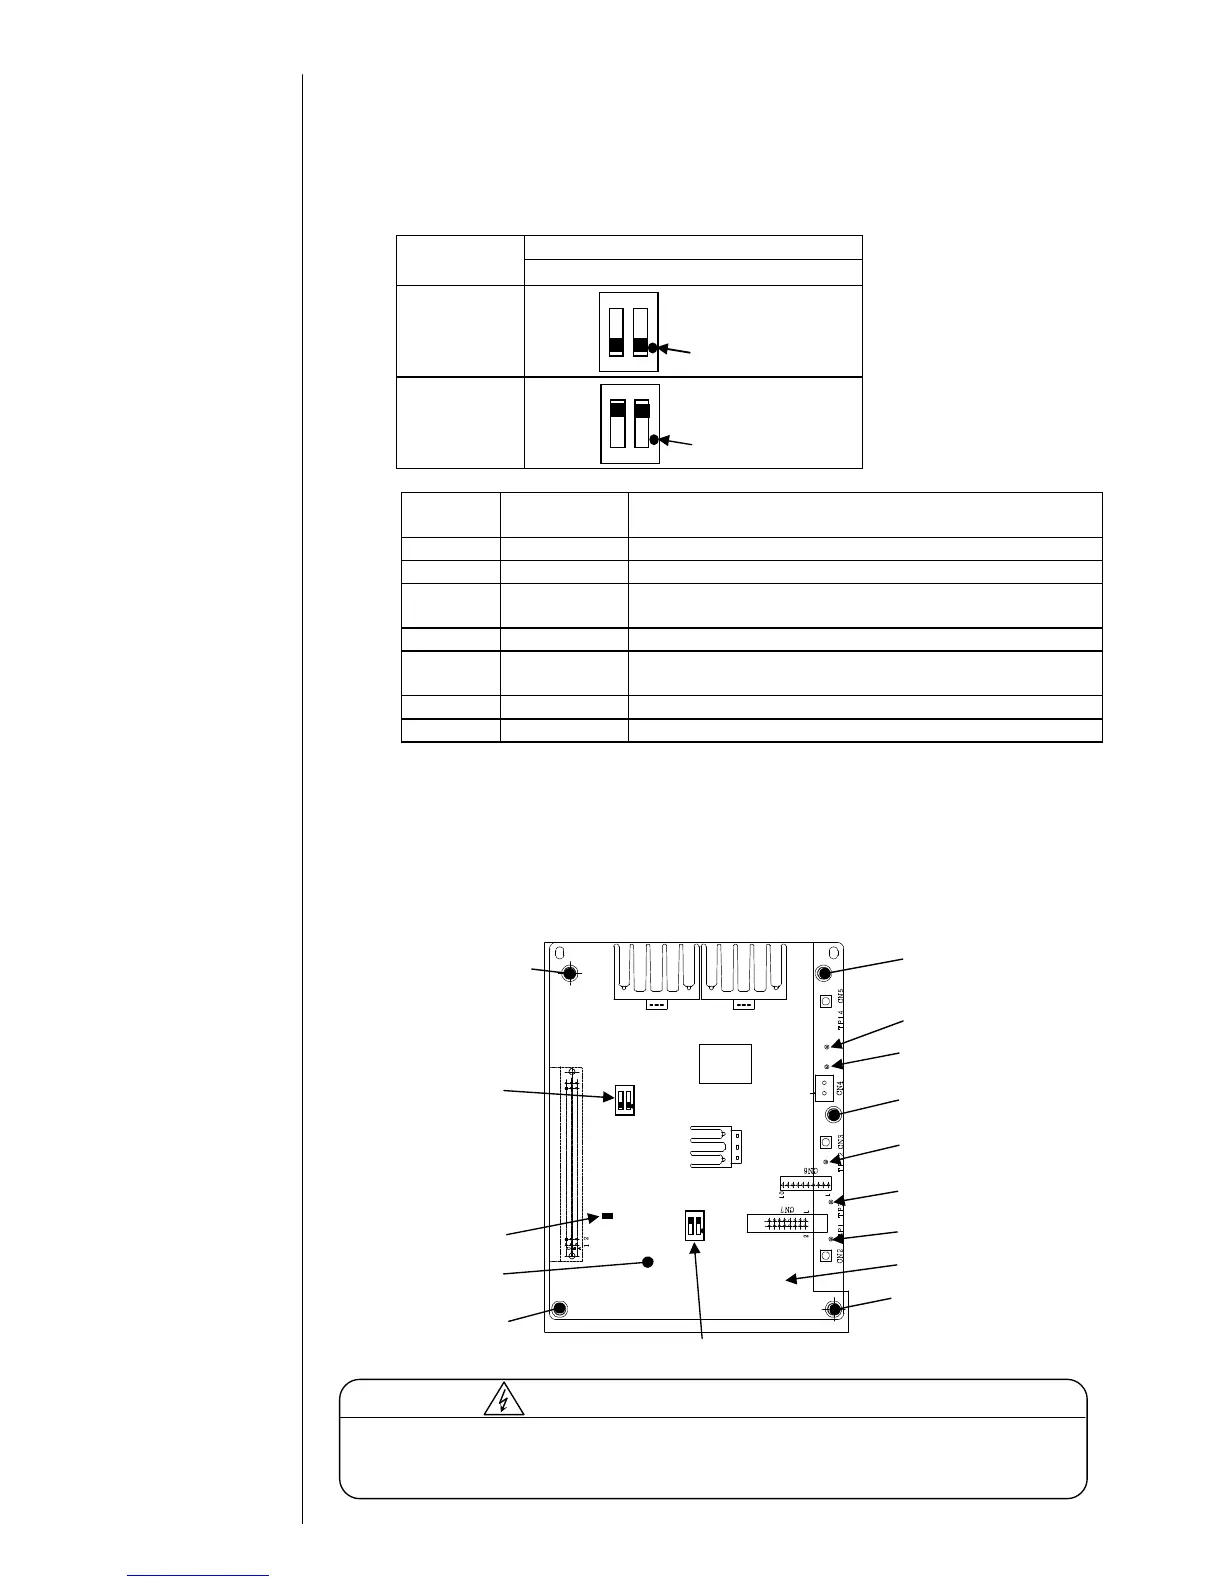
- Setting of switch
Nozzle size
65μm
DSW1
DSW2
- Check point/LED
Reference
number
Name Content
TP1 APH signal Charged amount detection signal of ink drops
TP3 GND Ground (for APH)
TP12 Charging
signal
Character signal charging ink drops
TP13 GND Ground (for charge/excitation)
TP14 Excitation
signal
Sine wave signal applied to a nozzle
TP15 PTC signal PTC drive signal
LED1 APH signal For APH signal check with eyes
[Note at the replacement]
- When replacing boards, be sure to turn off the power.
- Set up DSW1 and DSW2 according to the nozzle diameter.
- After replacing the board, confirm the charging voltage.
- Perform the excitation adjustment.
- Perform the auto phase gain adjustment.
[EZJ106 board external views]
The EZJ106 board has a portion where high voltage is applied. When performing
the adjustment in a state where the Electric Component cover is opened, be fully
careful about an electric shock.