3-3
3.2 Controller part
- With regard to the electric parts/control board of the controller part, the functional
outline, the setting of the switch, the list of the check point and the note at the
replacement are described.
3.2.1 EZJ124 board (controller board)
[Function]
- Preparation/management of print data is performed.
- Program, user data and environment setup data are stored
- Calendar management is performed.
- Control of the display part is performed.
- Control of the touch panel is performed.
- Control of the memory card is performed.
- Communication I/F (RS 422) with the engine part is performed.
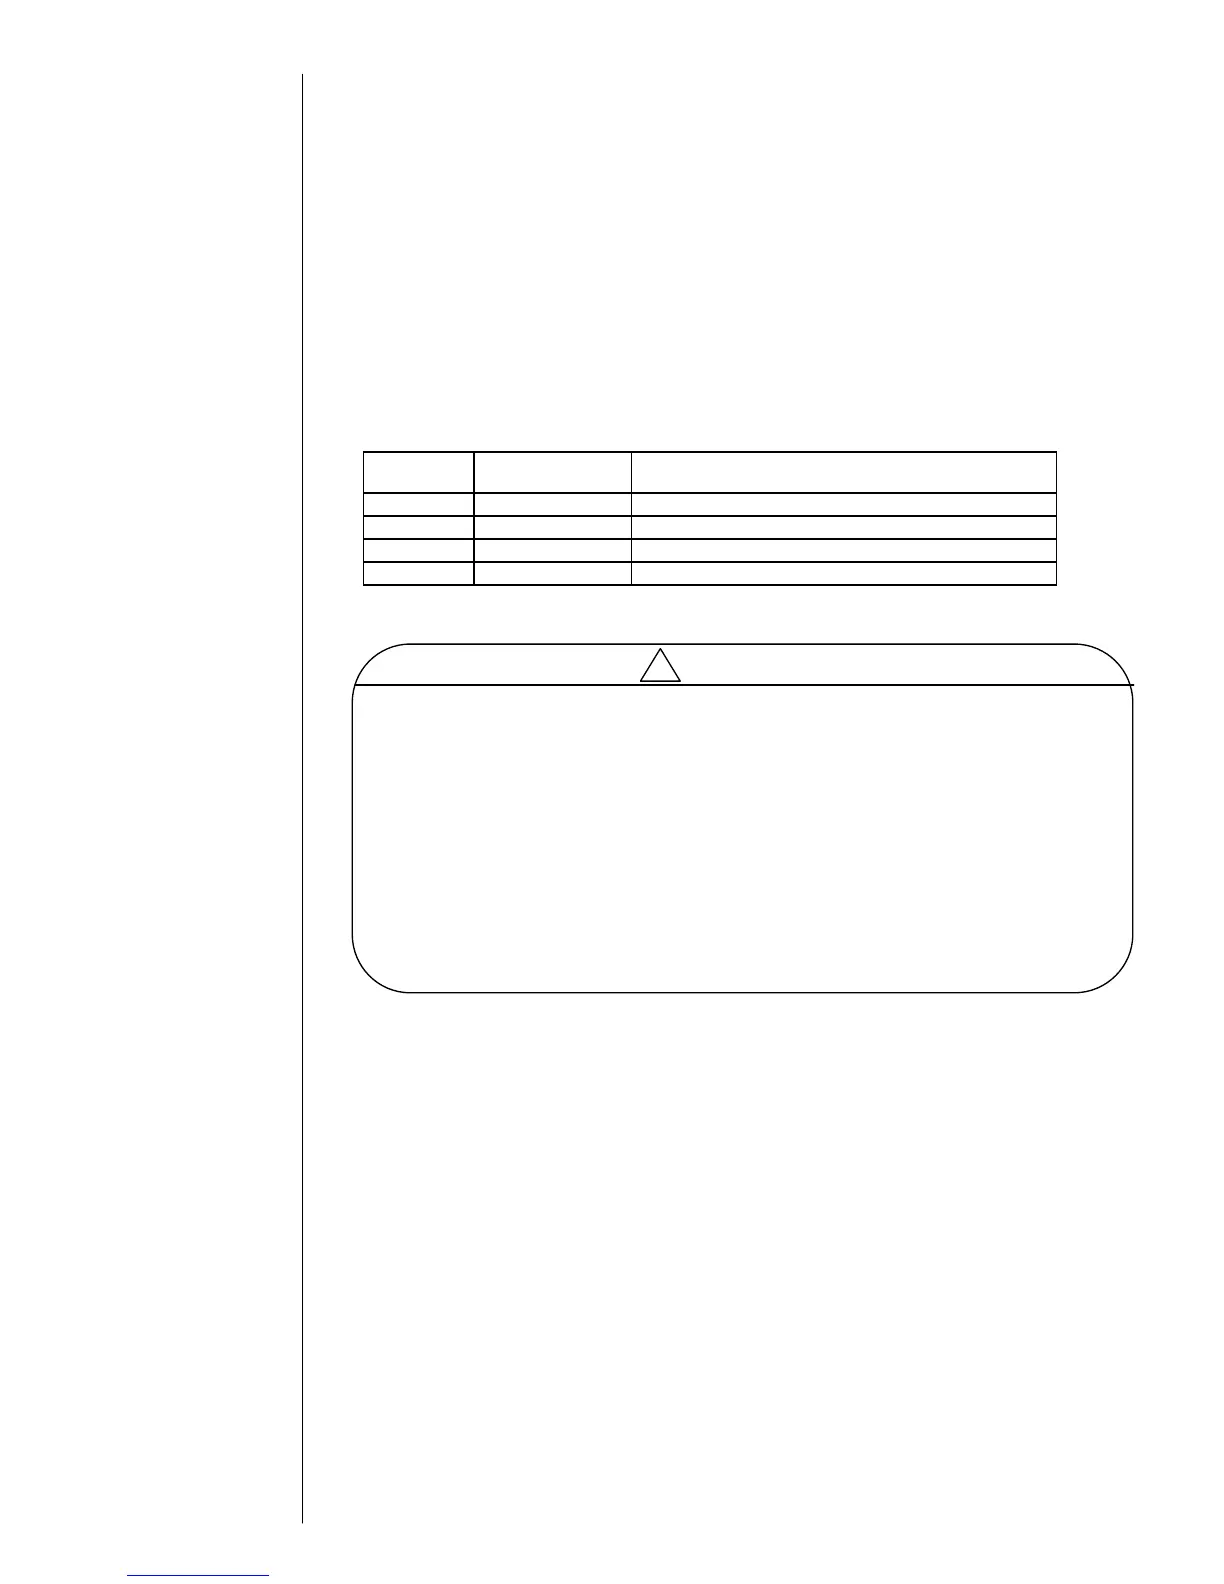
[Check points]
- Check points (check pins are not mounted)
Reference
number
Name Content
TP11 Vcc
+5V (check pin is not mounted)
TP12 Vcc12
+12V (check pin is not mounted)
TP10 Vcc33
+3.3V (check pin is not mounted)
TP60 GND
Reference ground of IJ printer-side circuit
[Notes in case of the EZJ124 board replacement]
[ Replacement procedure of EZJ124 board ]
(1) Save the data on the back up memory card by using the copy data function.
(From the IJP to the memory card)
*) In the case where the EZJ124 board is replaced in a state allowing NO back up,
follow the “ Replacement procedure of EZJ124 board in a state allowing NO
back up” in the page 3-5.
(2) Turn off the power.
(3) Replace the EZJ124 board.(Do not replace the EZJ93 board simultaneously.)
(4) Before turning on the power, insert the system data memory card into the slot of
EZJ124 board.
(5) Turn on the power. (With the system data memory card inserted)
- When replacing the EZJ124 board, the memory card where the IJP system
data is stored is necessary. (Hereinafter referred to as “system data memory
card”)
- Be sure to use the system memory card stored the latest version software.
- When replacing the EZJ124 board, be sure to perform the initialization of the
board according to the following procedure.
- Before replacing boards, be sure to turn off the power.
- After replacing boards, be sure to joint connectors to right places.
- Save the data to back up memory card by using the following procedure before
replacing the EZJ124 board, and recover the data after the replacement.
*) Use different memory card for system data memory card and back up memory card.
- Do not replace the EZJ124 board and the EZJ93 board simultaneously.