3-8
3.2.3 Power supply for LCD backlight
[Function]
- The power supply board for LCD backlight.
[Note at the replacement]
- Before replacing the board, be sure to turn off the power.
- Be sure to connect to CN1 and CN2.
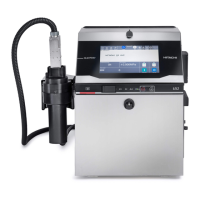
3.2.4 Control panel
[Function]
- A LCD, a power supply for the backlight, a touch panel and an EZJ97 board (LED
board) are included in the control panel.
[Note at the replacement]
- Before the replacement, be sure to turn off the power.
- Incorporate the EZJ124, the cover and the battery as shown in the following figure.
- Connect the harness of LCD, the power supply for the LCD backlight, the EZJ97
board, the engine (EZJ93 board) and the touch panel to the predetermined
connectors.
- After the replacement, setting the touch screen coordinates.
- Set the date and time.
When inserting the touch panel connection cable
into the connector on EZJ102 board, always hold
both sides of reinforced section for connection (as
shown in the figure) so that the cable is not bent.
With respect to the setting
of date and time, refer to
the Instruction manual “4.3
setting the Date and
Time”.
With respect to the setting
the calibrating touch
screen coordinate, refer to
the instruction manual “5.4
Calibrating the touch
screen coordinates”.