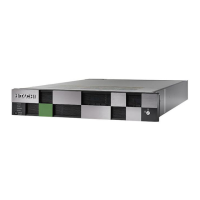
Figure 38 Rear view of server - models HNAS 4060, 4080, and 4100
Ite
m Labels Ports Connections
1 1 Customer data network
2 Customer data network
3 Customer data network
4 Customer data network
2
1 Storage or FC switch
2 Storage or FC switch
3 Storage or FC switch
4 Storage or FC switch
3 0 Customer facing management network
4 1 Private management network
5. If cables are not labeled, label them befor
e removing them from the server.
6. Remove all cables from the server, and remove the server from the rack.
7. Remove the rail mounts from the old server, and install them on the new server.
8. Remove the battery from the old server, and install it in the new server.
9. Remove the bezel from the old server, and install it on the new server.
10. Insert the new server into the rack, and connect the power cords to the power
supplies.
Note: Do not make any other cable connections at this time.
Shutting do
wn the server you are replacing
Appendix A: Server replacement procedures
Hitachi NAS Platform and Hitachi Unied Storage Series 4000 Hardware Reference 95
 Loading...