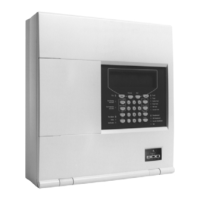
Fire Alarm Control Panel Compact
FB 798238.GB0 / 10.14 23
Detector exchange mode 2
At the FACP Enter the installer access code and switch on the primary loop.
3
DEF
2
ABC
1 0001/02 002 139164602765 0
2 0001/03 003 107106578102 0
3 0001/04 004 107106589023 0
4 0001/04 004 139164603625 0
5 0001/05 005 107106614534 0
5
existing device
3 3
1 enter serialnumber :
missing device :
0001/02 002 107106578102 0
text 1 : detector
text 2 :
3 3
assign new device
- wiring recognition
2 detector data assignment
3 detector exchange
3 3
esserbus
ESC
1 existing device
missing devices
3 3
1 enter serial number : 107106578102
missing device :
0001/02 002 107106578102 0
text 1 : detector
text 2 :
3 3
assign new device
1 existing device
*missing device
3 3
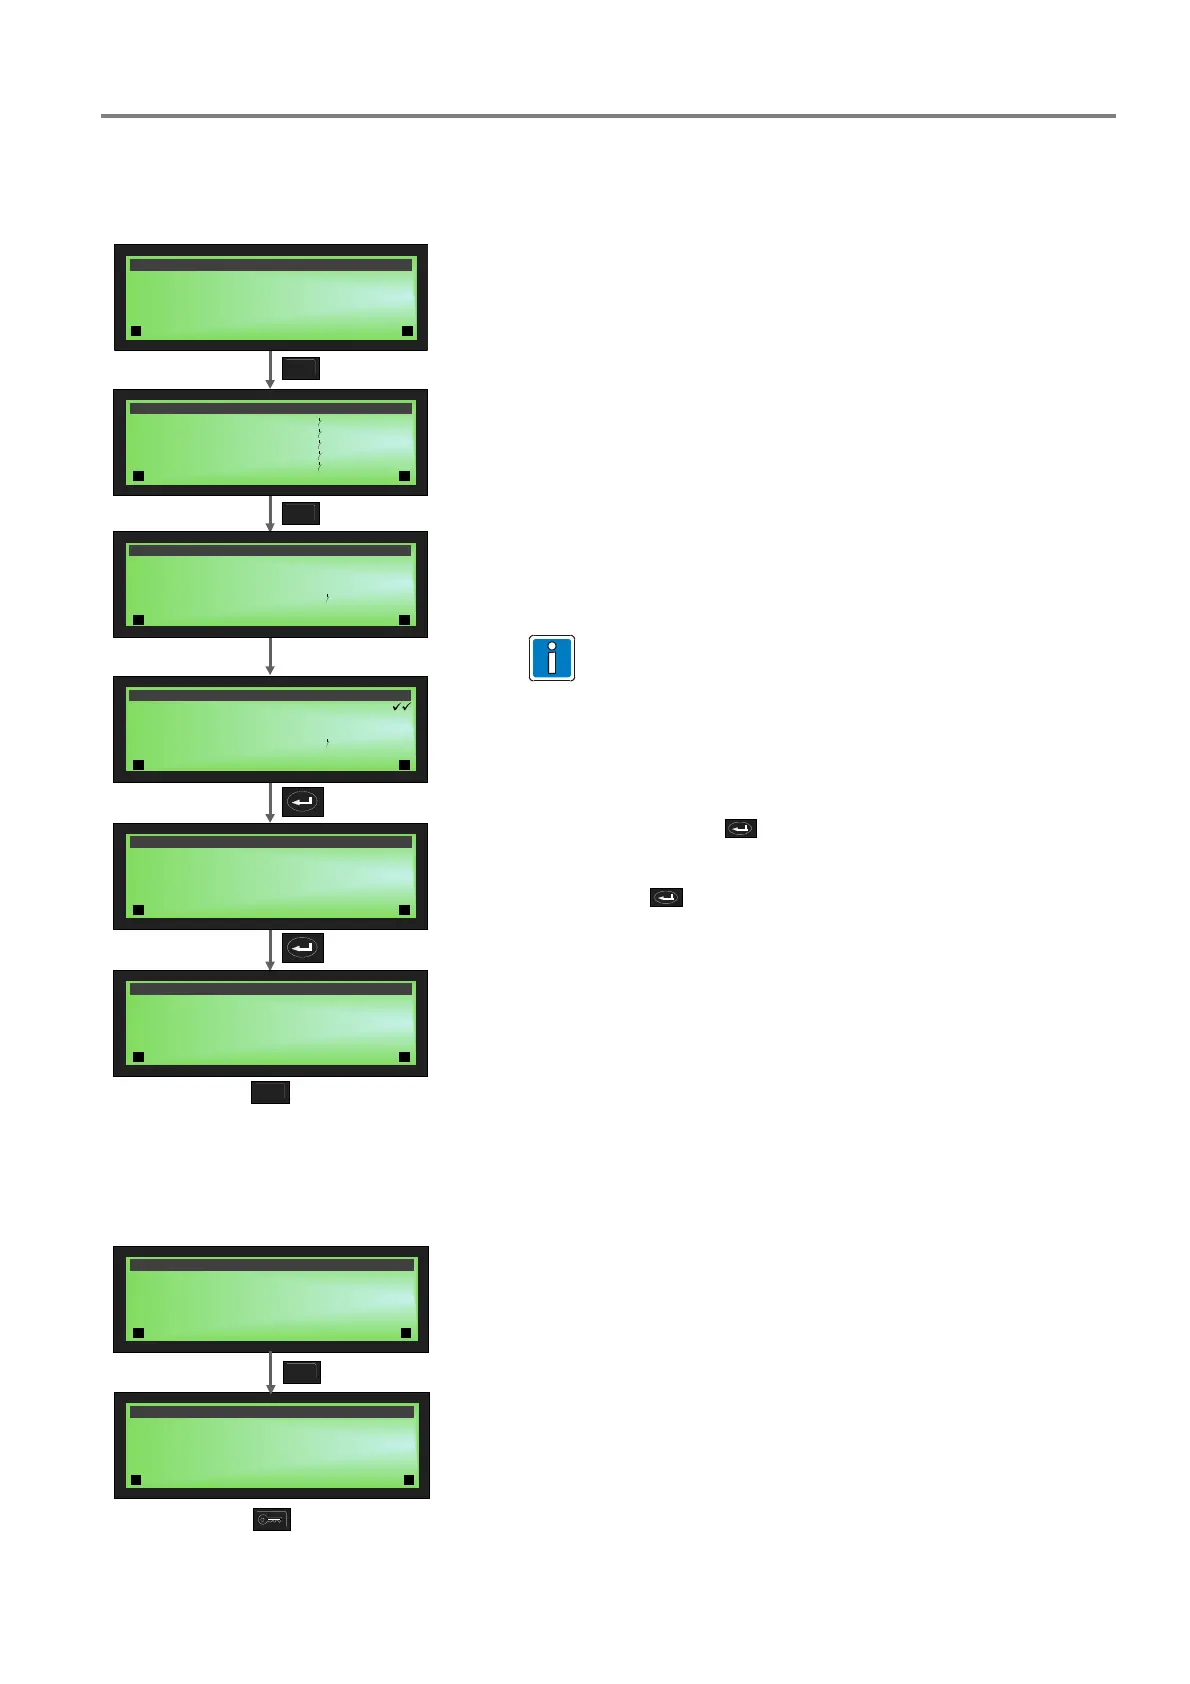
Fig. 34: Detector exchange mode 2
Open the menu 'configuration/mainboard / esserbus
®
'.
Open the menu 'detector exchange'.
The existing loop subscribers are listed.
Select the subscribers to be exchanged.
Enter the serial number of the subscriber to be used in place of
the selected subscriber.
Only detectors of the same type can be exchanged. The
check is carried out with the serial number entry.
The first 'tick' indicates that the serial number format is correct.
The second 'tick' indicates that the detector is the correct type
for this detector exchange.
Confirm the entry with
.
Confirm with
again, that no other detector exchange is
being performed.
If another detector exchange is being performed, select the
subscriber again from the list of detectors to be exchanged.
Exit the menu with ESC.
At the detector
installation location
Exchange the detector in question connected to the loop.
At the FACP Start the detector data assignment.
1 yes
2 no
3 cancel
data assign for new devices?
3 3
- wiring recognition
2 detector data assignment
3 detector exchange
3 3
esserbus
1
Fig. 35: 2
nd
Detector exchange
A detector data assignment must now be carried out for the
new subscribers.
Following completion of the detector data assignment, the
esserbus
®
menu appears again.
You can now exit the configuration.
An FACP restart is performed.
Then check the new detectors to ensure they are functioning
properly.
 Loading...