106 SMV 3000 Transmitter User’s Manual 1/99
9.4 Replacing Electronics Module or PROM, Continued
Procedure, continued
Table 28 Replacing Electronics Module or PROM, Continued
Step Action
8
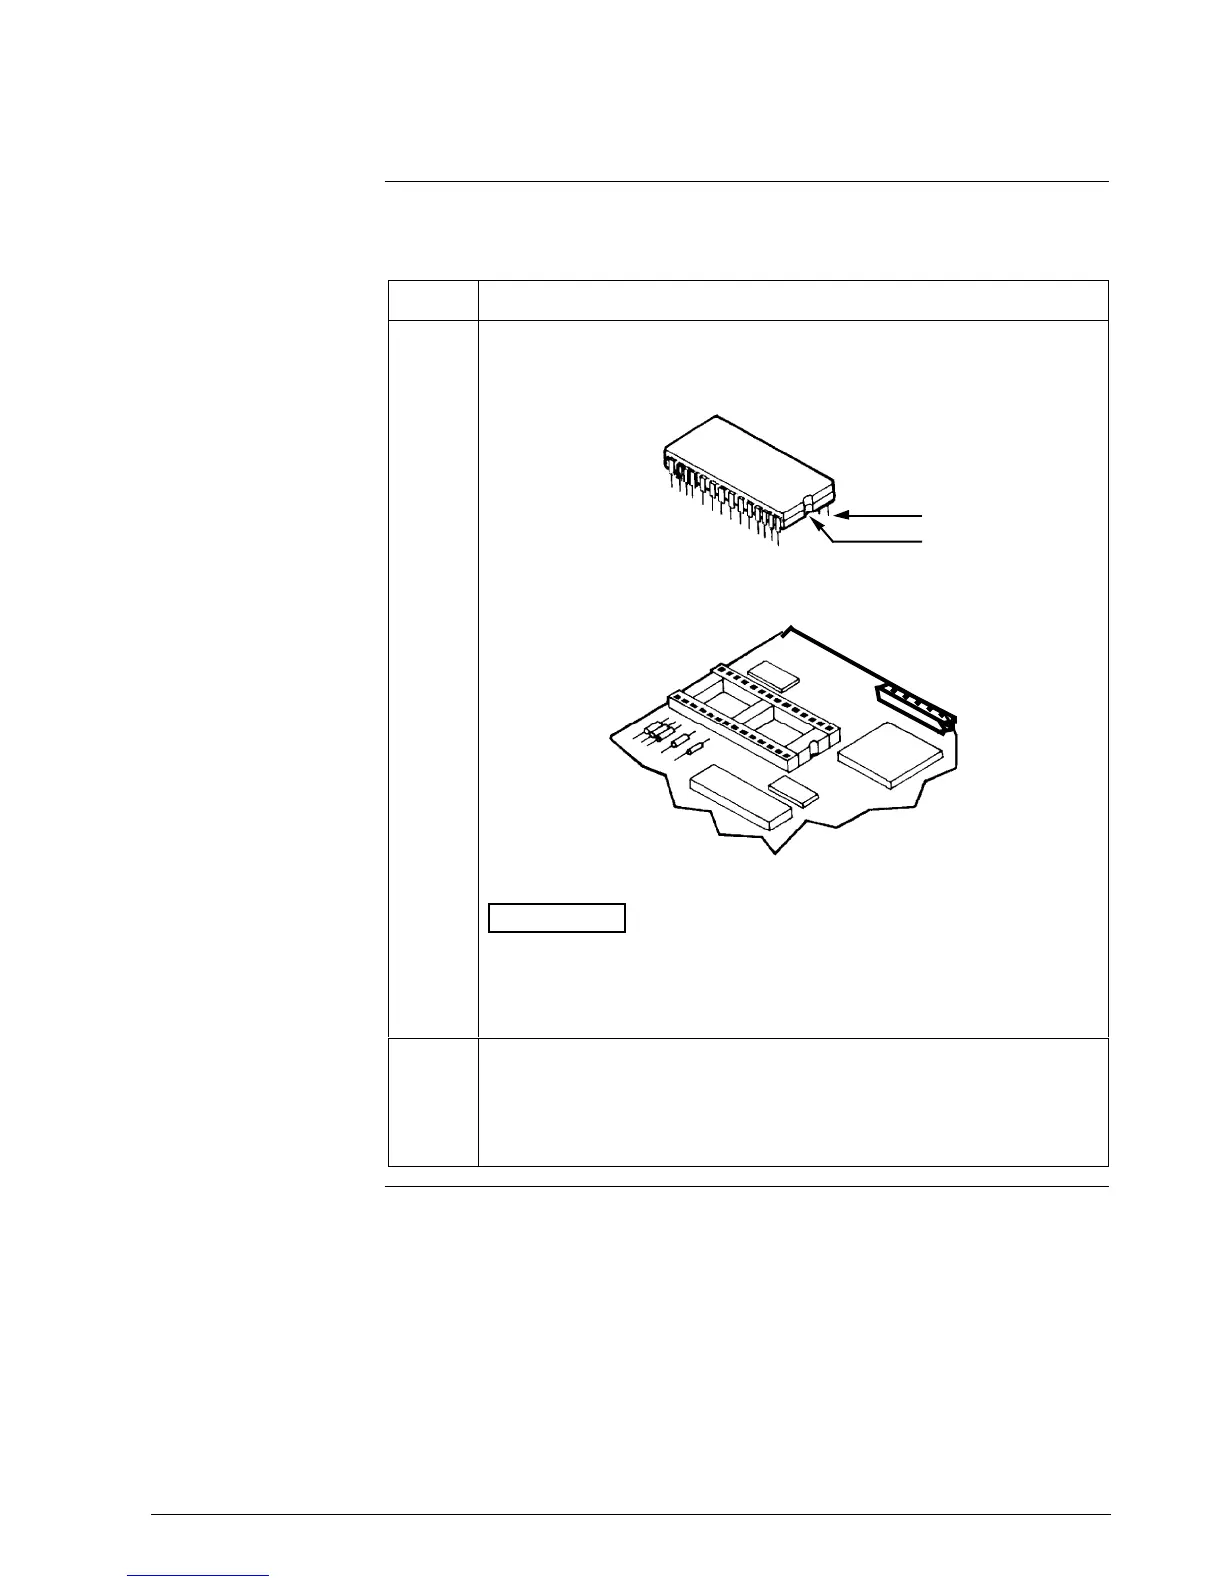
With component side of new PWA facing you, align notch and pin 1 of
PROM removed in Step 6 with notch and pin 1 in IC socket on new
PWA. Carefully plug PROM into socket. Go to Step 11.
Pin 1
Notch
Main PCB
ATTENTION
If the new electronics module has the write protect
option, be sure to check that the write protect jumper is in the desired
position. See the Write protect option in Section 5.4 of this manual for
details.
9
Verify that 10-digit identification number on label under new PROM
matches PROM ID number stamped on meter body nameplate. If
PROM numbers don’t match, you must order a new PROM specifying
PROM number from meter body nameplate.
Continued on next page
 Loading...


