Page 64 ST 800 SmartLine Pressure Transmitters User’s Manual Revision 10
3. If equipped with a Display module, carefully depress the two tabs on the sides of the Display
Module, and pull it off.
4. If necessary, unplug the interface connector from the Communication module. Do not
discard the connector.
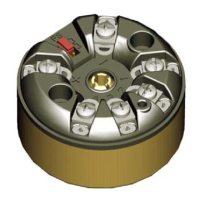
5. Loosen the two retaining screws, and carefully pull the Communication module from the
Electronics compartment.
6. Carefully align and connect the Sensor Ribbon Cable to the connector “J4” at the bottom of
the Communication module. When installing the Communication module in the next step, be
careful not to pinch the Sensor Ribbon Cable.
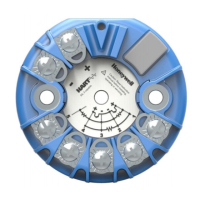
7. Carefully, insert the Communication module into the Electronics compartment. Ensure that
the Sensor Ribbon Cable is not pinched.
8. Tighten the two Communication module retaining screws.
9. Refer to the Section 4.4 to change the FAILSAFE, READ/WRITE, and SIM-OFF/SIM-ON
(Fieldbus Only) configuration settings.
10. If applicable, re-install the Display module as follows:
a) Orient the display as desired.
b) Install the Interface Connector in the Display module such that it will mate with the
socket for the display in the Communication module.
c) Carefully line up the display, and snap it into place. Verify that the two tabs on the
sides of the display latch.
Orient the Display for proper viewing through the end cap window.
You can rotate the meter mounting orientation in 90
o
increments.
11. Apply Parker Super O-ring Lubricant or equivalent to the end cap O-ring before installing the
end cap. Reinstall the End Cap and tighten the End Cap locking screw.
12. Installing Optional External Configuration Button Assembly.
a) Loosen (Do Not Remove) both top nameplate screws and pivot nameplate 90°.
b) Align the protrusion on the button assembly with the matching opening in the
housing and snap the button assembly into the housing.
c) Rotate the nameplate back to the original position, and tighten the nameplate screws.
(Steps 13 - 16 required for Field Upgrades Only)
13. Loosen the End Cap locking screw and unscrew the End Cap from the Field Wiring side of
the transmitter housing.

 Loading...