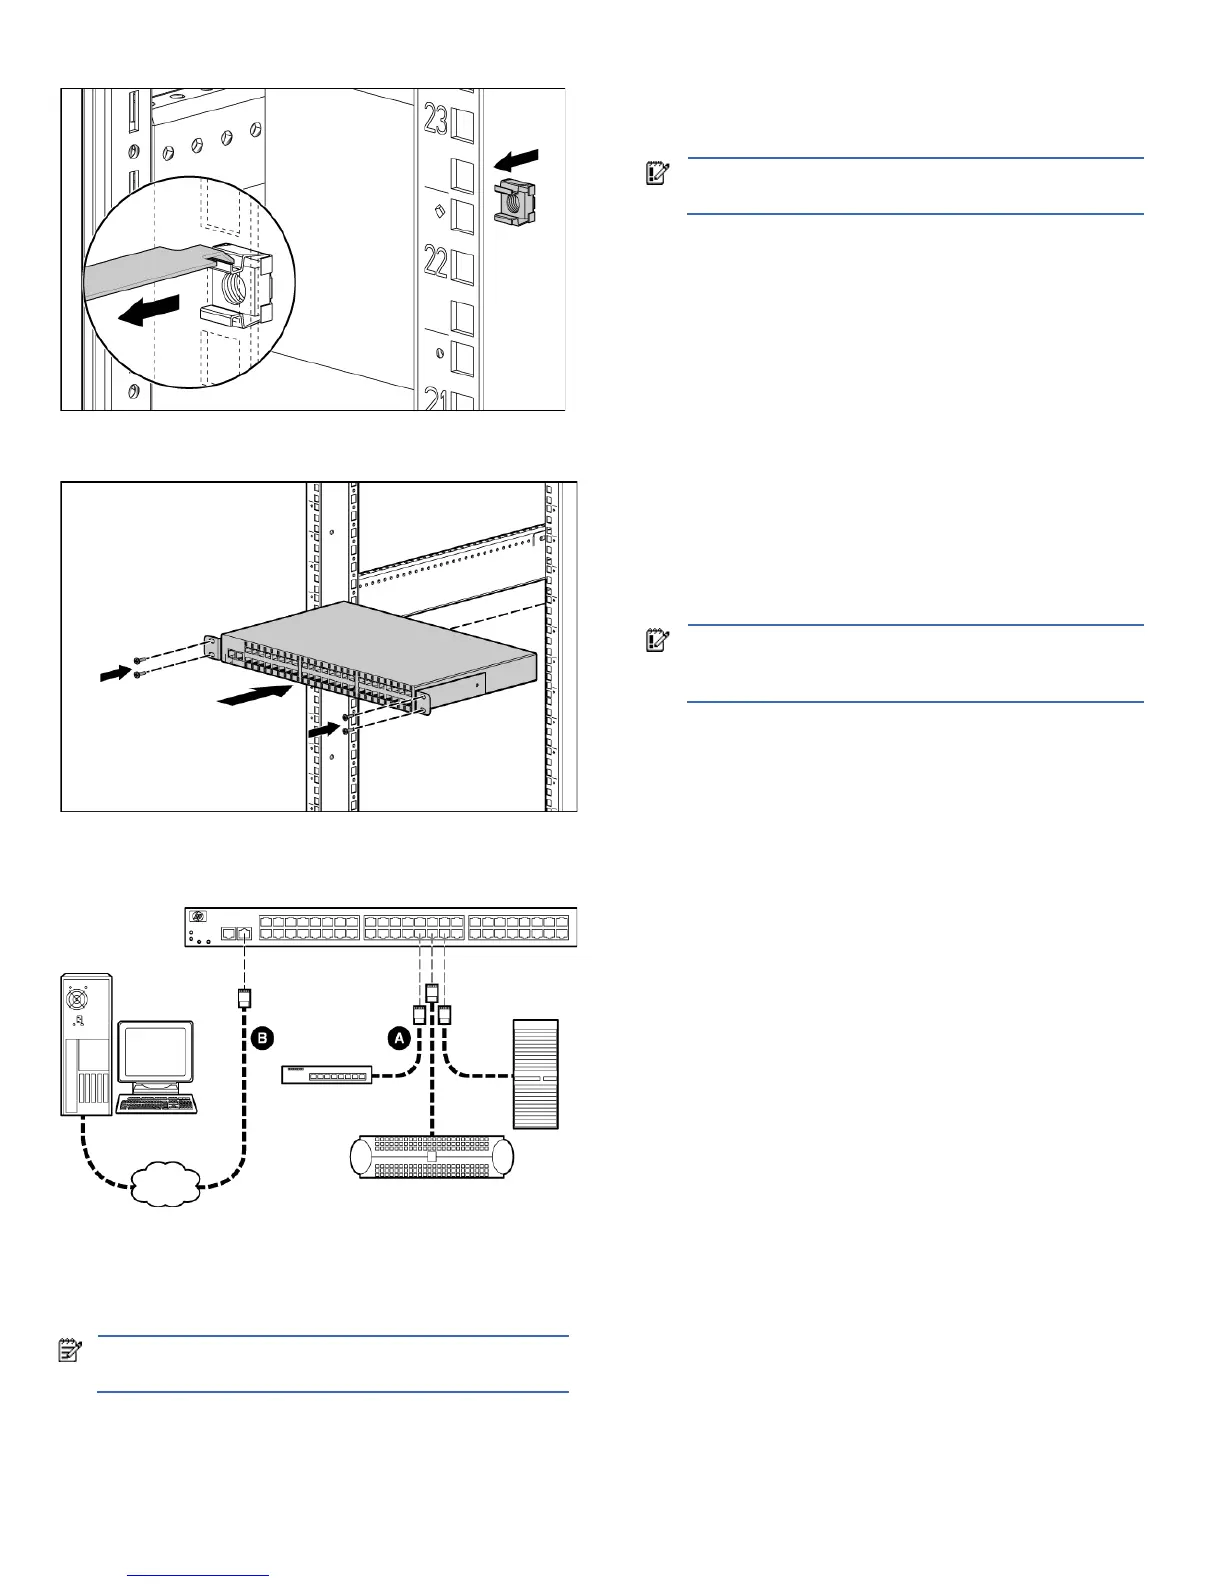
Figure 10 Installing cage nuts
5. Secure the SCS to the rack, using four T-25 Torx screws.
Figure 11 Securing the 48-port SCS to the rack
Installing the SCS
Figure 12 HP 16- and 48-Port Serial Console Server configuration
1. Determine the method for IP address configuration: Bootp or
command line interface (CLI). See the “Configuring the SCS”
section of the HP 16- and 48-Port Serial Console Server User
Guide for more information.
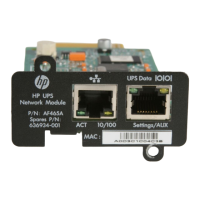
2. Note the MAC address on the bottom of the SCS.
NOTE: The MAC address is located on the top of all 16-port
SCS and on the bottom of all 48-port SCS.
3. Rack mount the SCS. See the “Rack mounting the SCS” section
in this card.
4. Connect serial devices (A) to the SCS serial ports and the
console port. See the “Device cabling” section of the HP 16-
and 48-Port Serial Console Server User Guide for more
information.
IMPORTANT: Use a straight through CAT5 cable when
connecting the serial devices.
5. Connect each device to its appropriate power source,
following the documentation of the device.
6. Connect the LAN (B) by attaching a 10/100BaseT LAN
interface cable to the LAN port connector on the front of the
SCS.
7. If using Bootp for IP address assignment, configure the Bootp
server with the MAC address noted in step 2. See the
“Configuring the network address settings using BootP” section
of the HP 16- and 48-Port Serial Console Server User Guide for
more information.
8. Insert the power cord into the back of the SCS and attach the
strain relief to secure the power cord to the SCS.
9. Insert the other end of the power cord into a grounded
electrical receptacle.
10. Verify that the power LED on the front of the SCS is illuminated.
If not, ensure that the power cord is inserted correctly into the
back of the SCS.
IMPORTANT: The online LED illuminates within two to three
minutes to indicate that the self-test is complete. If the online
LED blinks, contact HP technical support for assistance.
11. Verify that the LAN LEDs indicate that a 10/100 Mbps link
exists. If not, ensure that both ends of the Ethernet cable are
correctly inserted into their jacks.
12. After the power, online, and LAN LEDs are illuminated,
proceed with the configuration process. See the HP 16- and
48-Port Serial Console Server User Guide for information about
configuring the SCS ports and unit.
The installation is complete.
 Loading...