10
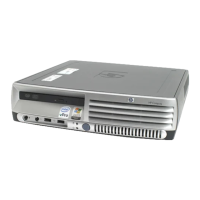
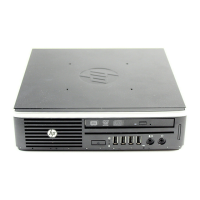
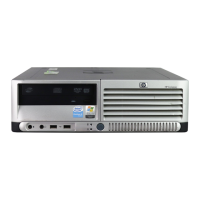
Terminal Installation
Proceed as follows to connect the terminal:
Note
Before connectin
the cables, decide which mountin
confi
uration will be used and ensure that the cables
are of the correct len
ths. If permanent desktop or
wall-mountin
confi
uration is to be used, drill the
desktop mountin
holes or install the mountin
bracket
wall anchors before connectin
the cables.
1.
Connect the monitor to the Video connector.
2.
Connect the keyboard to the Keyboard connector.
3.
Connect the mouse to the Mouse connector.
4.
If you will be usin
a network connection, connect a CAT5 UTP cable to the
Network connector. Dependin
on your confi
uration needs, connect a printer
to the parallel port and/or connect a modem/server serial cable to the serial
ports, as appropriate.
5.
Connect the power supply output cable to the Power connector.
Caution
Do not force a connector into its socket. If any undue
resistance is encountered, ensure that the connector is
oriented correctly to the socket.
6.
Plu
the AC cord into the power supply, then into an AC outlet.
7.
After the cables are connected, install the terminal in its planned location, either
on a desktop or mounted to a wall (see the next section “Mountin
the
Term inal”).
Mounting the Terminal
The terminal can be freestandin
, attached to a wall (an optional wall mount kit is
required), or mounted permanently on a desktop. Instructions for mountin
your
terminal are provided in the followin
para
raphs; use the instructions that are
appropriate for the desired method of mountin
your terminal.

 Loading...