11
Freestanding Desktop Mounting
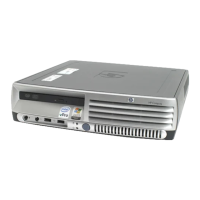
Model T1000 terminals are built with a desktop mountin
stand as part of the
housin
, so they can immediately be put into desktop operation. The terminal is
also wei
hted and equipped with non-skid feet. “Introducin
the T1000
Window-based Terminal” in the users
uide shows the Model T1000 terminal.
Caution
Always mount the terminal vertically, with the base
down, to ensure proper coolin
.
Permanent Desktop Mounting
If desired, the terminal can be permanently mounted on a desktop. Holes in the
base plate are threaded to receive the mountin
bolts. Two 6 mm (M6) mountin
bolts must be provided by the user.
The mountin
bolts must not protrude more than 9 mm (3/8 in) throu
h the top of
the desktop mountin
surface. Dama
e to the terminal housin
and internal
components could occur if the mountin
bolts protrude past the tops of the
uide
holes.
Follow these instructions for permanent desktop mountin
:
1.
Make a template of the desktop mountin
holes usin
the bottom of the
terminal, and use it to mark the desktop area where you want to mount the
terminal.
2.
Drill holes for the mountin
bolts throu
h the desktop mountin
surface at the
marked locations.
3.
Place the terminal in position over the holes drilled in the desktop.
4.
Insert the mountin
bolts up throu
h the holes in the desktop and into the
threaded holes in the terminal base plate. Ti
hten the bolts until snu
.
Wall Mounting
The terminal can be mounted on a wall usin
the optional wall-mountin
bracket.
Fi
ure 2-2 shows the wall-mount confi
uration.
Note
For wall mountin
, it is
enerally best to connect the
cables before mountin
the terminal on a wall.
However, cables can be connected at any convenient
time, as lon
as power is disconnected.

 Loading...