Removing a 3.5-inch hard drive
NOTE: Before you remove the old hard drive, be sure to back up the data from the old hard drive so that you
can transfer the data to the new hard drive.
1. Prepare the computer for disassembly (Preparation for disassembly on page 19)
2. Remove the access panel (Access panel on page 20)
3. Remove the drive cage (Drive cage on page 28)
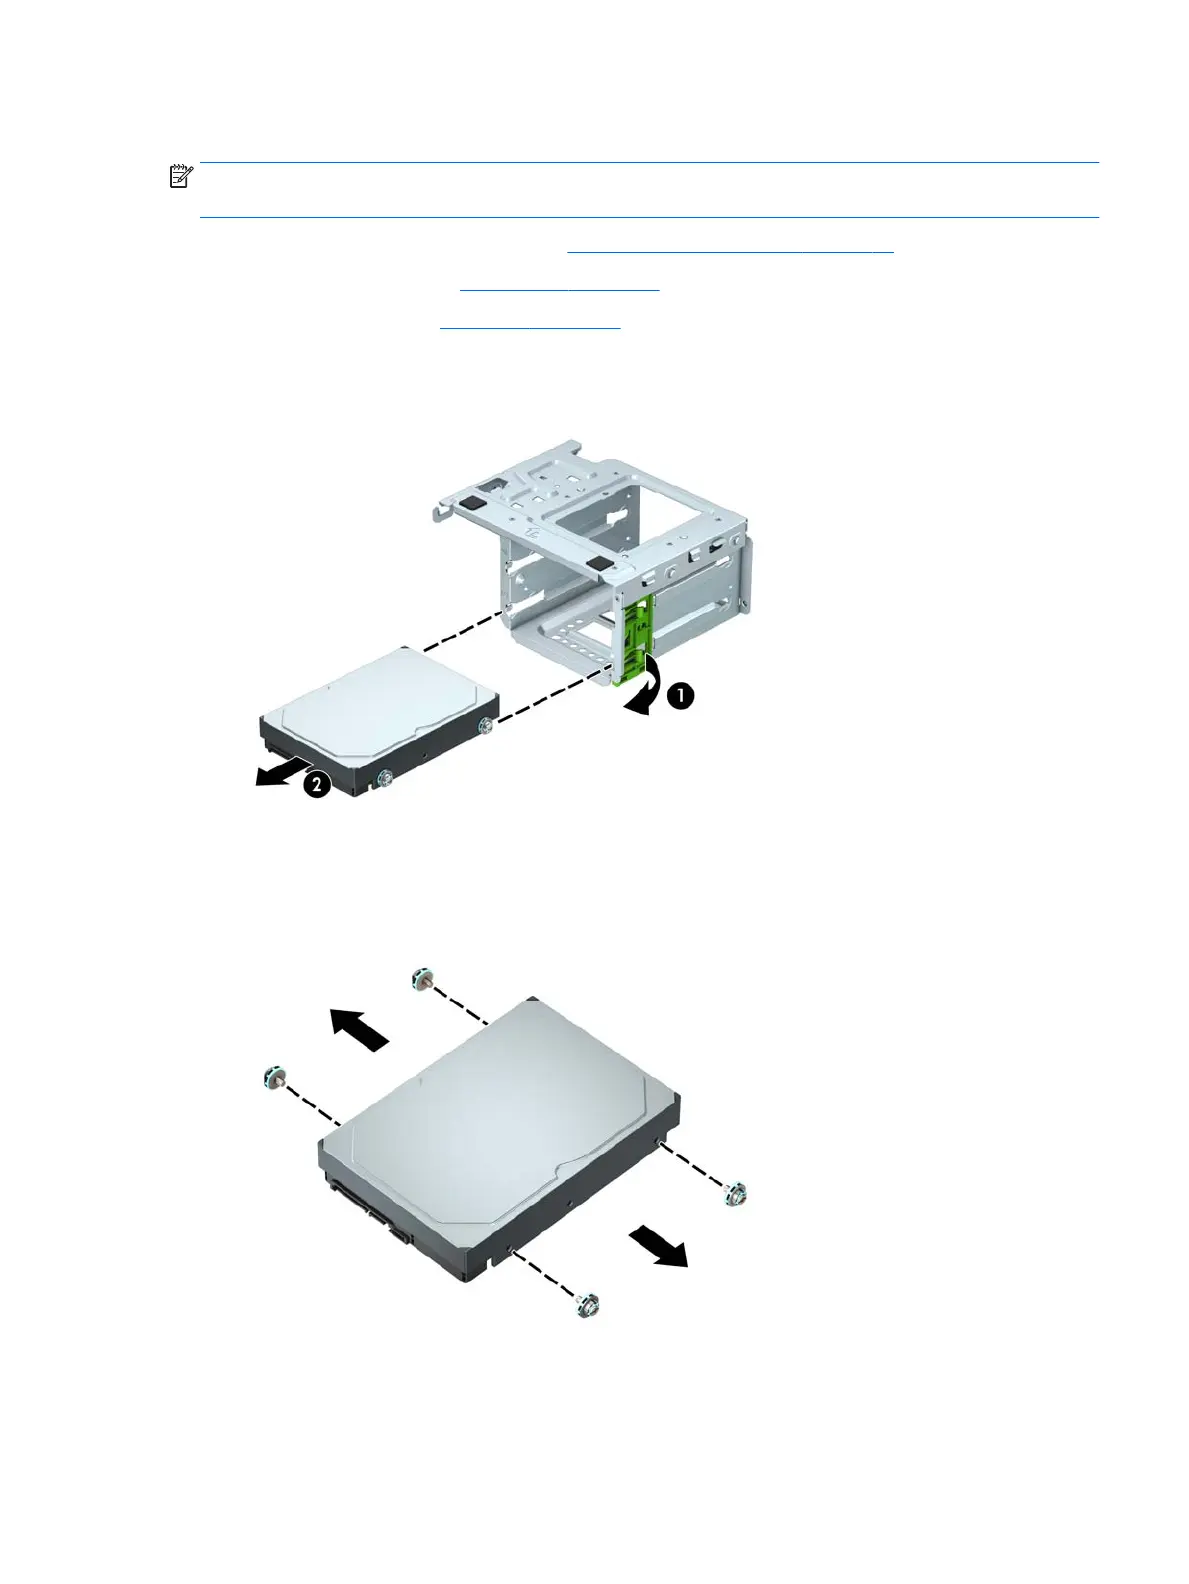
4. Remove the drive from the drive cage by pulling the release tab away from the drive (1) and sliding the
drive out of the bay
(2).
5. Remove the four mounting screws (two on each side) from the old drive. You will need these screws if
you install a new drive.
Drives 45
 Loading...