Before you begin
5 to 10 minutesTime required:
Replacement drive ordered from HPEParts required:
• ESD (electrostatic discharge) strap or appropriate grounding deviceTools required:
• RMA (Return Materials Authorization) work order
• Case number
• Array name or serial number
The array serial number can be found on the back of Controller A.
Information required:
See Support.Support contact:
HPE recommends using the Maintenance Window functionality within the HPE InfoSight portal to inform HPE Support of
upcoming maintenance windows.
Refer to https://infosight.hpe.com/dashboards/nimble/wellness/maintenance-windows for more information.
You can disable automated support case generation during planned maintenance from the Manage Maintenance Windows
page. After a maintenance window is set, no further communication with HPE Support is required.
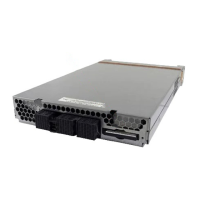
The replacement drive ships as a stand-alone part, preinstalled in its sled.
Before you attempt to replace the drive:
• Do not remove the failed drive until you are ready to install the replacement.
• Determine which drive (A or B) in the drive carrier to replace before making the replacement.
• To identify a failed drive:
• LEDs are solid amber or red or off
• Event appears in the Events list
• Receipt of an email from the array
• Verify that the replacement drive matches the part shown on the RMA work order.
• Use the same type and size replacement drive as the old drive (SSD dual flash carrier). The drive sled label may vary in
appearance or be upside down when the new drive carrier is properly oriented.
Procedure
1. Gently pull the front bezel away from the array chassis.
The bezel includes power connection pins on both sides.
Maintenance Procedures 74
Documentation Feedback: doc-feedback-hpe-storage@hpe.com
 Loading...