• 1U server blade air bale
• 2U server blade air bale
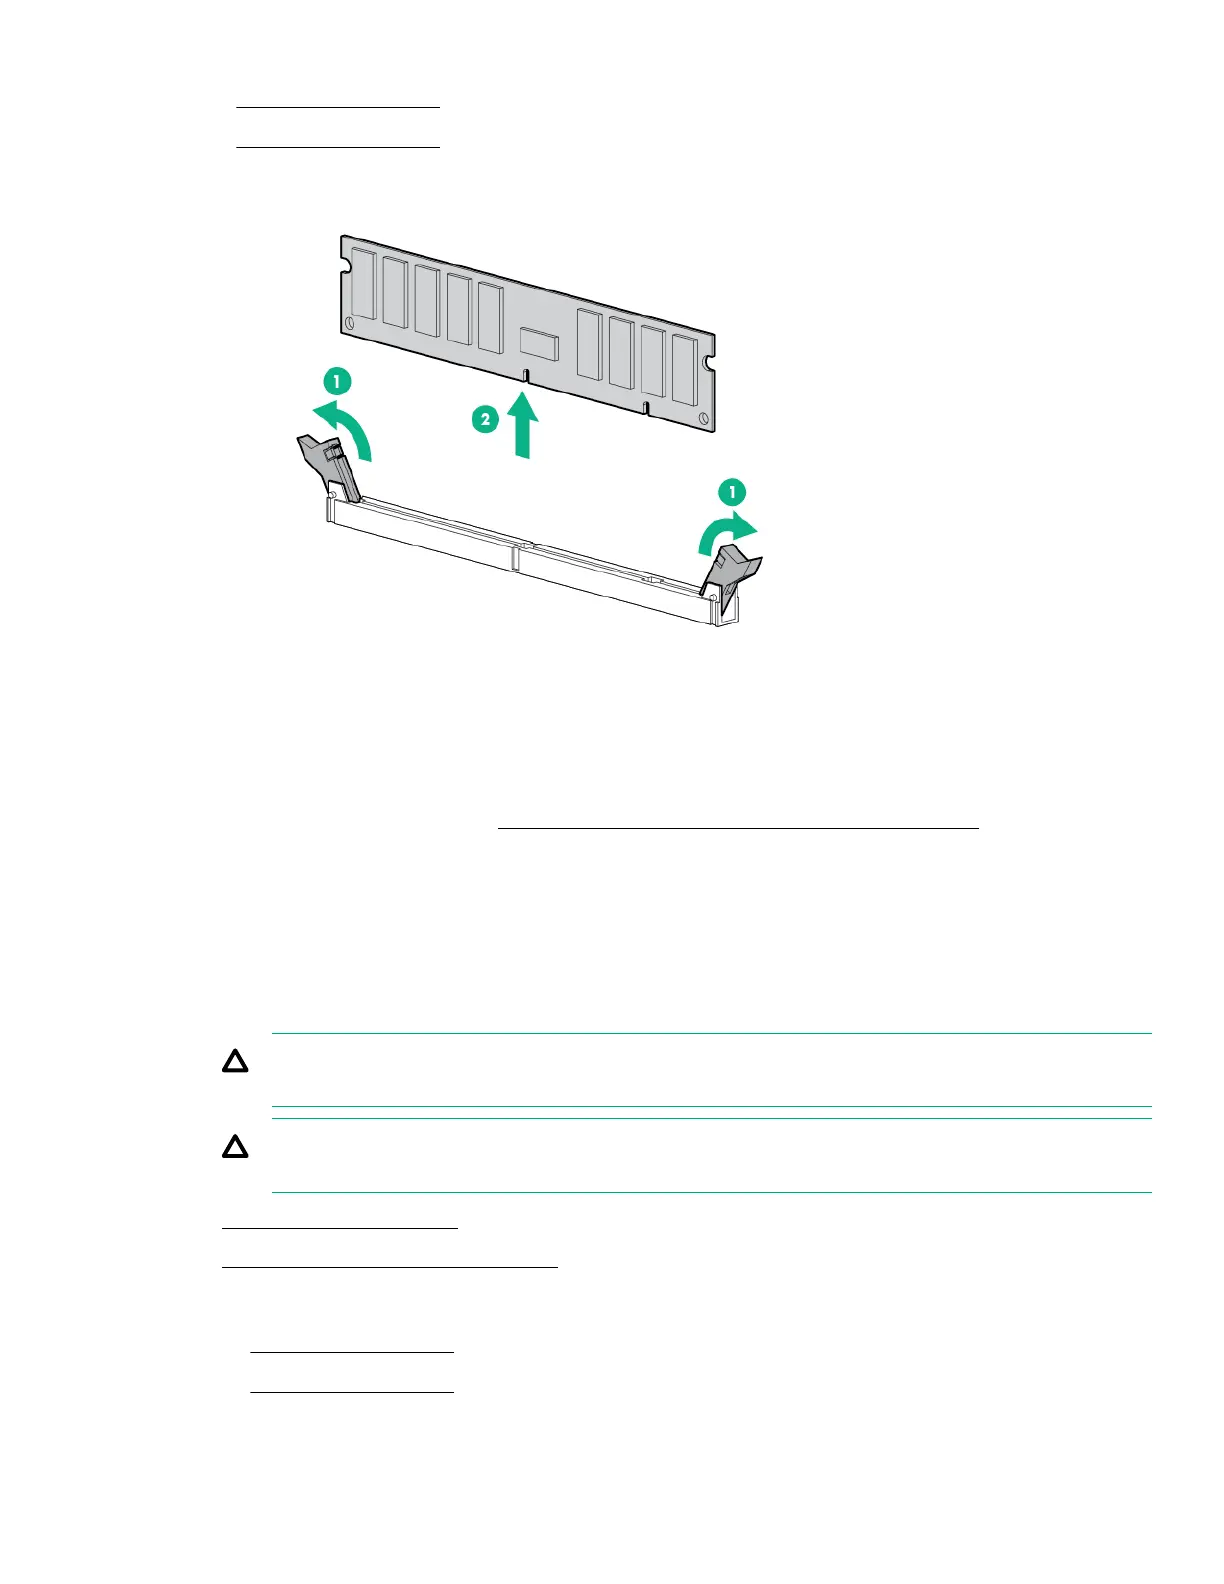
5. Remove the DIMM.
To replace the component, reverse the removal procedure.
Removing and replacing the heatsink processor assembly
This procedure shows a standard heatsink as an example. The removal process is the same for all heatsinks.
Hewlett Packard Enterprise recommends identifying the processor, heatsink, and socket components before performing
this procedure.
Prerequisites
Before you perform this procedure, make sure that you have the T-30 Torx screwdriver available.
Procedure
1.
Observe the following cautions:
CAUTION: When handling the heatsink, always hold it along the top and bottom of the fins. Holding it from the
sides can damage the fins.
CAUTION: THE CONTACTS ARE VERY FRAGILE AND EASILY DAMAGED. To avoid damage to the socket or
processor, do not touch the contacts.
2. Power down the server blade.
3. Remove the server blade from the chassis.
4. Remove the air
bale:
• 1U server blade air bale
• 2U server blade air bale
Removal and replacement procedures 161