5. For 2U server blade, remove the top cover.
6. Observe the following cautions.
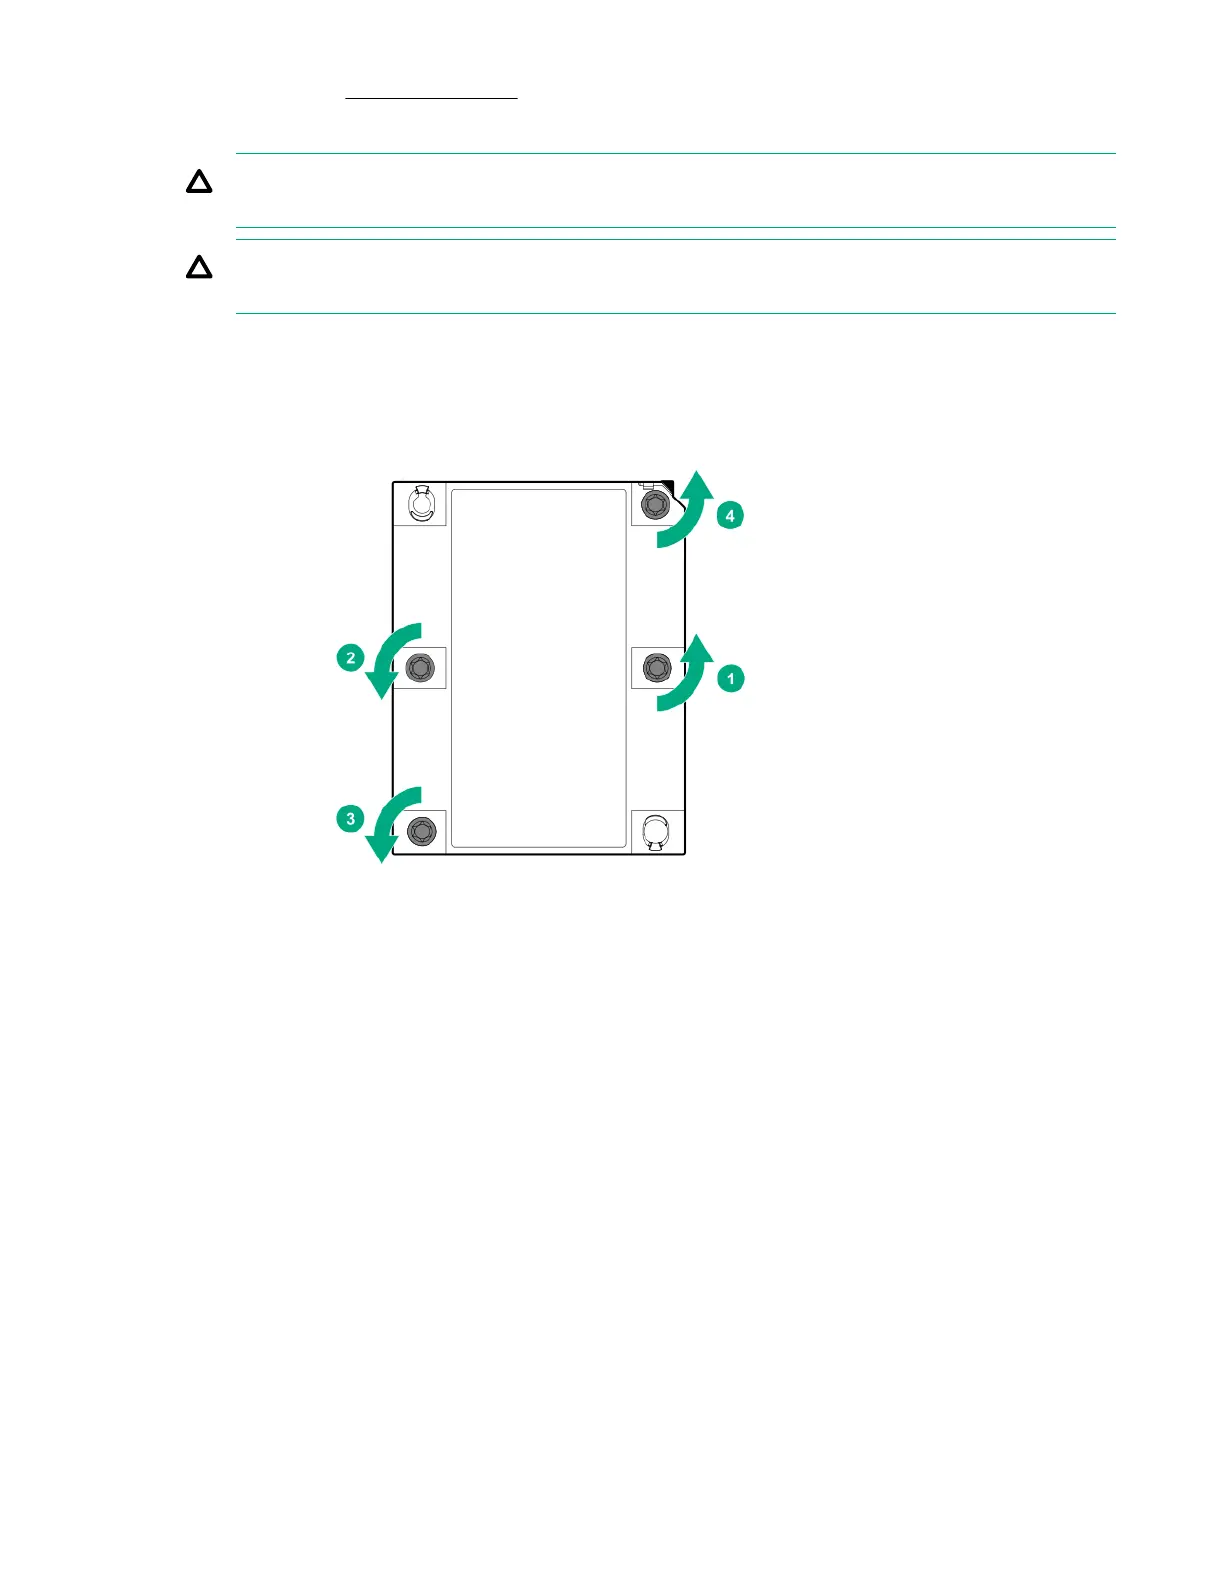
CAUTION: Be sure to loosen each heatsink nut in the order indicated. Otherwise, damage might occur to the
heatsink or processor.
CAUTION: Install the processor heatsink assembly as soon as possible after removing it. Do not leave the
processor socket unpopulated for extended periods of time.
7. Remove the processor heatsink assembly:
a. Allow the heatsink to cool.
b. Using a T-30 Torx screwdriver, loosen the heatsink nuts.
c.
Lift the processor heatsink assembly up and away from the system board.
To replace the heatsink processor assembly:
8.
Install the processor heatsink assembly:
a.
Locate and align the Pin 1 indicator on the processor frame and the socket.
b. Align the processor heatsink assembly with the heatsink alignment posts and gently lower it down until it sits evenly
on the socket.
The heatsink alignment posts are keyed. The processor will only install one way.
A standard heatsink is shown, your heatsink might look
dierent.
162 Removal and replacement procedures