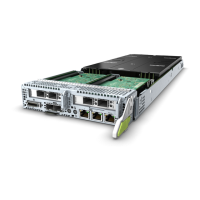
Step 5 Determine the position of the M.2 SSD.
Figure 8-14 Positions of M.2 SSDs
Step 6 Remove the TPM.
For details, see 8.4.15 Removing the TPM.
Step 7 Take the component out of its ESD bag.
Step 8 Install the M.2 SSD.
1. Tilt the M.2 SSD 20° to 30°, install it in the slot, and press it
rmly. See (1) in
Figure 8-15.
2. Use an M2.5 Phillips screwdriver to tighten the screw to secure the M.2 SSD.
See (2) in Figure 8-15.
FusionServer Pro XH321 V5 Server Node
Maintenance and Service Guide 8 Parts Replacement
Issue 17 (2021-03-09) Copyright © Huawei Technologies Co., Ltd. 53

 Loading...


