Place only one server node in an ESD bag.
Step 7 Install ller modules.
Install ller panels in vacant slots. Otherwise, the ventilation, heat dissipation,
electromagnetic shielding, and dustproof eects of the chassis will be aected.
----End
8.3.4 Installing an XH321 V5
Procedure
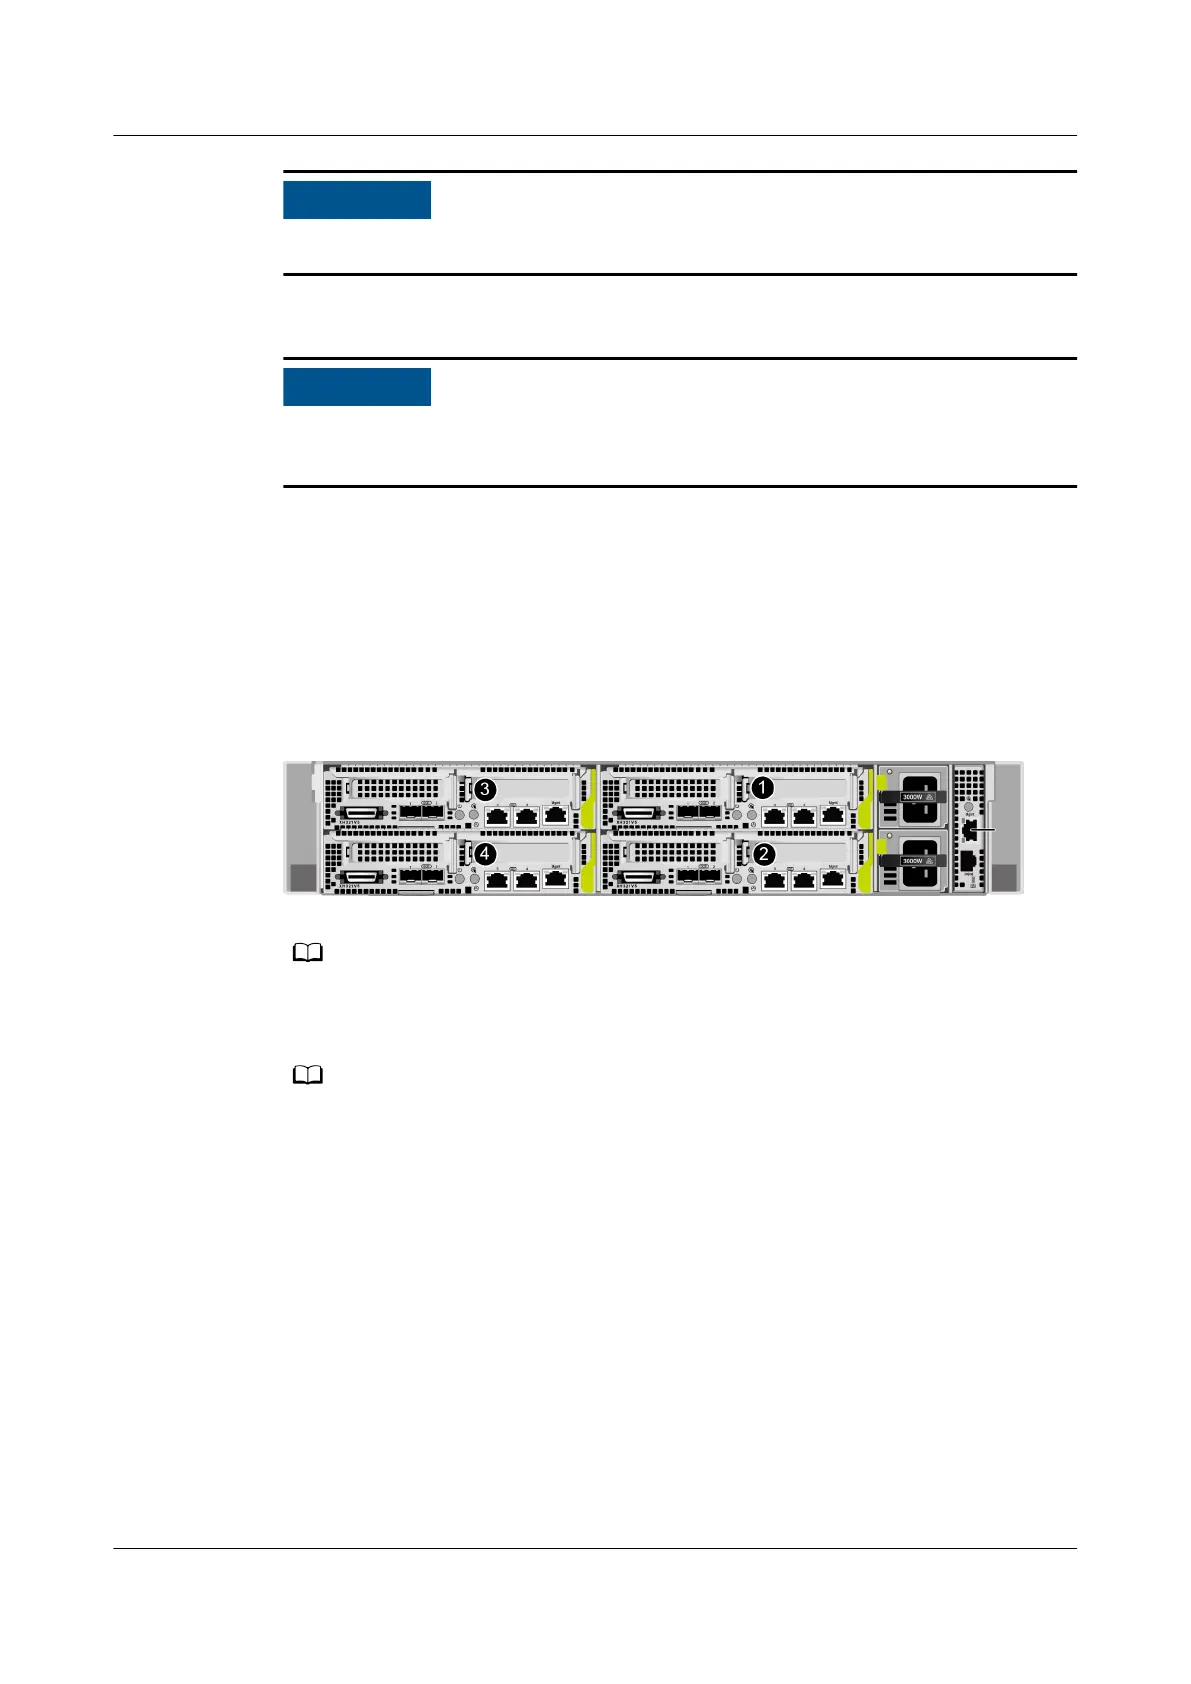
Step 1 Determine the position of the server node in the chassis.
Figure 8-7 Positions and slot numbers of the XH321 V5 server nodes
Install the lower server nodes and then the upper server nodes.
Step 2 Remove ller modules.
Perform this operation only when ller modules are installed.
1. Press the ejector release button on the ller module. See (1) in Figure 8-8.
2. Fully open the ejector lever. See (2) in Figure 8-8.
3. Holding the ejector lever, pull the
ller module from the chassis. See (3) in
Figure 8-8.
FusionServer Pro XH321 V5 Server Node
Maintenance and Service Guide 8 Parts Replacement
Issue 17 (2021-03-09) Copyright © Huawei Technologies Co., Ltd. 47
 Loading...


