Step 4 Put the removed disk module into an ESD bag.
Step 5 Take the spare part out of its ESD bag.
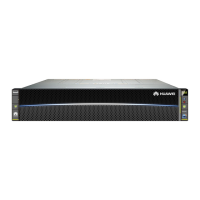
Step 6 Open the handle of the spare part, insert the spare part into the empty slot, and
close the handle, as shown in Figure 6-104.
Figure 6-104 Installing a disk module
Step 7 Wait approximately two minutes and check the status of the Running and Alarm/
Location indicators on the disk module to determine whether the disk module has
been successfully installed. Figure 6-105 shows the locations of the Running and
Alarm/Location indicators.
● If the Running indicator is steady on and the Alarm/Location indicator is
o,
the disk module has been successfully installed.
● If the Running indicator is o or the Alarm/Location indicator is steady on,
the newly installed disk module is faulty, the disk module slot is faulty, or the
disk module is incorrectly installed.
OceanStor V5 Series
Parts Replacement 6 Replacing CRUs
Issue 15 (2019-12-30) Copyright © Huawei Technologies Co., Ltd. 108

 Loading...